

In Photoshop, content-aware features make automatic edits such as seamlessly blending the edges of retouched image areas. They use technology that recognizes different types of image content. Content-aware features help you retouch images faster, and open up new possibilities for changing the composition of an image. But how do you know which of the many content-aware features might help you right now? I’ve sorted it all out for you in this handy guide.
Content-Aware Fill
When you want to delete part of an image without leaving a gaping hole, try Content-Aware Fill. It’s the default option when you select an area and choose Edit > Fill. If a Background layer is active, just press the Delete key to open the Fill dialog box for the selected area.

Content-Aware Fill is an option when using the Edit > Fill command.
If unwanted details creep into image areas filled with Content-Aware Fill, you can restrict the areas Photoshop uses as fill content. Add a layer mask and paint black (transparency) into areas you don’t want Content-Aware Fill to use. Photoshop will fill the deleted selection with content from the white (opaque) areas of the layer mask. After you get the result you want, you can disable or delete the layer mask.
For step-by-step details, see: Use Content-Aware, Pattern, or History fills
Content-Aware Patch
There’s another way to control the results of Content-Aware Fill: You can choose the area to use as the source of the new fill. Choose the Patch tool (grouped with the healing tools), and in the Options bar, set Patch to Content-Aware. If nothing’s selected yet, use the Patch tool to drag a selection around the area you want to fill, then drag and drop the selection over the area you want to use as a fill. The area you originally selected is filled with the area where you dropped the selection, and Photoshop blends it with the image.

The first try with Content-Aware Fill repeats the house on the shore, so let’s try Content-Aware Patch next.

Using the Patch tool, dragging the selection to a good patch source area fills the selection with the source and blends it in.
There’s another reason Content-Aware Patch can be better than than Content-Aware Fill. You can adjust the Structure and Color settings on the Options bar after you drag to set the patch source. This can improve how the source area blends in. You can adjust the settings and watch the results change. When you deselect, the settings become permanent.

The resulting patch is OK, but the left edge of the selection includes some of the pilings from the source area.

Adjusting the Structure and Color settings improves the patch until it looks good.
For step-by-step details, see: Content-Aware Patch
Content-Aware Move
When you want to reposition a selection and have Photoshop fill in the area that was left behind, use the Content-Aware Move tool. You can adjust the results using Structure and Color options here too.

If an art director wants more room to add type on the right side of this image, use Content-Aware Move tool to reposition the selected duck and its reflection. Photoshop blends the selected duck with its new surroundings, while simultaneously filling in the area it used to occupy.
For step-by-step details, see: Content-Aware Move
Content-Aware Extend
You can seamlessly widen or lengthen part of an image using the Content-Aware Extend option of the Content-Aware Move tool. In the Options bar you change the Mode from Move to Extend, and drag the selection in the direction you want to extend the existing content. Content-Aware Extend treats it as an extension of the original subject, which stays in place. This is often more efficient than using traditional duplication methods because it automatically blends the extended areas with the original area. That reduces the amount of retouching you have to do.

What’s important to notice is that Content-Aware Extend automatically blends the top edge of the tile with the wall. If this had been done by copying and pasting, the top edge of the tiles would show seams and more obvious duplication.
For step-by-step details about Extend mode, see: Content-Aware Move
Content-Aware Crop
You can use the Crop tool to adjust the rotation angle of an image. By default, this creates empty corner areas that are trimmed out. This trimming can result in a composition that’s too tight. Fortunately, the Content-Aware Crop option can automatically fill empty edges with content synthesized from nearby areas. This makes it easier to preserve the composition of an image.
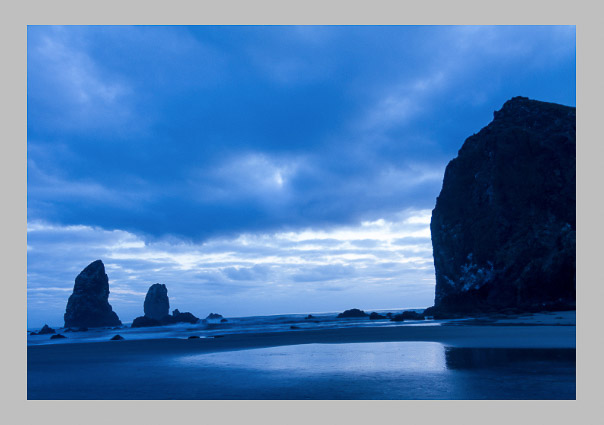
This image has a tilted horizon.
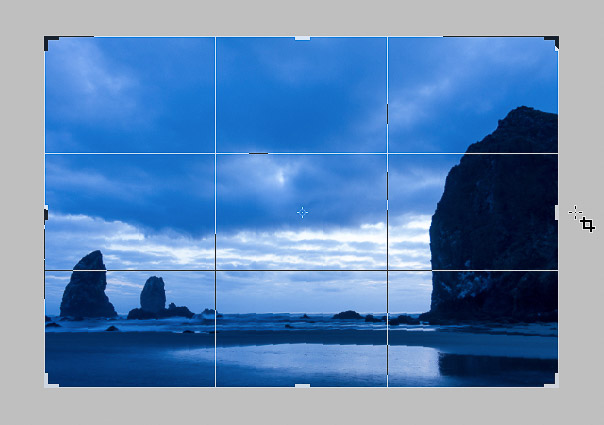
Leveling the horizon crops out too much of the edges.

Enlarging the crop rectangle reveals the empty areas outside the image.

Turning on the Content-Aware option for the Crop tool fills in the empty areas.
For step-by-step details, see: Crop and Straighten with Content-Aware Fill
Content Aware Fill Empty Panorama Areas
When you use the Photomerge command to create a panoramic image, the merged images usually produce an irregular edge. Cropping to a rectangle shape can trim content you’d prefer to keep. Fortunately, the Content Aware Fill Transparent Areas option can cover the difference between the irregular edge of the merged panorama and its rectangular canvas. Of course, it’s harder to fill large empty areas with believable synthesized content, so results can vary. Even so, Content Aware Fill Empty Areas may make it possible for you to keep more of the panorama as you crop it to a rectangle.

Content Aware Fill Transparent Areas is an option in the Photomerge dialog box.

In this animation you can see how Content Aware Fill Transparent Areas fills in the empty parts around a merged panorama image. There’s some visible repetition in the bottom right corner; we can either crop it out or quickly retouch it with a cloning or healing tool.
For step-by-step details, see: Create a Photomerge Composition
Content-Aware Scale
Sometimes you’ve got the right image for a layout, ad, or cover, but the image is the wrong shape or there isn’t enough empty space for type. That’s when Content-Aware Scale can come to the rescue: It can achieve different proportions without distorting important content. Content-Aware Scale does this by restricting content alterations to areas you’ll notice the least, such as the sky.

In this animation you can see that while resizing this layer to different proportions using Content-Aware Scale, Photoshop tries to preserve the appearance of the ducks, while letting the water and leaves distort more because distortions are less noticeable there.
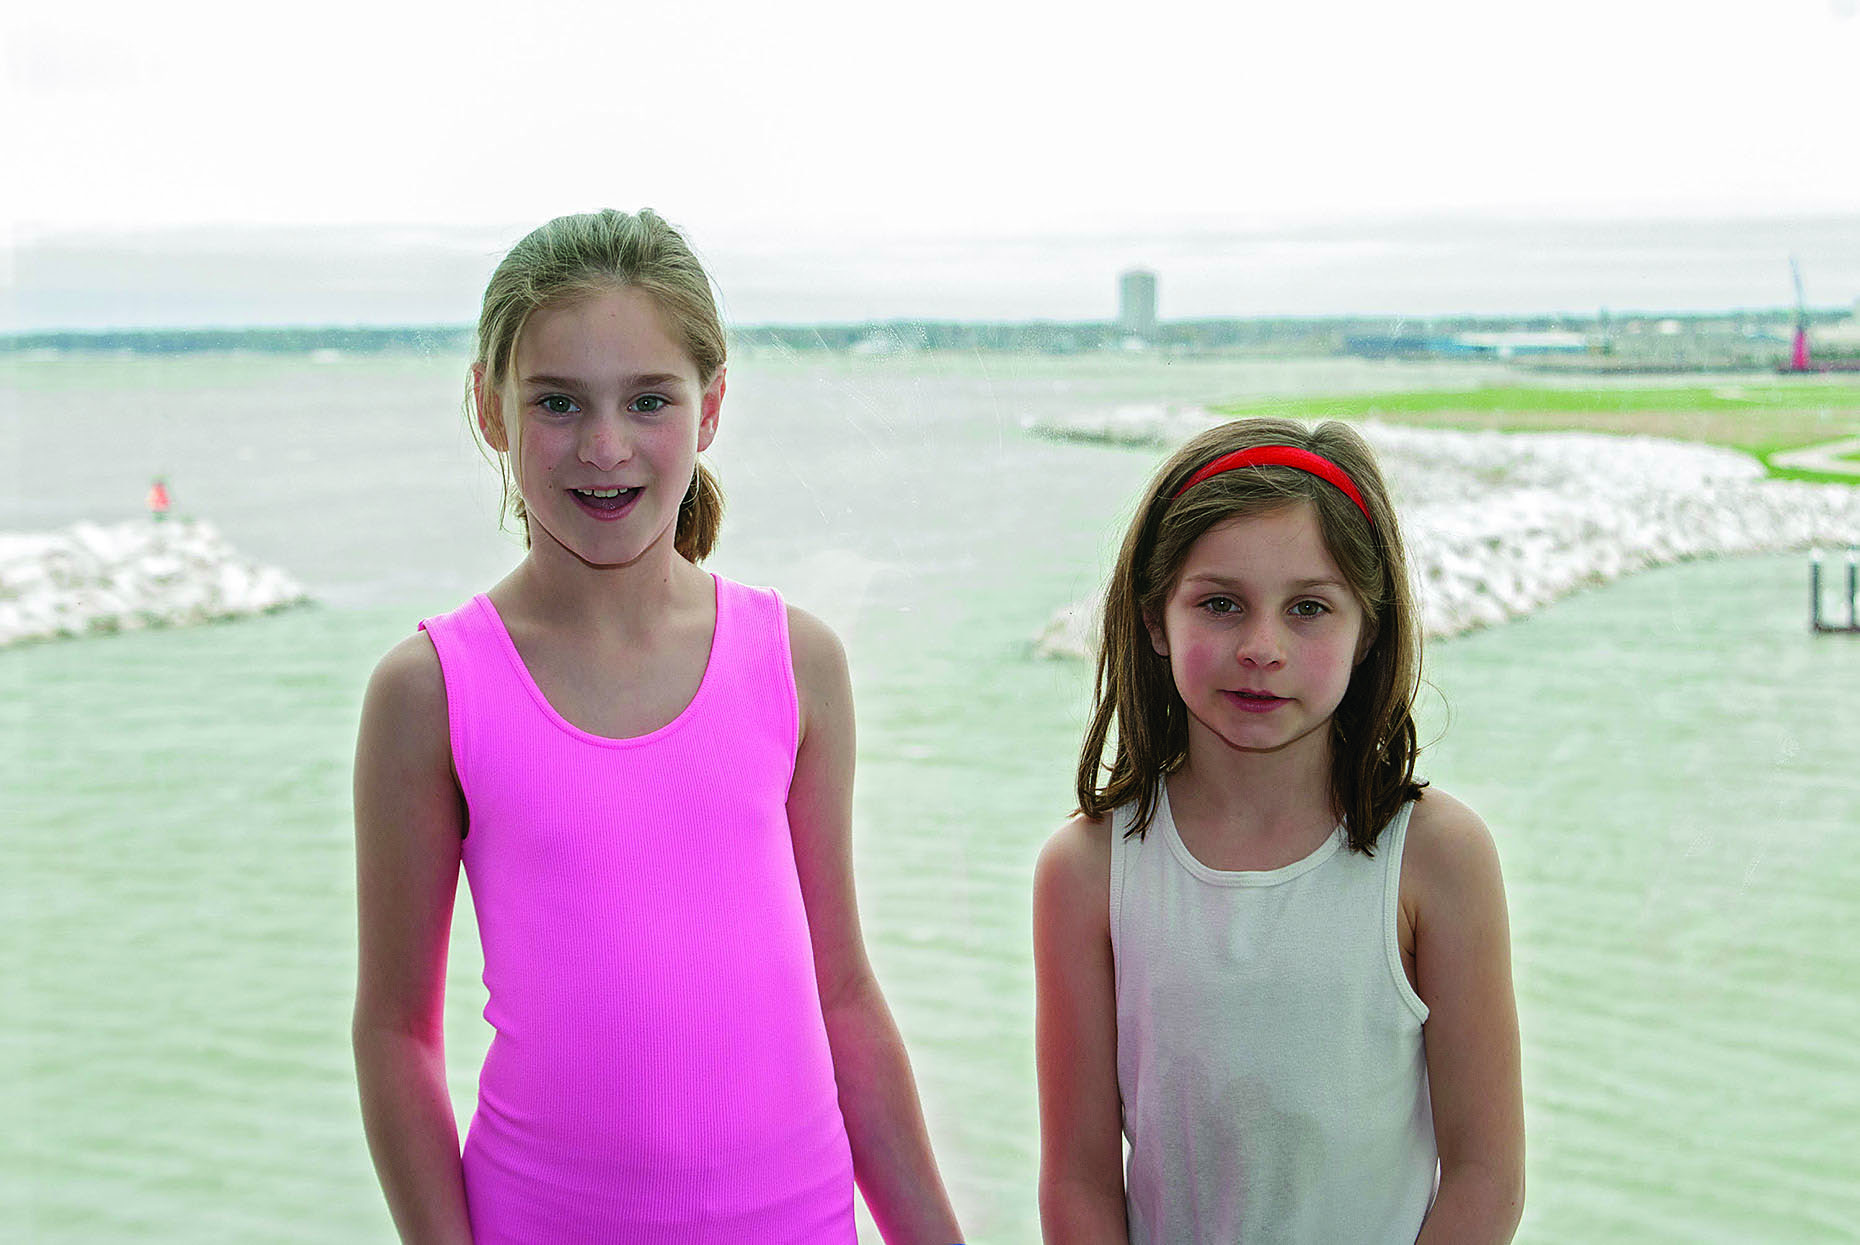
If Content-Aware Scale distorts important content, you can protect it. Select the content and save the selection as an alpha channel. After you choose the Edit > Content-Aware Scale command, you can choose the name of the alpha channel from the Protect menu in the options bar. There’s also a Protect Skin Tones button.

To prevent distortion of specific content, save a selection as an alpha channel and then choose the name of that channel from the Protect menu in the options bar. The icon to the right of the Protect menu is the Protect Skin Tones button.
For step-by-step details, see: Content-Aware Scaling
Touching Up
The content-aware features in Photoshop work better with some images than others, and they don’t always produce perfect results. If you see an obviously repeated area, or a synthesized object in not quite the right place, try these steps:
- Choose Edit > Undo and try again, because for some features such as Content-Aware Fill, Photoshop will randomly choose a different source area each time.
- Alter the original selection a little. The selection should extend several pixels beyond the subject. If your selection is too tight you can use the Select > Modify > Expand command to spread it out a little.
- Before deselecting the area, see if Structure and Color options are available for you to adjust.
You may still need to retouch manually with a Clone Stamp or Healing tool to polish off the edit. But don’t let minor imperfections stop you from taking advantage of content-aware features. Even when the results need a little touch-up, they can still give you a major head start. By saving time and by giving you more composition options, Photoshop content-aware features are valuable production tools.
This article was last modified on September 11, 2017
This article was first published on September 11, 2017
Commenting is easier and faster when you're logged in!

Recommended for you
Using Photoshop’s Content Aware Scale and Content Aware Move
Speaking Photoshop This article is an excerpt from Speaking Photoshop CS6...

CreativePro Tip of the Week: Using the Navigator panel in Photoshop
This CreativePro Tip of the Week for Using the Navigator panel in Photoshop was...

Make a Realistic Wood Texture in Photoshop
Step 1 Create a new document. The dimensions don’t really matter, but I st...