
![]()
Tutorial compliments of “Layers” magazine
In Adobe Illustrator, you can trace over photos to make unique effects and vector art. However, if the vector art resembles the original photo to the average person, then you run into copyright issues. If your trace is going to be somewhat similar to the original photo, there’s one way to get around the copyright issues, and that is to use public domain images. Generally, very old images (the number of years depends on the country you live in) and images created by the government (think WWII posters and NASA photos) are in the public domain.
I got the public domain image in Figure 1 from an edition of Alice in Wonderland from the 1800s, scanned onto a Web site. There are thousands of other images out there in the public domain.
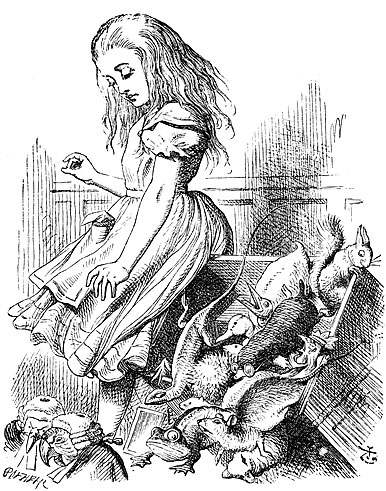
Figure 1.
Step One
Open a new document in Illustrator, go to File>Place and place the public domain image of Alice. Open the Layers palette and click the Create New Layer button at the bottom of the palette to create a new layer. This is to keep our new vector shapes on their own layer.
You can use various colors for your trace, but for this one I want to keep it simple with just black traces. Use the Pen tool (or the Pencil tool) to trace over the dark parts of this line drawing (Figure 2). Manually tracing allows us greater control and also a lower number of paths and anchors than we would have with Live Trace.

Figure 2.
Step Two
For the curvy parts of the drawing, use the Pen tool and click once on one end of the dark area. Next, click-and-drag slightly so the path curves along the shape (Figure 3).
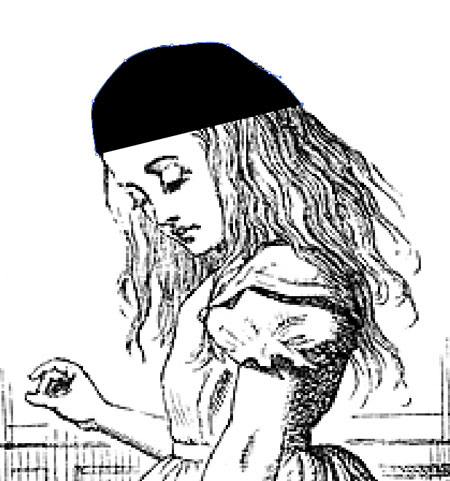
Figure 3.
Step Three
Some dark areas are smaller and thinner than others. To avoid a blocky appearance, curve the edges by clicking-and-dragging as you click anchor points with the Pen tool (Figure 4). When you draw back to the original starting point for each shape, hover over the original point and click to close the path.

Figure 4.
Step Four
As you draw each shape, try clicking the Eye icon on the Layers palette next to the layer that the original image is on (Figure 5). This will allow you to see just the shapes without the image underneath and help you determine if there are any missing parts.

Figure 5.
Step Five
I added a few new shapes that make this trace look a bit different from the original photo. The ripples I created using the Pen tool make the girl look like she’s standing in water (Figure 6).

Figure 6.
Step Six
Her hand ended up hanging awkwardly in the air, so I added a cigarette (Figure 7). (I don’t smoke, but hey, this Alice does.)

Figure 7.
Figure 8 shows the original image next to the vector illustration that I traced from it.

Figure 8.
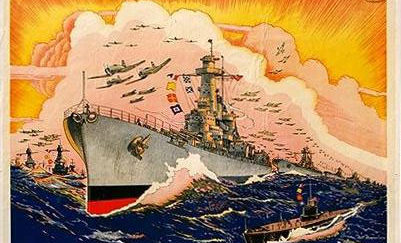
Below are a few examples of public domain images you can trace.


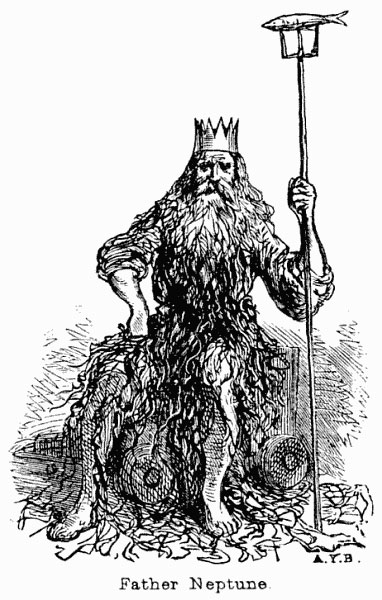

You can also find many resources linked at the bottom of the Wikipedia entry on public domain image resources. Check them out. You might get some great ideas.
[Editor’s note: As the entry states, “The presence of a resource on this list does not guarantee that all or any of the images in it are in the public domain.” If you want to use traced images for commercial purposes, research their copyright status first so you don’t land in legal hot water.]
This article was last modified on January 4, 2023
This article was first published on September 12, 2007
Commenting is easier and faster when you're logged in!

Recommended for you
Seeing Patterns
An object lesson in how to analyze patterns and recreate them in your favorite a...

CreativePro Tip of the Week: Customizing the Photoshop Interface
This CreativePro Tip of the Week on customizing the Photoshop interface was sent...

Damn You, Art School
It takes more than a good education to succeed in a any field. It takes real-wor...