

Often, the easiest way to draw detailed artwork in Illustrator is by starting with simple shapes. Adding and subtracting shapes from one another is a technique used in traditional drawing with a pencil and eraser. A similar technique is available to you in Illustrator thanks to a very useful tool: The Shape Builder.
Starting out with a few shapes
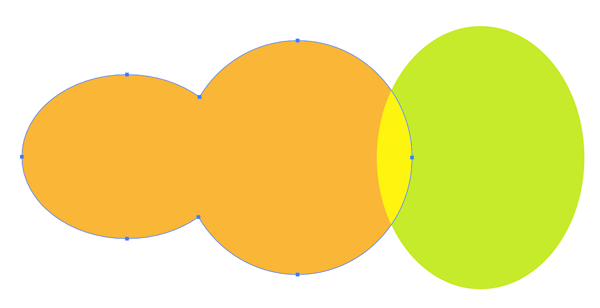
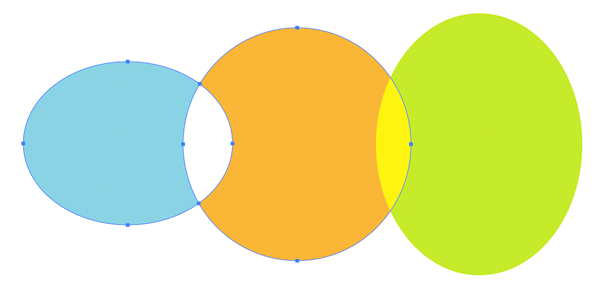
Draw several overlapping shapes on your artboard with your tool of choice; the Pen, Pencil, Rectangle, Ellipse, Star or Polygon. I started with three ellipses. To show which areas will be affected I set their blending mode to Overlay in the Transparency panel. This last step is optional; I did it just to make the overlapping regions visible.

Three shapes with their overlaps showing.
Now, select the Shape Builder tool from the Toolbar or press Shift+M to activate it.
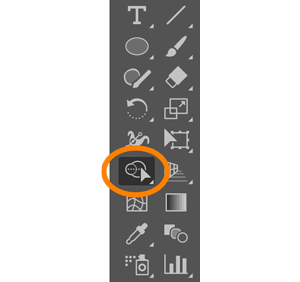
The Shape Builder tool in the Toolbar
Merging Shapes
With two or more adjacent shapes selected, drag across them with the Shape Builder tool – voila! They are combined instantly.
Two ellipses merged by dragging over them with the Shape Builder tool
This is called Merge Mode, and it is the default mode for the Shape Builder. As you hover and drag over shapes, each region delineated by intersections with other shapes is highlighted with a dot-screen overlay, showing how they’ll be affected when you release the cursor.
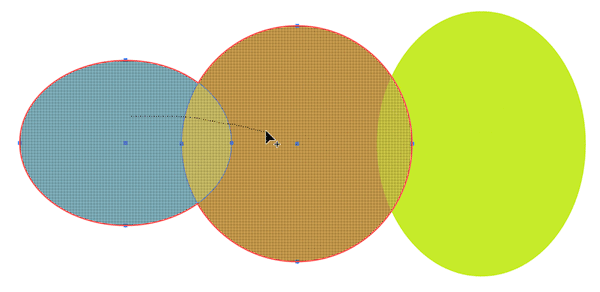
Areas to be merged are highlighted as you drag over them.
As you merge by dragging, you might miss some overlapping regions. You can merge a group of shapes quickly by holding down the Shift key and dragging a marquee around all of them.
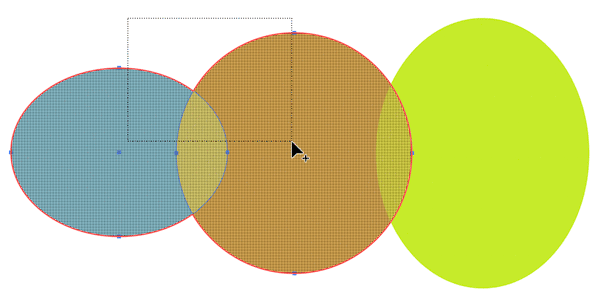
Shift-dragging with the Shape Builder tool makes it easy to merge areas that might be difficult to target otherwise.
Erasing with Shapes
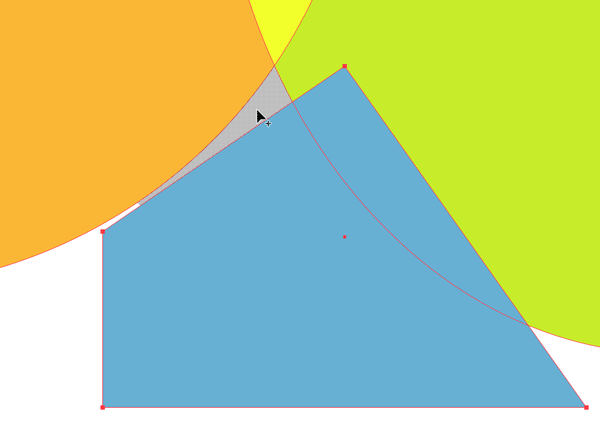
Select another two overlapping shapes and hold down the Alt or Option key as you drag across one of them, and continue dragging into the overlap region before releasing the cursor. You just subtracted one shape from another. Holding down Alt/Option switches Shape Builder to Erase Mode, and the cursor displays a minus sign as an indicator.

You can easily create compound paths with Erase Mode: Draw a shape completely within the bounds of another larger one. Hold down Alt/Option and click or drag across the inside shape with the Shape Builder tool.


Shape Builder Options
Shape Builder is handy from the moment you start using it. For even more control, double-click the tool or press Return/Enter while it is selected to bring up the Shape Builder Tool Options dialog box.
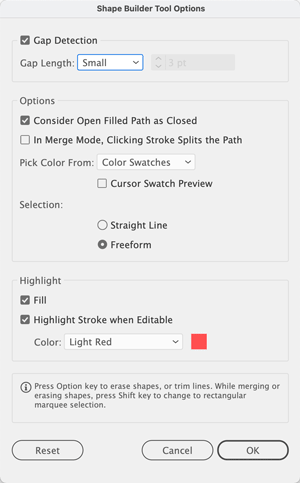
Shape Builder Tool Options
The Gap Detection option is off by default. Turn this on, and experiment with the Gap Length settings to control how Shape Builder affects shapes that are close to each other but not overlapping. An open gap between shapes can be treated like region that is affected by the tool, as shown below.
A clear gap between shapes recognized as a region by Shape Builder when Gap Detection is turned on.
The next setting, Consider Open Filled Paths as Closed, is turned on by default. Turn this off to ignore open, filled paths.
Next, you can choose to have Shape Builder split paths when you click directly on a stroke. The cursor will change, and the stroke is highlighted when this option is enabled.


The ellipse on the left has been split into two shapes. A special cursor indicates that this option is enabled, and the affected stroke is highlighted.
You can also opt for straight-line selections with Shape Builder or leave the default Freeform option enabled so as not to constrain the movement of your cursor while you drag across shapes.
In the final section of the dialog box, you can change the fill and stroke highlight options if they’re hard to see because of the colors in your artwork.
So Long, Pathfinder?
Illustrator’s Shape Builder allows you to merge vector shapes or subtract them from one another, making it easy to turn simple objects into more detailed imagery. For me, this tool has replaced an old way of doing things with the Pathfinder panel (Window > Pathfinder). However, Pathfinder operations are still useful when you need to preserve the original shapes. If you need to do this, be sure to use the Pathfinder effects (Effect > Pathfinder), not the Pathfinder panel, which doesn’t preserve the original shapes. But these days, any time to I want to permanently merge or subtract shapes, I use the Shape Builder tool.
Commenting is easier and faster when you're logged in!

Recommended for you

Illustrator Downloadable: Lush Leaves Pattern Set
Add a feeling of freshness, growth, and tranquility to your designs with these v...

Illustrator CC 2018 New Features
Adobe Illustrator CC 2018 brings several exciting enhancements, including Variab...

3 Ways to Make Die Lines in Adobe Illustrator
Best practices for defining the shapes of custom die cut stickers.