


You can add grainy, gritty textures to type and graphics in InDesign by adding noise to transparency effects. Here’s how:
Step 1: Select Your Object
First, select a text frame, placed photo, or native InDesign graphic.

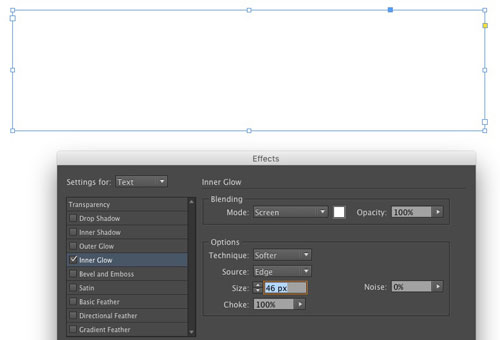
Step 2: Apply Inner Effect
Open the FX panel and apply one of the Inner effects (Inner Glow, Inner Shadow). Be sure to target the Text level if you’re working with text and the text frame has a fill color.
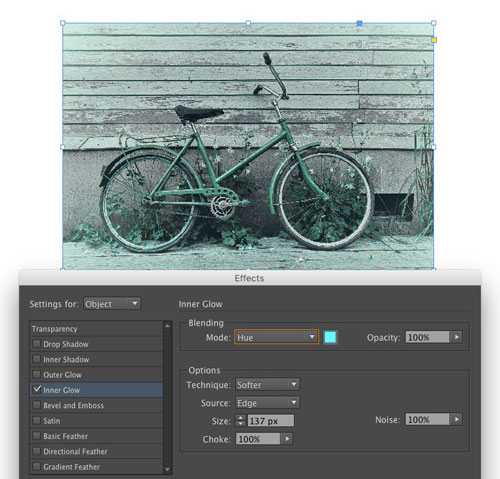
Step 3: Adjust Effect
Set both the Opacity and Choke to 100%. If you’re using an Inner Shadow, set the Distance to zero.

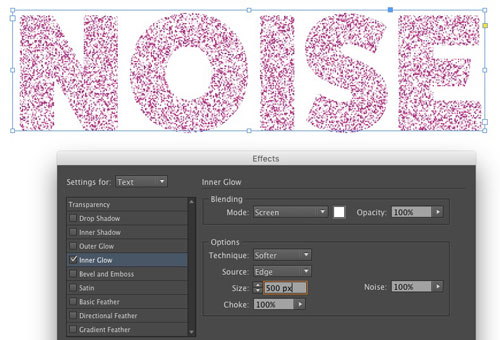
Step 4: Increase the Size
Next, increase the size until the effect fills the type or graphic. If you’re using the Inner Glow and there is no colored background, the item will look like it has disappeared, but it’s still there.
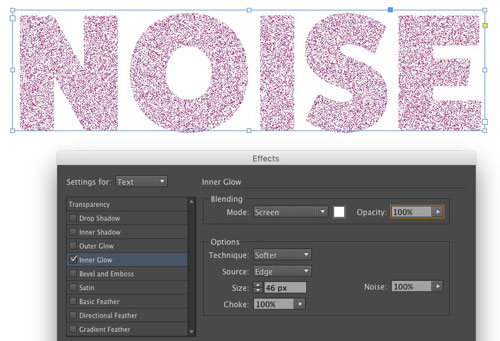
Step 5: Experiment!
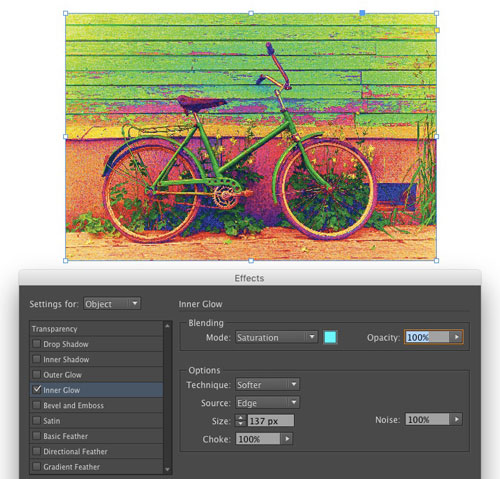
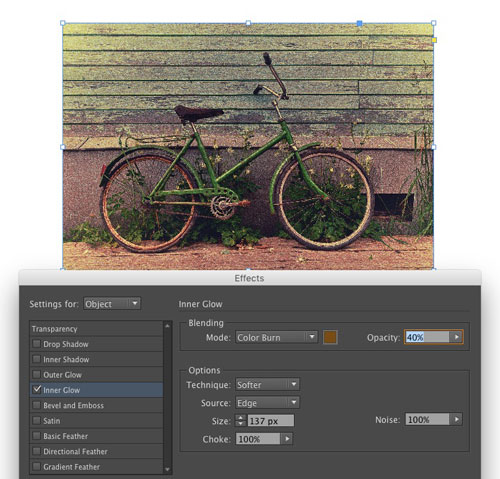
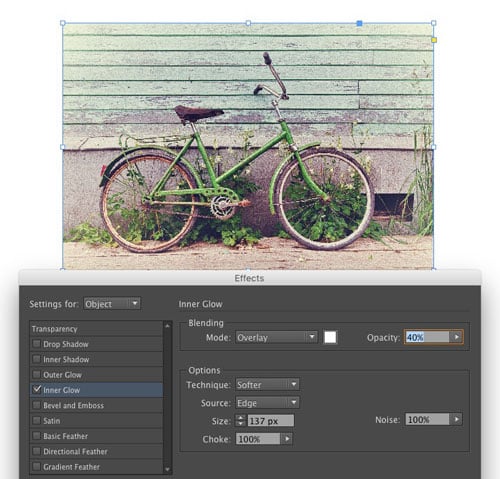
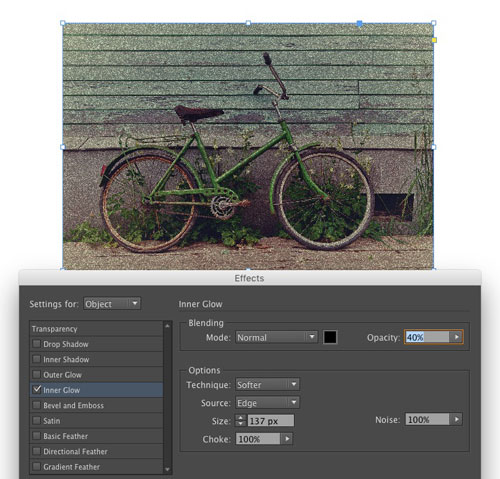
Then, play with the amounts of Noise and Opacity, as well as the Blend Color and Blend Mode, to create different effects.
You can also make bigger “chunks” of noise by increasing the Size value.
Decreasing the Choke value can give you more concentrated noise at the edges of objects.
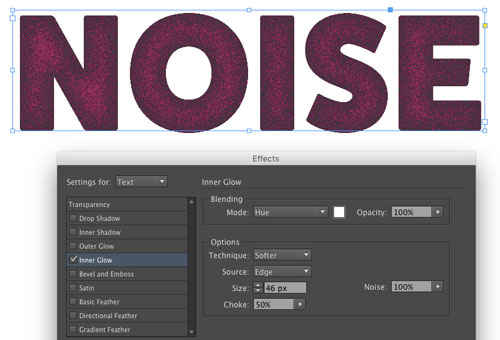
With these six variables, you can achieve an almost infinite variety of grainy looks.


Two Things to Keep in Mind
Like all transparency effects, the results you get will depend on the Transparency Blend Space chosen in the Edit menu. Also, InDesign’s onscreen preview of noise is somewhat low-res. Your output file will have finer-grained noise than what you see in InDesign. So export a few test files with different Size values to get the look you want.
This article was last modified on January 28, 2023
This article was first published on September 6, 2016
Commenting is easier and faster when you're logged in!

Recommended for you

The Photoshop Conference 2015 Wrap-Up
The expected blizzard fizzled, but the inaugural Photoshop Conference for Design...

50 Free Fonts, Part 2
If you missed Part 1, be sure to check it out for even more great free fonts. Do...

CreativePro Video: Using the Touch Type Tool in Illustrator
In this week’s CreativePro video, Mike Rankin demos how to adjust type with Illu...