

This is the first in a series of articles on quick fixes you can apply to photos that need squaring-up.
In order to prevent distortion when I photograph artwork, it’s essential that the overall proportions of the digital version match those of the original. In other words, it’s not enough for the edges to be straight and the corners to to be squared off. The relative dimensions between height and width must also be correct. In addition to making sure the art has the correct proportions, there’s often a need to apply color corrections, add watermarks, retouch blemishes on the art or backgrounds, and make a number of other quick fixes in order to make sure that the art is seen at its best. By mastering each of these steps you can then combine them as needed to solve a wide range of problems, and choose which combination of steps is appropriate for your current needs.
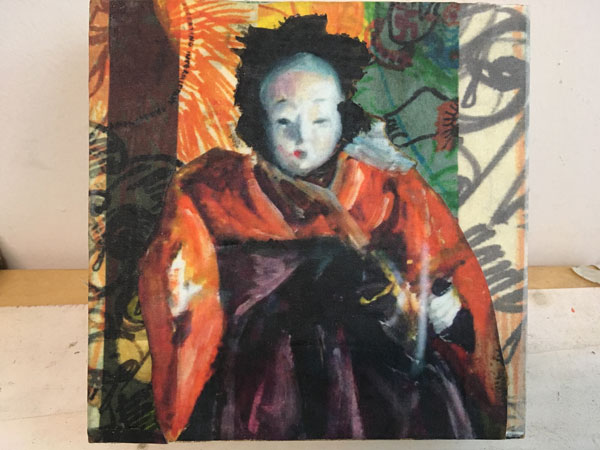
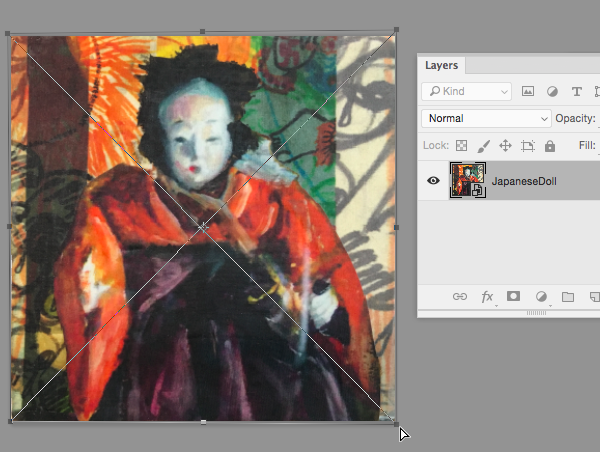
To reduce the complexity, each post in this series will build on the tools and workflow of the previous one. In order to limit the steps in repairing the distortions of a first image, I’m starting here with square artwork. “Japanese Doll with Letters 1” is one of my fabric collages, created by digitizing my oil paintings and letters, which are then printed by Spoonflower on fabric, and then cut and collaged onto a cradled board).
This project relies on combining Layer Masks, Smart Objects, square selections, and cropping, and “roll-up-your-sleeves” freeform adjustments with Free Transform. Here’s an animated GIF showing a sped up version of the process.

If your photo only needs is a bit of straightening, there are some handy-dandy filters and tools for that, and Erica Gamet’s post details how to use the Ruler tool and Straighten button, and Conrad Chavez’s post starts out with Photoshop’s Free Transform, digs into “lens correction” filter, and then further expands into more sophisticated perspective fixing.
Select and mask the image
In my original iPhone snapshot, I didn’t quite square the image within the frame. I didn’t need the background, so once straightened I’d crop it tight.
Using the Polygonal Lasso tool (under the Rectangular selection tool) I clicked on all 4 corners to define the perimeter of the image. With that layer selected in the Layers panel, I turned that selection into a layer mask by clicking on the Add a mask icon.

The mask can be tweaked either in the selection phase by holding Shift to add (or Option/Alt to subtract), or with painting and selection tools once it’s a mask. Note that once you add a layer mask, your layer is no longer a Background layer.

Naming the layer is something we always should do, and I confess I sometimes forget. Just do it!

Convert to a Smart Object
Convert your masked layer into a Smart Object, either using a shortcut if you’ve made one, or choose Convert to Smart Object from the Layers panel menu (here’s how I assigned that shortcut for it).

Crop the Image
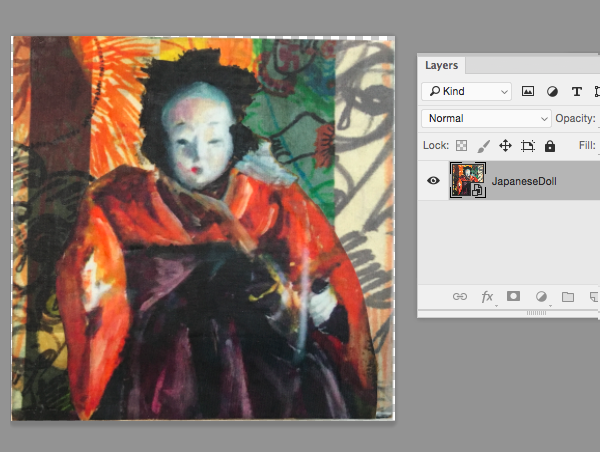
There are many ways to crop an image to a square. You can use the Crop tool setting the square proportion, but I find it quicker to just grab the Rectangular selection tool, hold Shift, and drag a selection around the image. Use the Arrow keys, or hold Command/Ctrl if you want to move the selection. Here I drew a square selection around the image.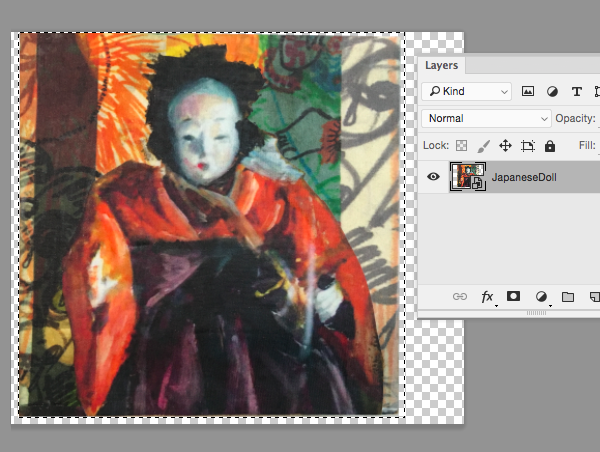
If you simply used the Crop tool, then you don’t need this step, but when I define the area with a selection I need to chose Image > Crop to the square selection. (Confession: this command was once in the Edit menu and for decades I always look for it there, and for some reason I haven’t yet assigned a shortcut!)

Apply Free Transform
Making sure the Smart Object layer is selected in the Layers panel, choose apply a Free Transform (Command+T/Ctrl+T).
Holding Command/Ctrl, I grab each corner and align it to the corner within the document square. This is a tricky thing as each adjustment affects the others.

Press Return/Enter to apply the transformation. Because You’re working with a Smart Object there is no harm in keeping at it until you get it just right. Simply repeat the process as much as you want. Zoom in and out as needed. If the control handles are out of sight, use the F key to go into full screen mode so you can better scroll to and grab what’s out of sight.
Output
After all adjustments, the image is perfectly square and cropped to the edges. Output to the desired format.

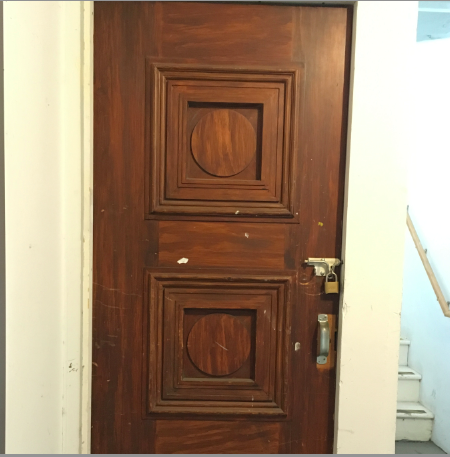
In the next post: A slight variation that lets you fix an entire image by zeroing in on a true square, like the one on the door below.

This article was last modified on June 15, 2021
This article was first published on September 20, 2017
Commenting is easier and faster when you're logged in!

Recommended for you
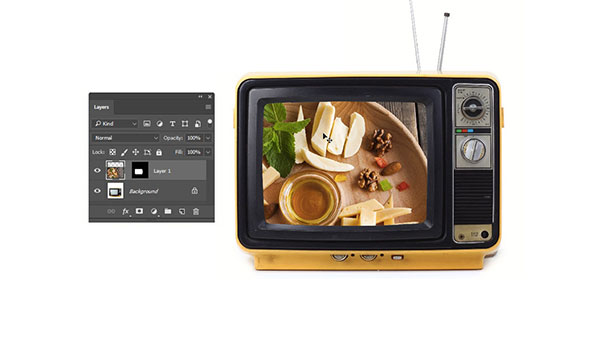
Photoshop Tip: Pasting into a Selection in Photoshop
Learn how to create layers with layer masks with Photoshop's Paste Into command.

Photoshop CS6 updated
Adobe has released an update to Photoshop CS6 (version 13.0.1) that fixes a tota...
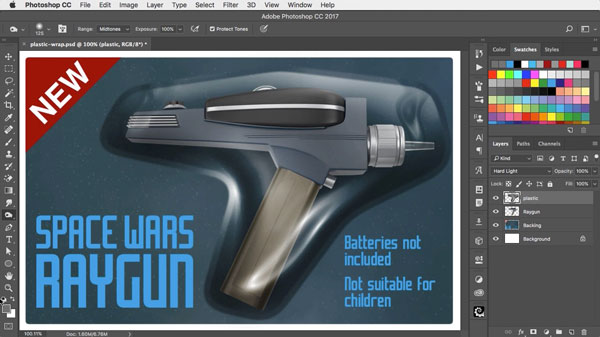
Using Photoshop’s Plastic Wrap Filter
Photoshop’s Plastic Wrap filter is great at creating liquid effects of all...