
It’s time to talk T-shirts again! My name is Sebastian bleak and for over 7 years, I was a Production Manager for the best custom T-shirt shop in Los Angeles. And I’m excited to share what I learned there in a series of articles here at CreativePro, called T-Shirt Design and Production. In this article, we’re talking about how to handle transparency in Direct To Garment aka “DTG” printing for T-shirts.
Let’s say your client sends over some artwork to be printed with a transparent background, like the one you see in Figure 1.

Figure 1
Then you go to print the file and find out that the background is not truly 100% transparent. Hopefully, your DTG machine comes with RIP software that will help you identify transparency before printing (as shown in Figure 2). Otherwise, you may not find this out until after the first shirt is printed.

Figure 2
In this example, I left the issue more pronounced so that you can see what I’m talking about. Real life, this would be much more subtle and harder to identify. So, how do we identify this problem?
The best solution I’ve been able to find, is using the Info panel (Window > Info) in Photoshop (Figure 3).

Figure 3
With my Info panel open, I bring my cursor right over the white area in my design. I can see that I have RGB values set to the maximum which is 255, and the corresponding CMYK values, all set to 0% (Figure 4).
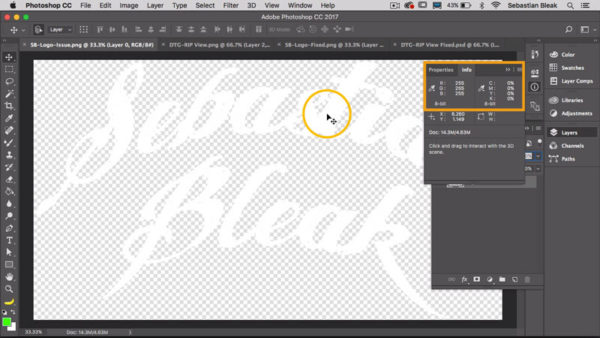
Figure 4
These measurements tell me that there is pure white pixel information underneath my cursor in this document, which is expected.
Then if I move my cursor over the transparent area of this image, I would expect to see zero color information. But, in Figure 5, notice the values in the Info panel have not changed.

Figure 5
It’s still showing that there is white pixel information in the area that should be transparent. This can happen if you are making quick selections without paying close attention, using severely compressed JPEGs, printing scanned drawings, working with images that contain many gradients, and a variety of unknown reasons.
Now that we have identified the problem, how do we fix it? My preferred method is to go to the Layers panel and add a new layer by clicking on the “Create New Layer” icon (Figure 6).

Figure 6
Next, choose a bright, contrasting color, fill the new layer with this color, and then move the layer to the bottom of the Layer stack (Figure 7).
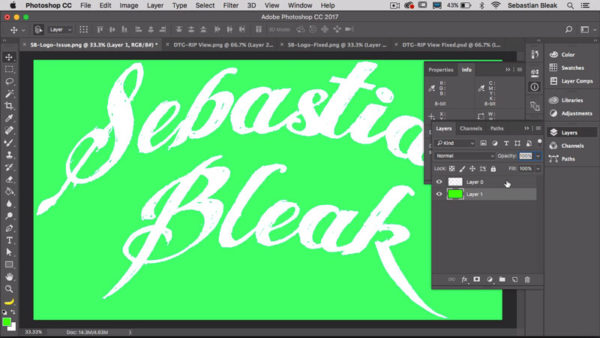
Figure 7
Once you have your artwork on the layer above your contrasting background, choose “Merge all Visible” from the Layers panel menu (or use the keyboard shortcut: Ctrl/Command+Shift+E).
Now it’s time to extract the background again. Take the Magic Wand tool and click once on the background then press Delete. You should be left with just your T-shirt design.

Figure 8
But we’re not done yet! Next, you should to zoom in close to your design to make sure you don’t have any color spill.
In this example, the contrasting background color crept into the edges of the design.
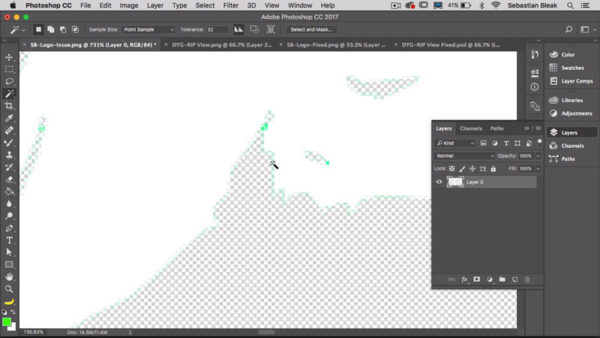
Figure 9
To fix this, you can double-click just to the right of the name of the layer, to bring up the layer style options.
In the layer style options choose to add a color overlay of white with the blending mode set to Normal and the opacity set to 100%. This will make sure that all pixels in this layer will be filled with white and the contrasting color is now completely gone.

Figure 10
Finally, use the Info panel again to confirm that the operation was a success.

Figure 11
If the Info panel is showing no RGB/CMYK information in the background, then it is truly transparent, and you will get a perfect print.
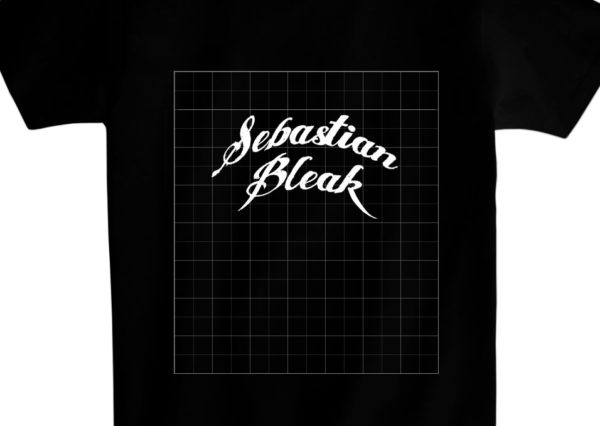
Figure 12
Have you ever come across this issue when printing an under base with DTG? If so, how did you fix it? This technique works great if you’re working with a single color design. If you’re working with a multicolored design (especially one with gradients), I would instead use the Select and Mask feature to refine my selection. I will cover this in a future post.
This article was last modified on September 17, 2018
This article was first published on September 17, 2018
Commenting is easier and faster when you're logged in!

Recommended for you

CreativePro Magazine Issue 5 Now Available
CreativePro Magazine Issue 5 has articles on alternatives to Adobe, metadata, Af...

CreativePro Week Conference Speaker Spotlight: Von Glitschka, the Thug Bunny
Welcome to our Speaker Spotlight series, designed to highlight some of our Creat...

How to Create Ring Charts in Illustrator
Learn an easy way to make a ring chart in Illustrator by using dynamic shapes an...