


If you’re a working photographer, you frequently have to deliver images to clients more quickly than you might like. When it comes to speeding up your workflow, using presets can make a huge difference. Lightroom and Lightroom Classic come with a raft of creative presets—including Premium Presets with the June 2021 release—that you can use to give your images a specific look with a single click. In addition, the popularity of Lightroom has given rise to a cottage industry of photographers selling their “special sauce” presets. Just say the words “Lightroom Presets” and ads for these will appear in your social media feeds.

The Develop Presets in Lightroom Classic
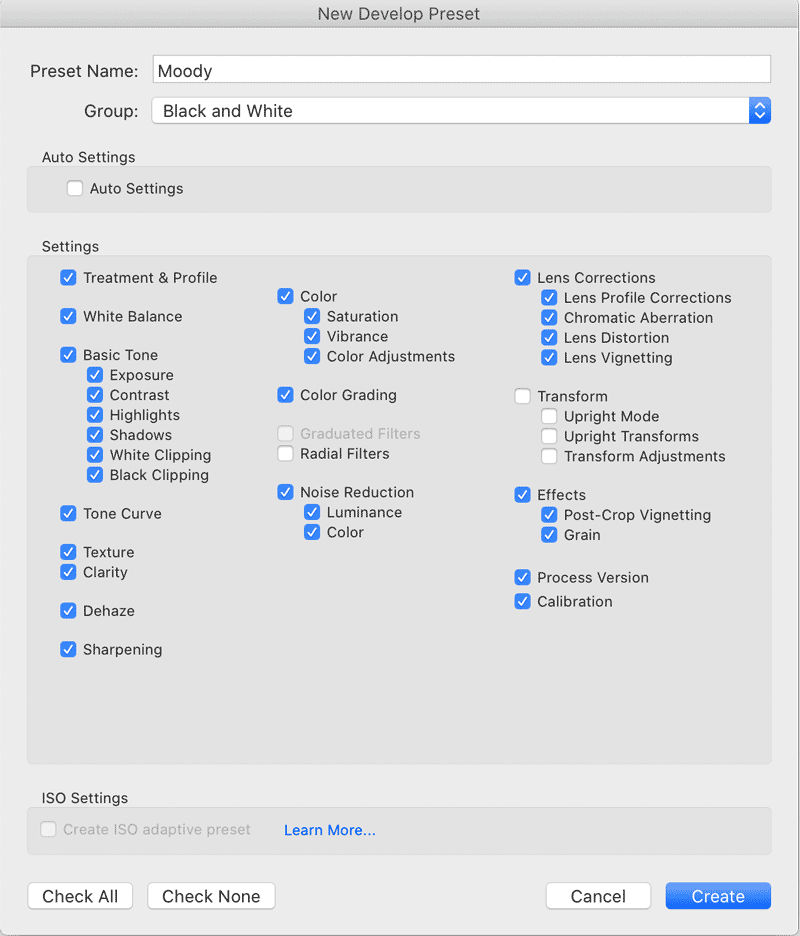
While some of these canned presets are great, there is no mystique about them and it’s easy to make your own. Having edited an image in the Develop module, capture its settings by clicking the + next to Presets in the left sidebar. Check the relevant settings to include, give the preset a logical name and choose a group to keep it organized.

Creating a “big” preset for a certain look
A huge time saver is to apply a preset of “base” settings at the time of import. If you’re like me, there are certain things that you do to almost all images: an auto exposure (at least to start with), a vibrance and clarity boost, a sharpening boost, a lens correction profile, etc. I capture all of these as a “Basic” preset, which I apply on download. When I sit down to edit my images, most of the work is already done. From here on it’s just a question of making individual tweaks according to what the image requires.

Applying your base settings at time of import
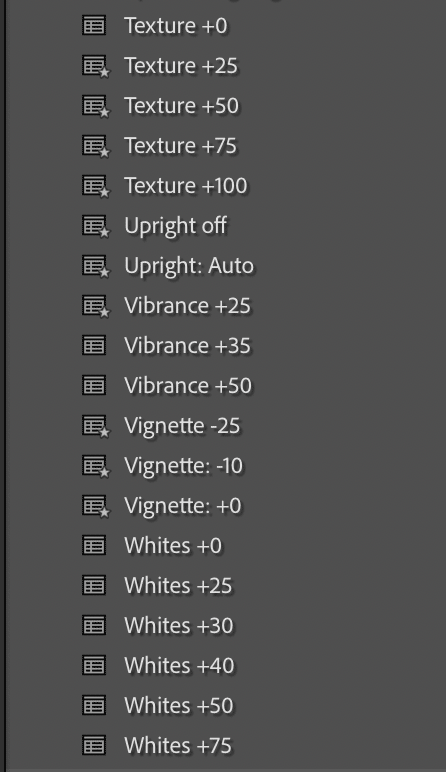
But as well as thinking big, I encourage you to think small. You can use presets to make micro adjustments. A small preset can change just one thing and—once you’re in your developing groove—takes a fraction of a second less to apply than moving a slider in the relevant Develop panel. So long as you name them logically, they’ll be listed in alphabetical order, so you won’t waste valuable seconds twirling open the relevant panel to locate the slider.

Creating and working with micro presets
Over the course of a working day/week/month/year all these seconds add up to significant time saved. (It’s also less stress on your hands.) When developing images, rather than use the Develop panel, you can run through your list of presets. For example, let’s say you like to apply Texture to images, but want to dial in the amount according to the nature of the image. Make your yourself several presets that apply texture in increments of 25 (or 10 if you want to be more granular). Sure, there is setup time involved, and sure, this approach is premised on being familiar with the Develop module, but once you’re set up, you can fly through your edits at a fast pace. As an added bonus, if you have multiple images that require the same tweak, you can use Quick Develop in the Library module to apply a preset to all selected images.

Applying a preset to multiple images in the Library module
This article was last modified on June 18, 2021
This article was first published on June 18, 2021
Commenting is easier and faster when you're logged in!

Recommended for you
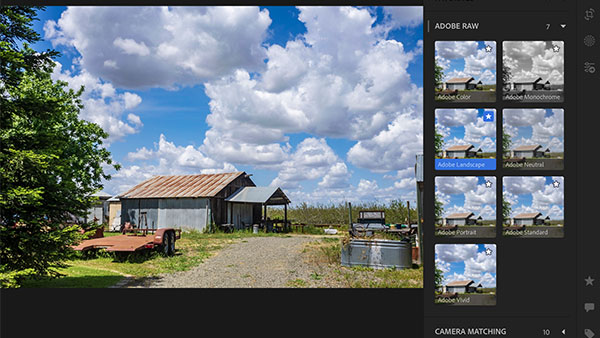
Using Lightroom Profiles
The latest updates to Lightroom CC (1.3), Lightroom Classic CC (7.3), and Adobe...

What’s New with Adobe Lightroom
Here’s first look at the new features of the June 2021 release of Adobe Lightroo...

Take Your Shot in Lightroom
With a handle on the fundamentals of Lightroom—in its multiple forms—you can wor...