

One of my favorite small features added to InDesign CC 2015, is the ability to specify that the PDF Document Title be displayed in the exported file, instead of the file name.
I use this feature all the time because when I produce the PDFs for InDesign Magazine, I want the issue title to appear in the PDF title bar and not the file name.
It’s easy enough to set the document title for an InDesign document, just choose File > File Info, and enter the name you want in the dialog box.

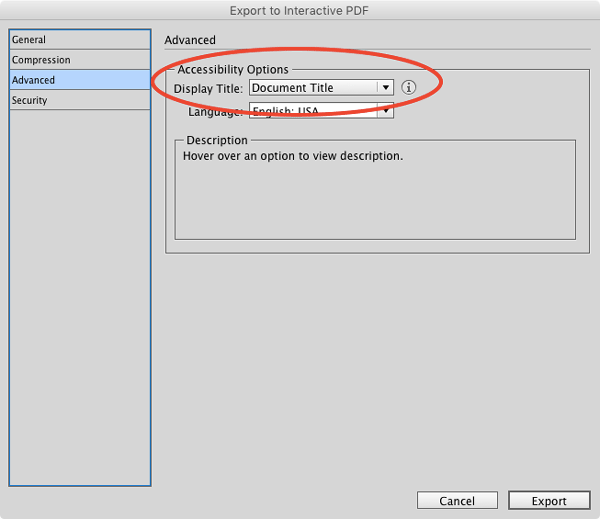
Then be sure you choose to display that title in the PDF export dialog box, as shown above.
But what if you’re making a PDF from an InDesign book file? Where does the PDF title come from when you’re combining content from several InDesign files? The answer is, the document designated as the style source in the Book panel.
Setting the PDF Document Title from the Book Style Source
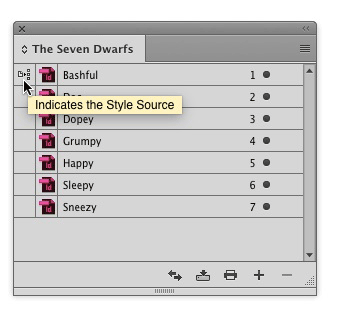
To set the PDF title, in the Book panel, click in the left column of the document that has the title you want before exporting the PDF. This makes that document the Style Source.

Be sure that only the documents you want to include in the export are selected in the Book panel, or that none are selected if you want to include all of them.
In the PDF Export dialog box, go to Advanced settings: Accessibility Options and choose Display Title: Document Title.
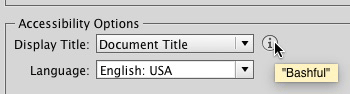
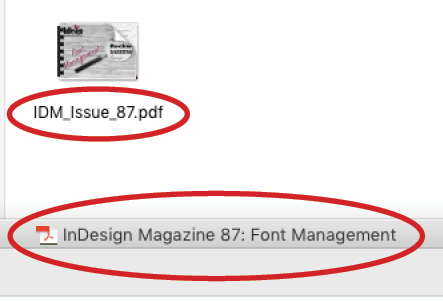
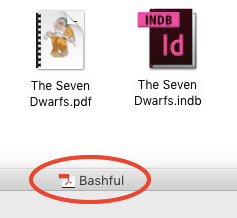
Export the PDF from the Book file, and what you’ll get is a PDF title from the style source document and a file named with whatever name you specified in the Export dialog box (the default is the Book name).
This article was last modified on August 8, 2019
This article was first published on August 4, 2016
Commenting is easier and faster when you're logged in!

Recommended for you

The (Virtual) Machine That Goes ‘DING!’
I fondly remember my love/hate relationship with typewriters (I didn’t alw...

Better InDesign Contact Sheets
Adobe Bridge CS2 and CS3 have a neat little automation script for InDesign users...

The Source of the Mysterious _GoBack Bookmark and How to Get Rid of It
Ever get a strange bookmark in the InDesign Bookmarks panel called _GoBack? Lear...