Setting Illustrator’s Shape Builder Options

My drawing abilities using Illustrator’s Pen and Pencil tools leave much to be desired. However, I find I can achieve many of the same effects through the magic of the Shape Builder tool. I simply look at anything I want to create as a series of shapes, which I can then further edit with the drawing tools later, if needed. Using the Shape Builder tool lets me merge and exclude portions of shapes to create compound paths, with very little effort—and without having to go to the Pathfinder.

On the surface, using the Shape Builder is simply a matter of selecting shapes you’d like to work with, then dragging across those shapes to merge them. In addition, holding down the Option/Alt key will exclude any selected portions of shapes. If you’ve used the Shape Builder, this may be as far as you’ve ventured with this awesome little helper. But there are a few options you can set to take better advantage of the tool’s capabilities.
To set these options, double-click on the Shape Builder tool to bring up its dialog box.

Gap Detection: This setting allows you to work with open paths (with this off, only closed paths can be selected with the Shape Builder tool). Choose a set gap length from the pull-down menu or choose a custom amount. Getting this setting right can be tricky, since the gap amount needs to be close to the chosen size, as opposed to it being a minimum or maximum setting.
Consider Open Filled Path as Closed: This is fairly self-explanatory. If an open path contains a fill, the Shape Builder tool will consider it a closed path, eliminating the need to use gap detection.
In Merge Mode, Clicking Stroke Splits the Path: When dragging across objects, you’re in merge mode (as opposed to erase mode). With this option de-selected, you can’t select or edit a shape’s path while merge mode. Selecting the option lets you select each individual portion of a shape’s path, splitting the path in the process.
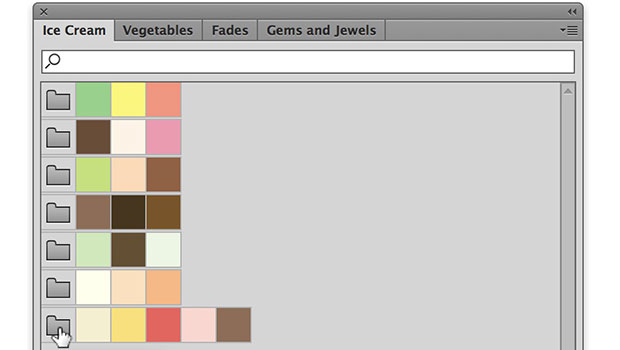
Pick Color From: You can choose how the newly-combined shape’s color will be chosen. Choosing Artwork uses the same rules for applying styling in merged objects, namely that the styling will come from the item first touched when dragging with the Shape Builder tool. Choosing Color Swatches will automatically fill the new shape with the swatch of the last selected object—even if that object is not currently selected. Clicking the Cursor Swatch Preview box brings up a floating color picker, that you can use the Left and Right Arrows to navigate through to choose a color. Even without selecting this option, you can still use the arrow keys to cycle through swatches—though you’ll need to have your Swatches panel open to avoid playing color roulette. NOTE: If the colors of your shapes aren’t in the Swatches panel, you won’t be able to toggle through the swatches this way.
Selection: This indicates the path the Shape Builder tool will draw as you drag across objects. Straight Line gives you more control over which objects you select (which is important if you have many close objects, but don’t want to select too many). The Freeform option lets you navigate around objects you don’t want to select.

Highlight: This option gives visual feedback as to what you have selected with the Shape Builder tool. With Fill selected, any portion of a shape that you drag across will be shaded with a gray mesh. With Highlight Stroke when Editable selected, any portions of a path that can be selected will be highlighted with the color chosen from the pull-down menu immediately below. NOTE: If you don’t have In Merge Mode, Clicking Stroke Splits the Path chosen back at the top of the options list, you won’t see any portions of a path highlighted (as it’s not editable).
The bottom portion of the options dialog box give a couple of extra tool hints to use when working with the Shape Builder tool.
This article was last modified on February 10, 2016
This article was first published on February 10, 2016
Commenting is easier and faster when you're logged in!
Recommended for you

CreativePro Magazine Issue 8 Now Available
Issue 8 has articles on designing with maps, creating 3D scenes, Live Paint, Pow...

Working with Illustrator’s Color Libraries
Illustrator has more options for adding colors to a document than just mixing co...

Adobe MAX 2021: Larger Forces at Work
A look at everything new in Creative Cloud apps and services, and the strategy d...


