

Photoshop Fix is Adobe’s latest venture into mobile image manipulation. Available only for iPhone and iPad at present, it’s an unusual and at times revolutionary editing tool—and, of course, it’s absolutely free. If you have a Creative Cloud membership, though, you’ll get a lot more out of it.
In this review we’ll take a stock library image and show how to effect a complete makeover using just the tools within the app.
Opening an existing image
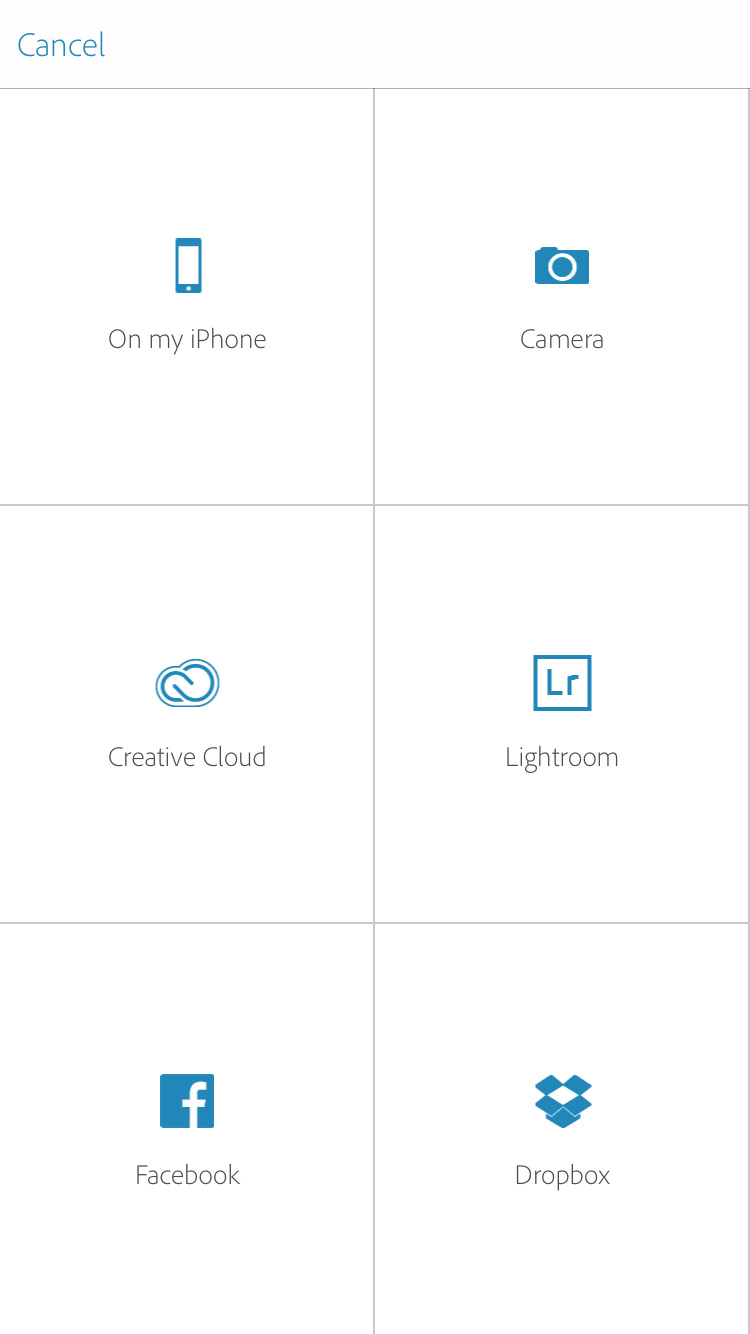
To get started, open an image you want to work on. This can be from your camera roll, from your phone’s library, from your Creative Cloud library, from Lightroom, or from Facebook or Dropbox.
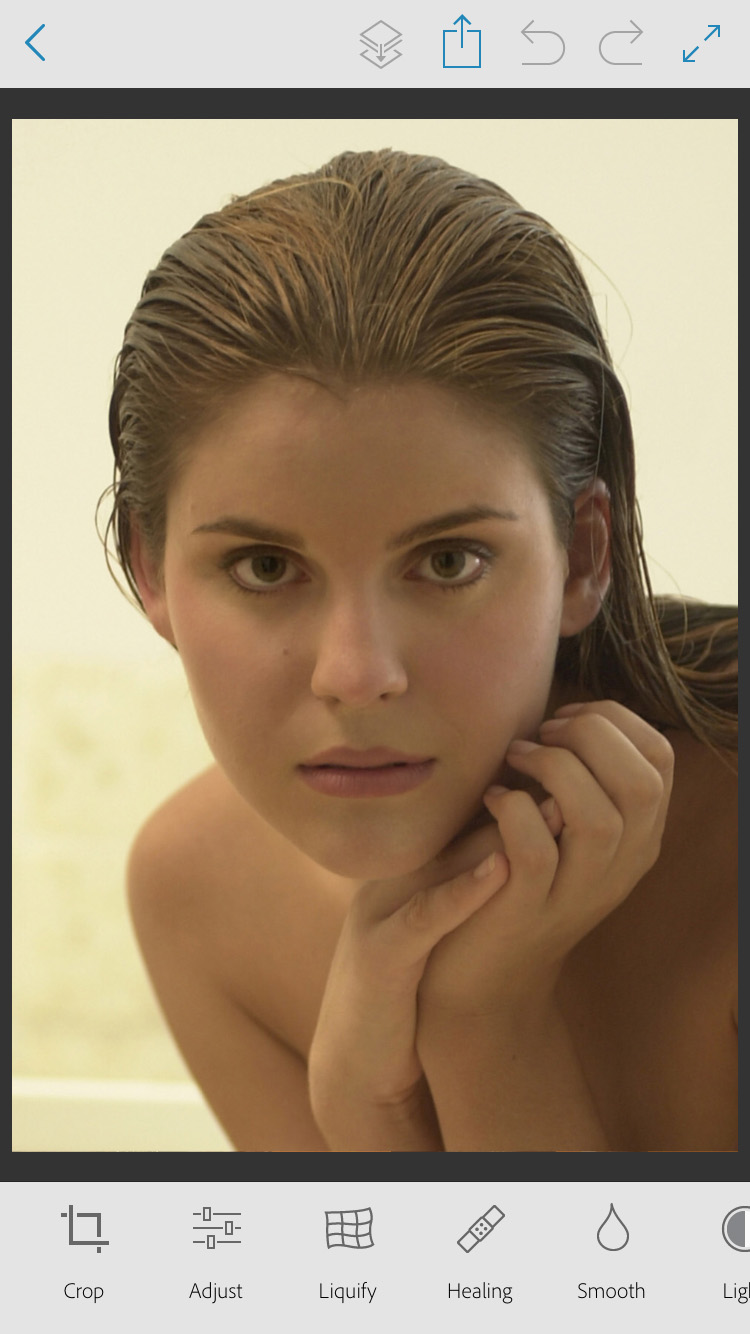
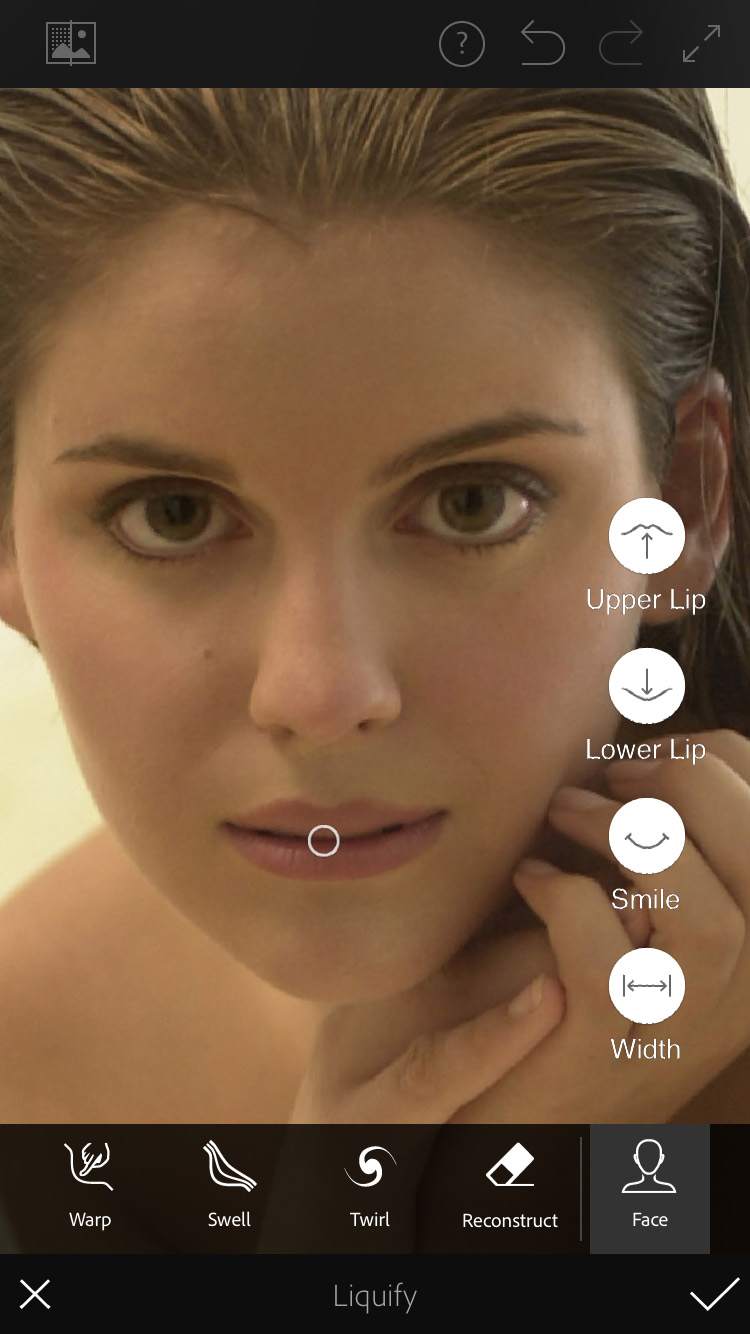
Liquify allows facial distortion – but the Face feature takes it further
Photoshop Fix’s operations are built up in layers. The most impressive feature, however, is Liquify, and using this will flatten any other adjustment layers—so it’s best to use this first. Using Liquify you can pull, push, and distort any object. If you’re working on a face, though, the app will automatically detect facial features.

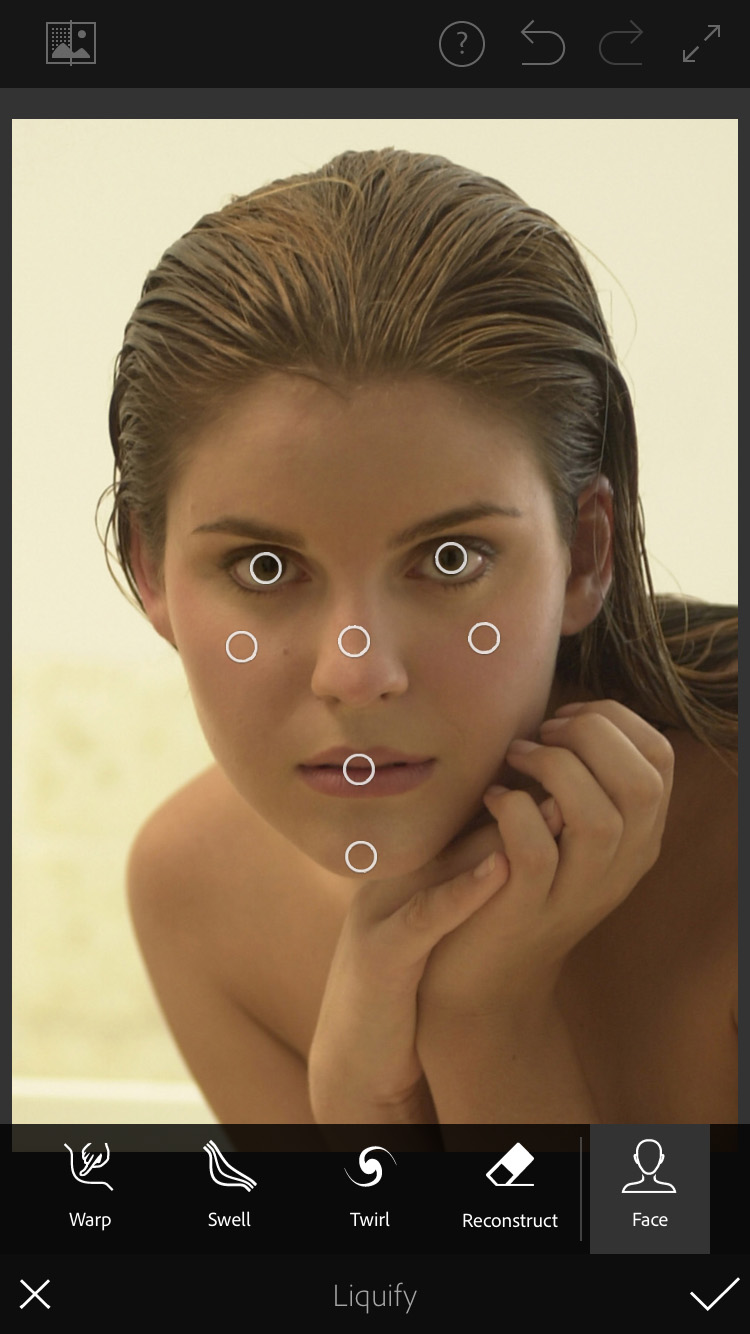
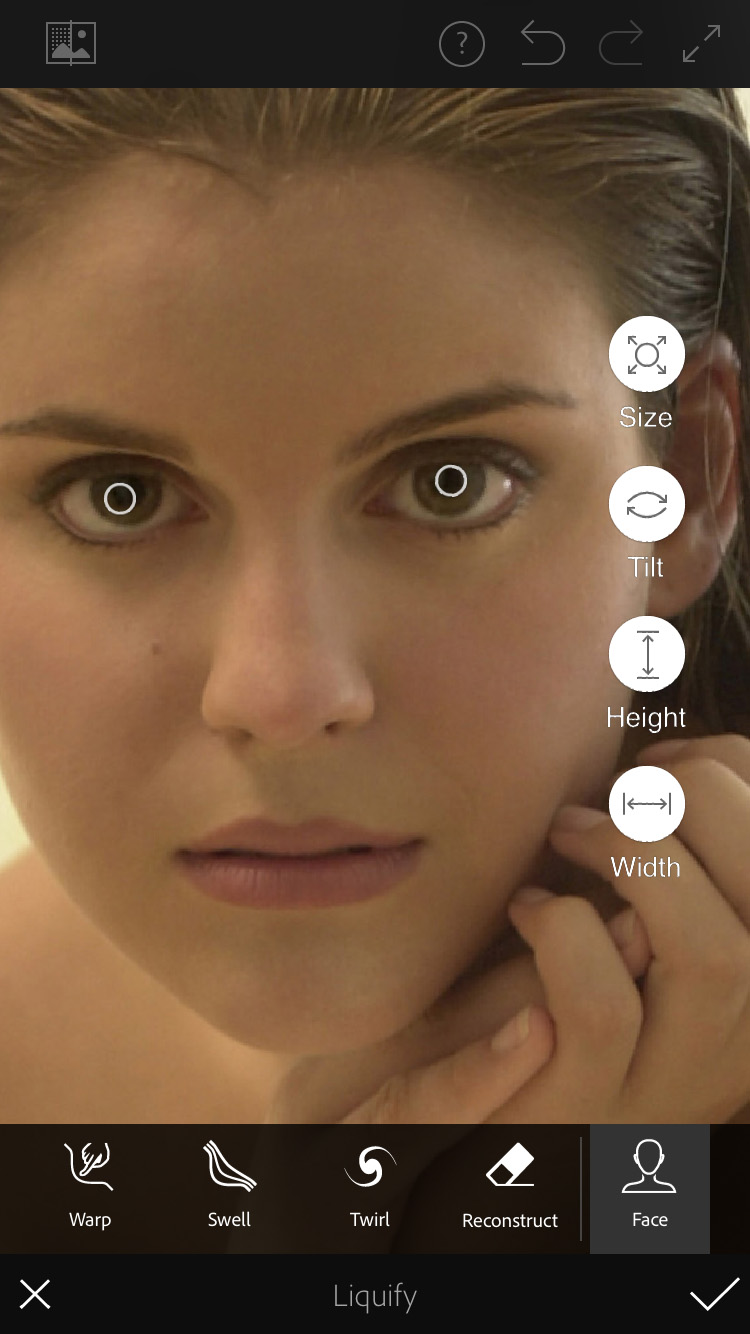
Automatic adjustment of the shape of facial features
Tap on the eyes, and four controls pop up which allow you change their size, width, height and tilt. Tap on the cheeks and you can change the shape of the face, the size of the chin, and the length of the jaw. Here, tapping on the mouth allows you to increase the thickness of the upper lip and reduce that of the lower, while also dialing in a faint smile onto the model’s mouth.
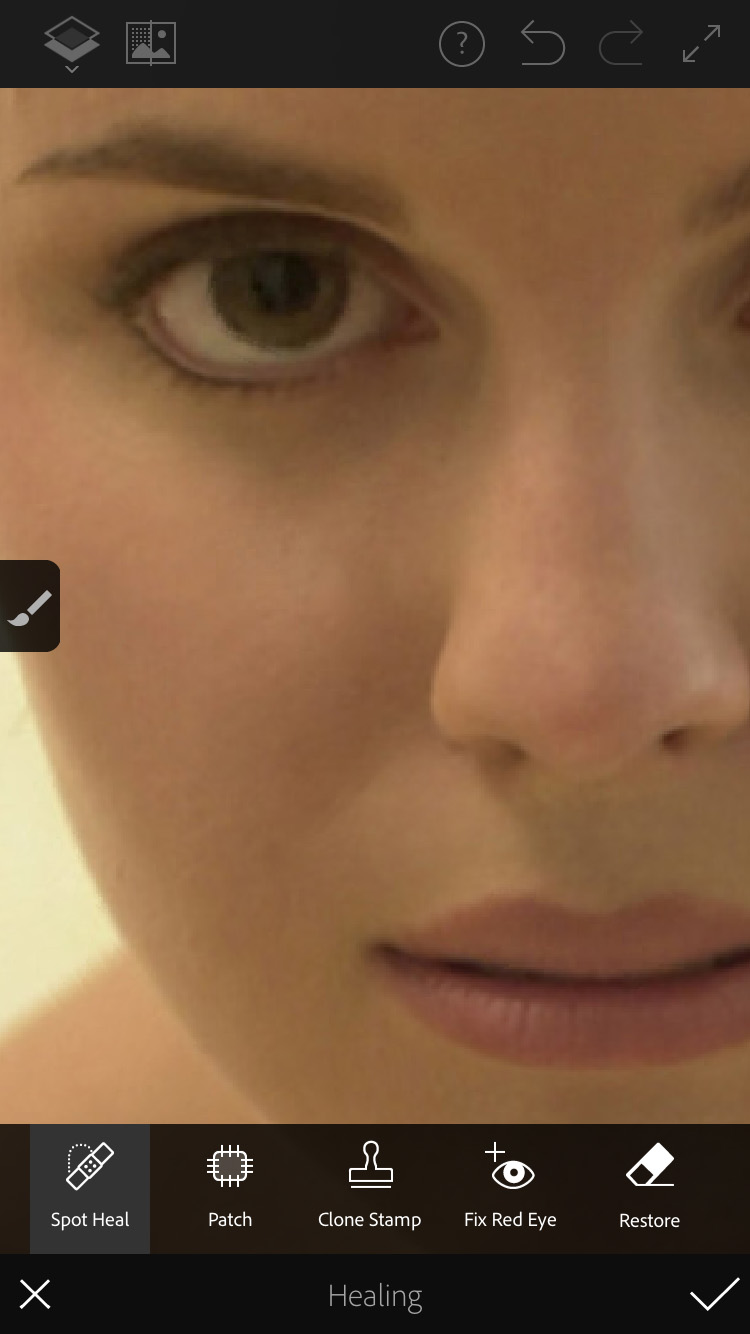
The Healing brush takes out blemishes in a snap
The Healing brush behaves just as you’d expect. Choose the size and hardness of the brush by dragging up and down on the icons, then paint over the area you want removed. In this section you can also clone parts of an image, and fix red eye.

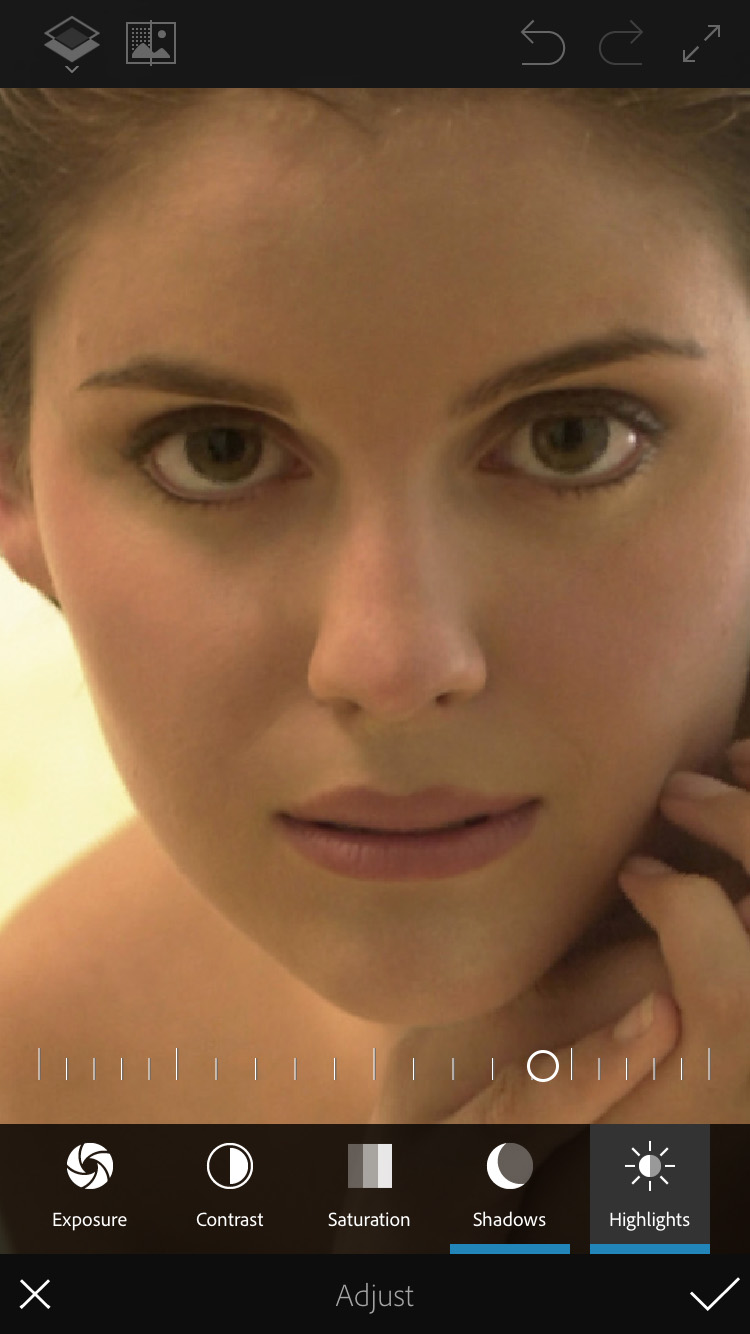
Tonal adjustments can be carried out in a variety of ways, simply by dragging the relevant sliders
The Adjust tools allow you to modify the exposure, contrast, saturation, shadows and highlights by selecting each one and dragging its slider. You can go back and forth between them, tapping the button at the top left to show the original image without adjustments, for comparison.

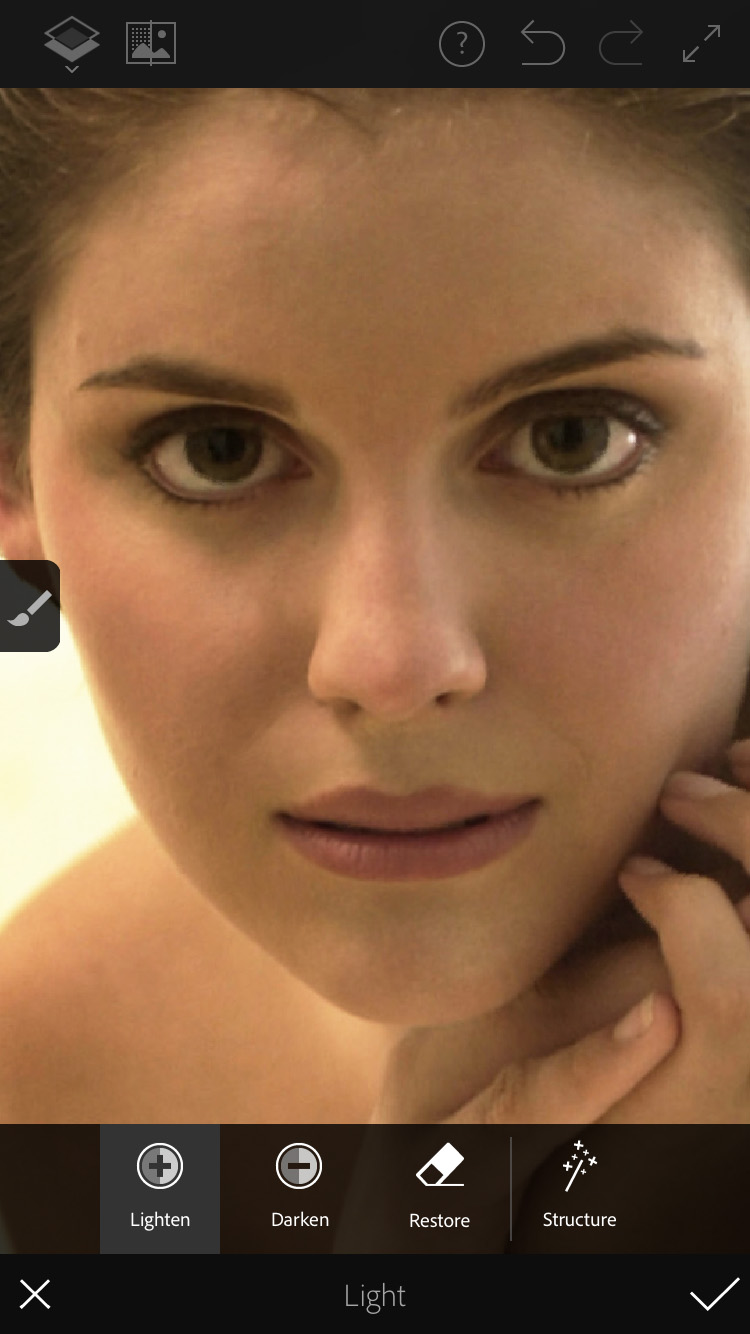
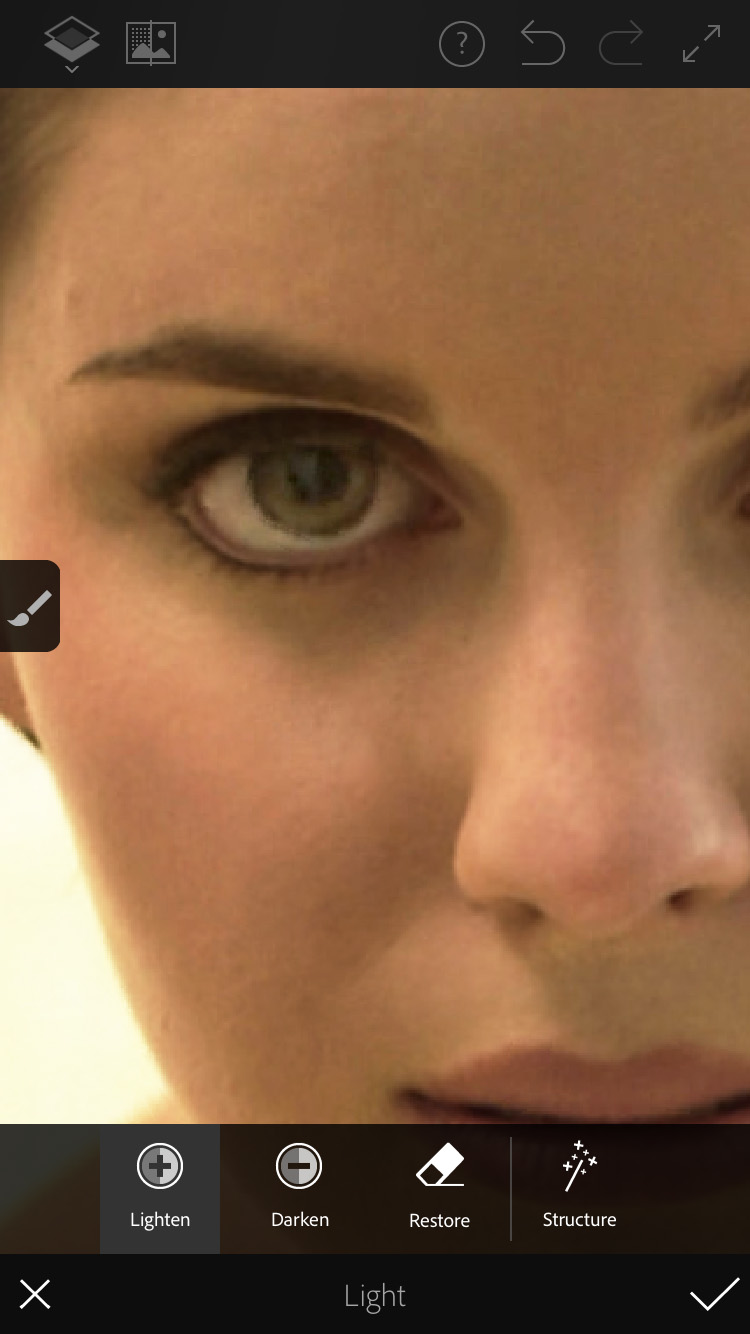
Paint adjustments directly onto the image
The Structure button provides a quick-fix enhancement that generally produces strong results. Here, it has boosted the contrast significantly. The Light tool lets you paint on light and shade selectively, rather than globally. In this case, it has been used to brighten the model’s irises.
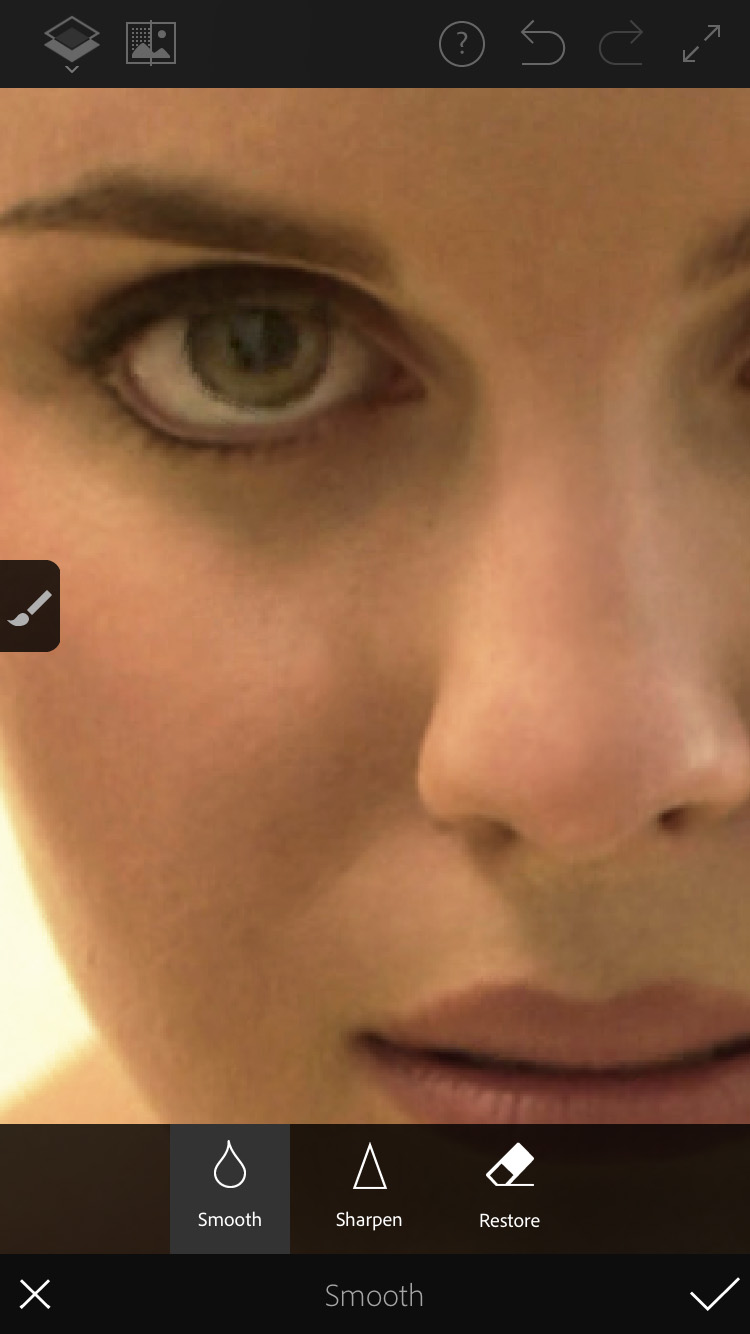
Do you want to see the painted area highlighted? It’s your choice
There’s only one Preferences option, and that sets whether or not you see the area you paint before the action takes place. Here, the green stroke shows the painted area of the nose; once you finish the stroke, the current tool (Smooth) is applied. If you choose not to display this stroke, the area will be smoothed in real time as you paint over it.

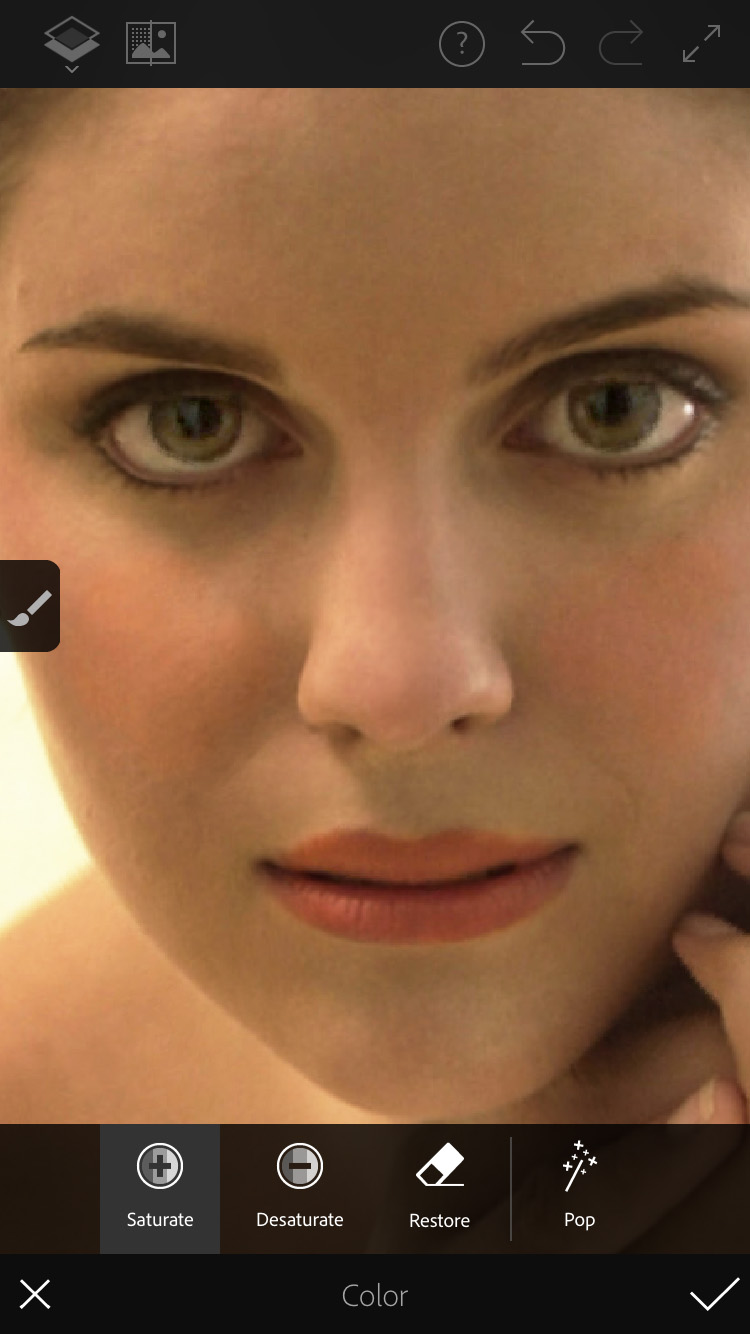
Vary the brush size and pressure to suit the job in hand
The Saturate control allows you to paint an area to increase its color strength selectively. So here, the lips have been boosted by a significant amount. To paint the blush on the cheeks, though, a lower opacity was employed in order to produce a less pronounced effect.

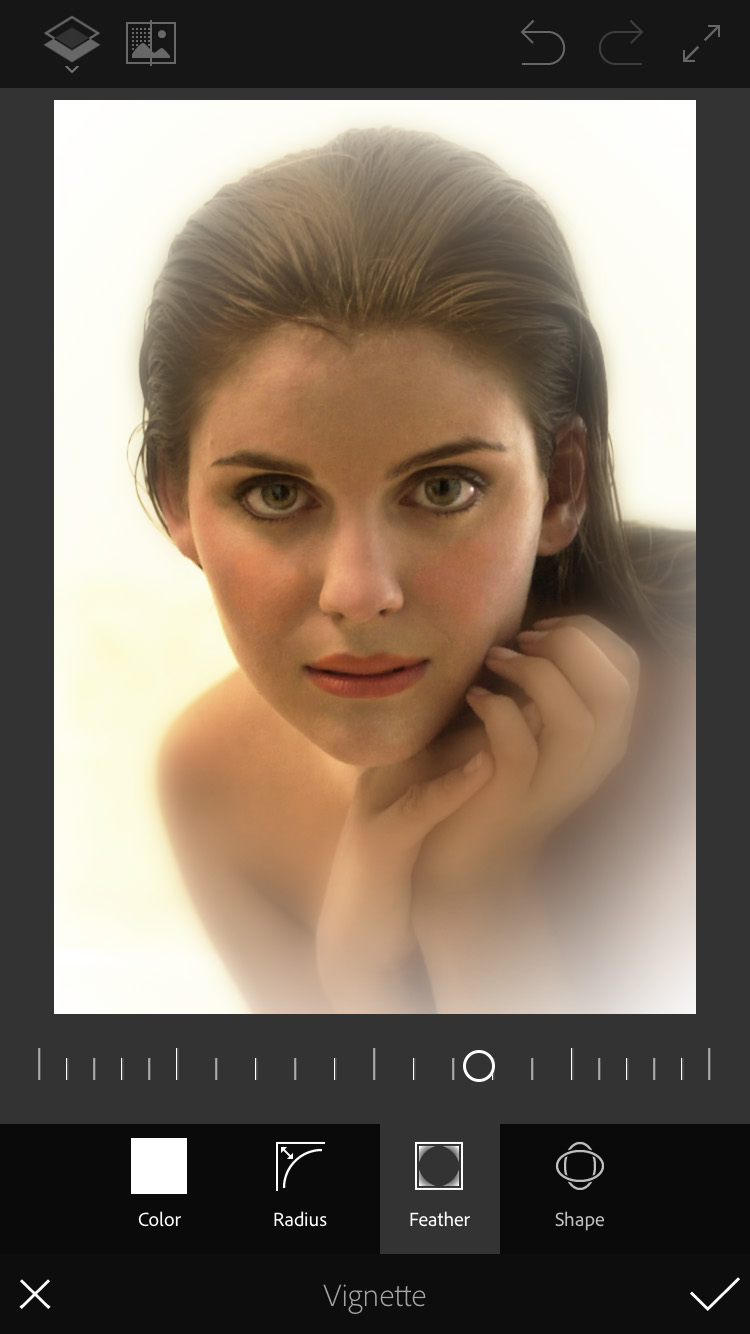
As well as adding detail, Photoshop Fix can remove it through blurring and vignetting
The Defocus tool has its own interface. You paint on an area to blur it, producing a strong depth of field effect. There are no dials or sliders: the more you paint the more out of focus it becomes. The Vignette tool offers more control, with the ability to set not only the color of the vignette but the radius of the corners, the feather amount and the shape of the ellipse.

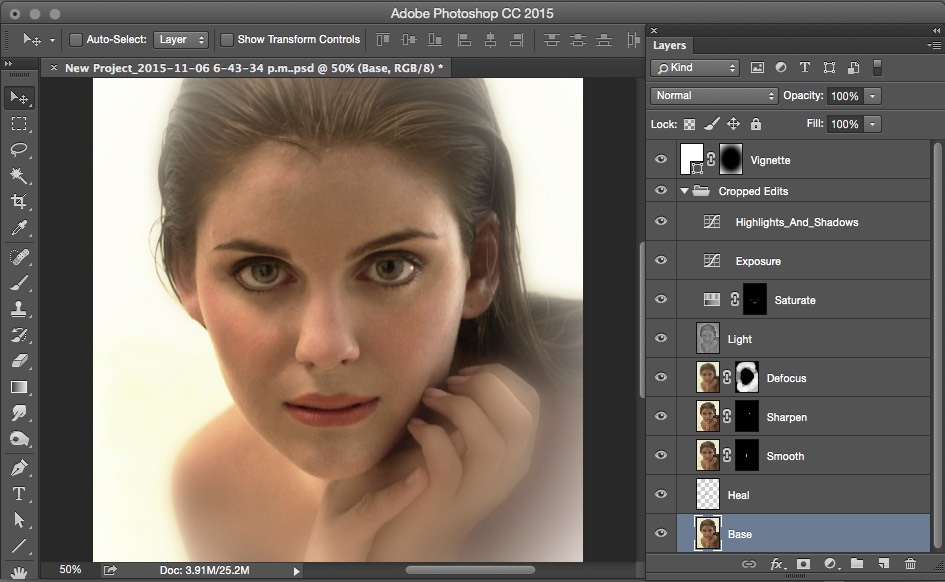
The big surprise: a Photoshop file with layers
Once you’ve completed your work in Photoshop Fix you can export it via the usual channels to Dropbox, social media, and the like. And if you have a Creative Cloud account, you can output it directly to Photoshop, where it will open in your desktop application.
Once there, it’s very gratifying to see that each adjustment appears as a separate layer, with appropriate masks to indicate the affected area. This means that you can continue to work on the image, making further adjustments and refining those you’ve already made. The only thing you won’t be able to change is the Liquify process, including changing face shape, since this is burned into the base layer.
Before and after—and all done on an iPhone!
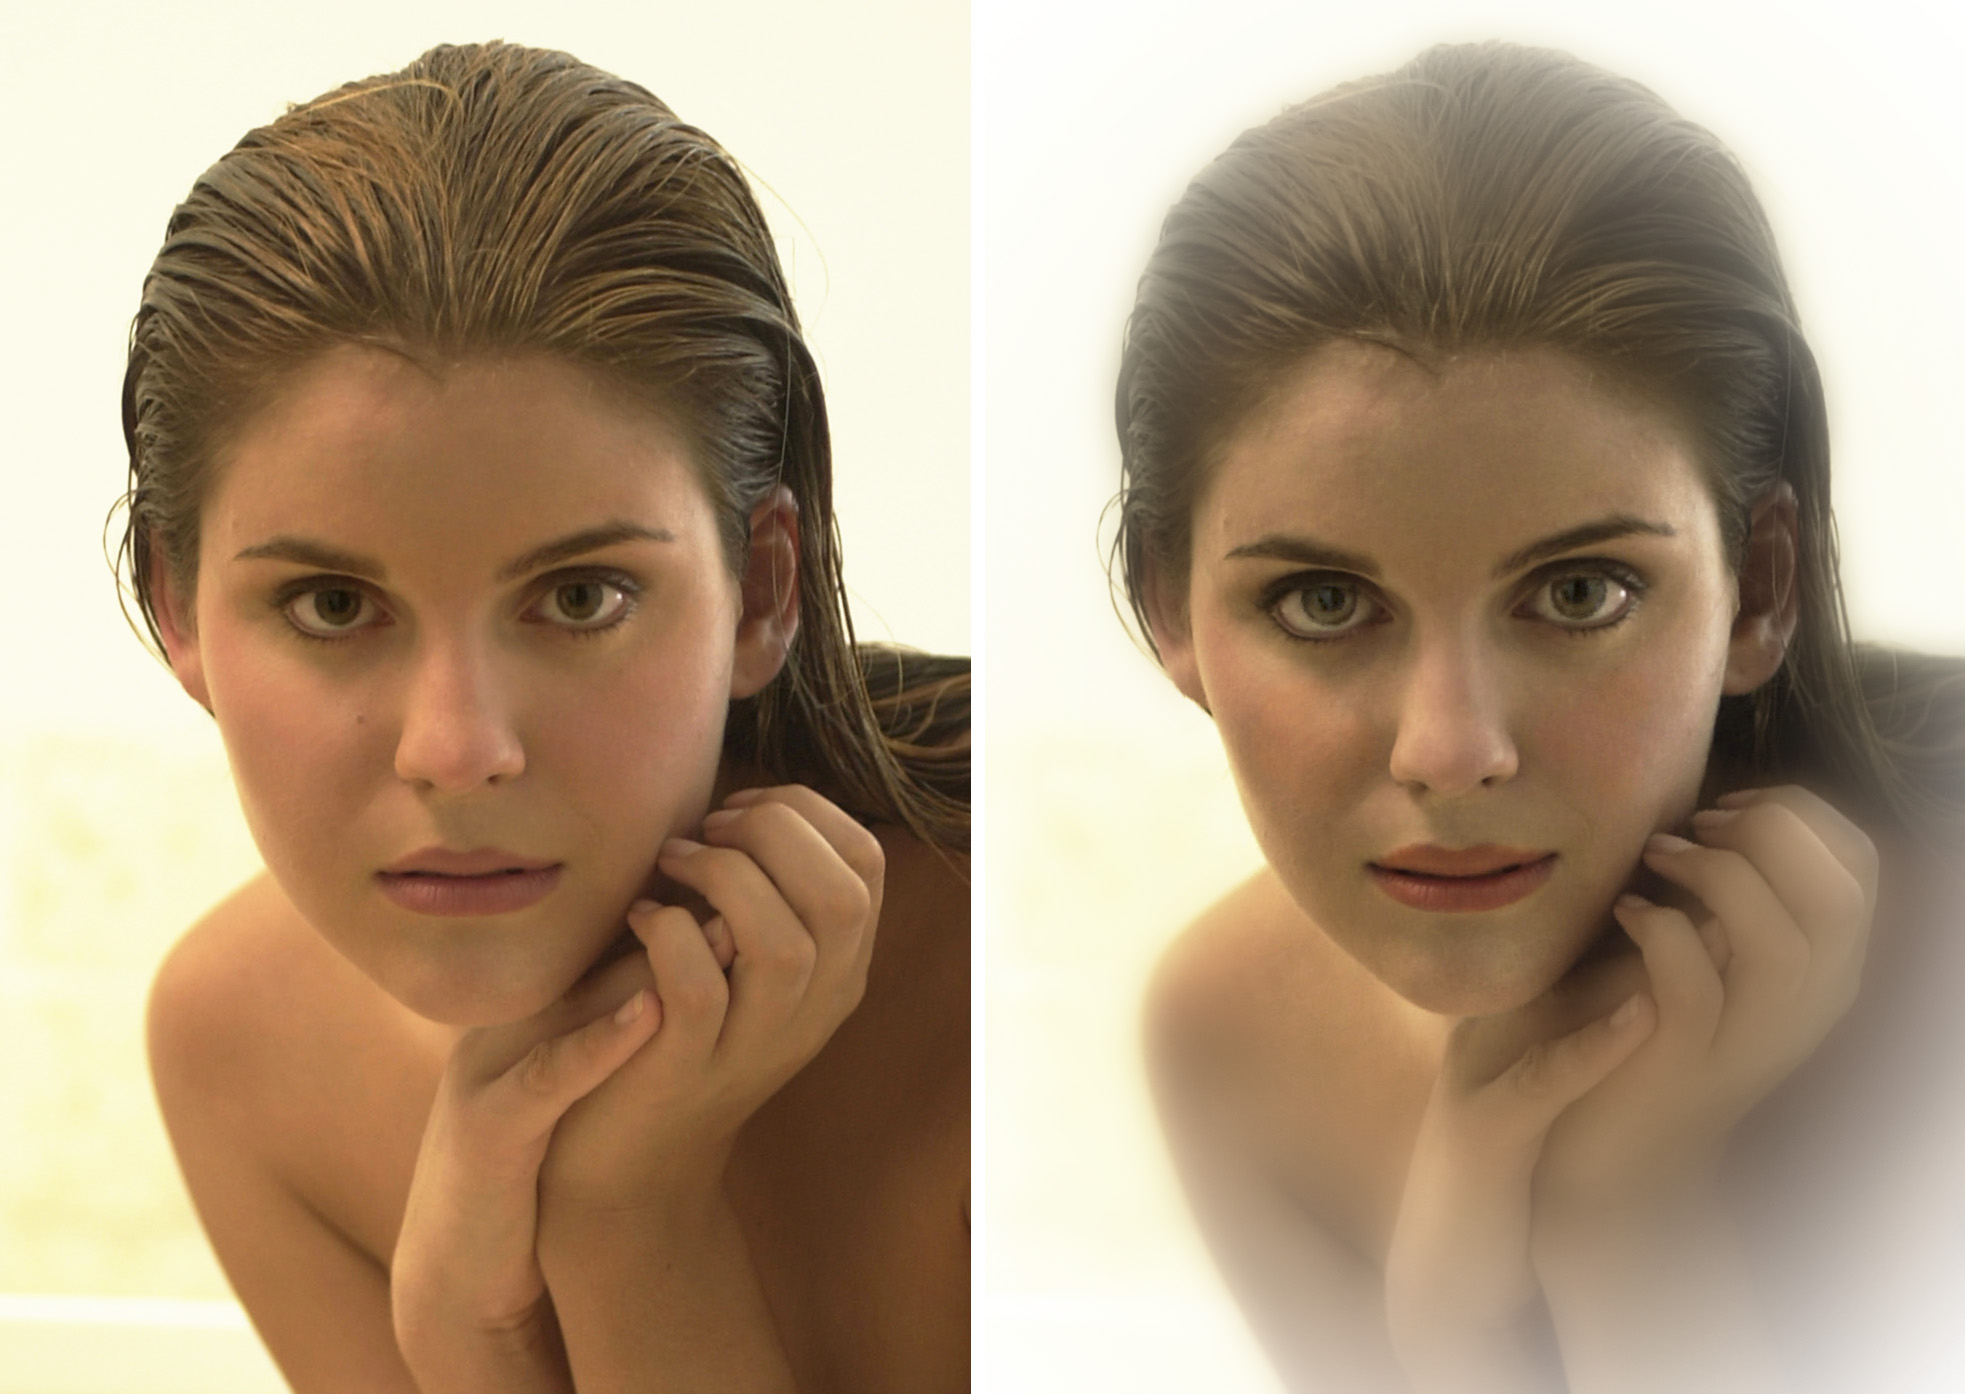
As this before-and-after view shows, it’s possible to produce significant image enhancements using nothing more than an iPhone or iPad, and keep the ability to make changes in Photoshop later.
On the downside, the app is quirky and you’ll have to put up with some odd behavior. For example, it only operates in Portrait mode. Also, some tools like the color brush make it particularly difficult to choose an appropriate tone. That said, there’s still a lot to like with Photoshop Fix. And while it may never be a serious professional tool, it’s a hugely entertaining way of tinkering with images for the designer on the move.
This article was last modified on November 16, 2015
This article was first published on November 16, 2015
Commenting is easier and faster when you're logged in!

Recommended for you

How to Clone a Row of Stormtroopers in Photoshop
Here’s how you can make your own Attack of the Clones in Photoshop, using the Cl...

How to Open Doors in Photoshop
Opening closed doors is a useful Photoshop technique, and you can use it to open...

Design How-To: Cropping Photos for Impact
Every designer at one point in time has to work with a lackluster image — a head...