

If you’ve got a message, you could just set it as text. Or you could get creative, and replace part of an image with the words you want to convey. It’s a dramatic effect, and not too difficult to complete.
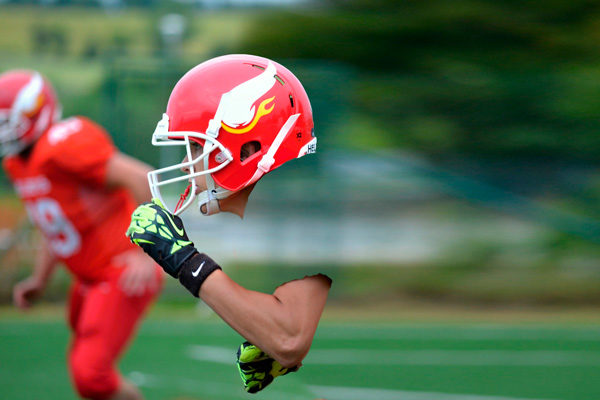
Step 1: Choose your picture
It’s important to choose an image with a large, single area that you’ll replace – in this case, the football player’s shirt. You couldn’t replace an entire object such as a horse, because you’d be unable to fit the words in the legs.

Step 2: Cut out the background
Because the words will replace the shirt, you need to cut it out from the image. And in order to patch it successfully, you’ll need to cut out more than just the shirt. The best solution is to select the whole football player and make a new layer from him.

Step 3: Cut out the shirt
Now you need to separate the shirt from the rest of the image. Don’t delete it, but cut it to a new layer so you can use it to overlay the text on later.

Step 4: Patch the background
The easiest way to patch the background is to select a clear portion to the right, and make a new layer from it. Then stretch it to fill the gap, and use a Layer Mask to paint out the edges so it blends seamlessly with the original. This is much easier if the background is out of focus, as this one is.
Step 5: Add your text
Reveal the shirt once more, and set your text over the top. This is the trickiest part of the whole process. Make each word a separate text block, and scale the words using Free Transform so that they overlap the edges of the shirt.

Step 6: Group and make a layer mask
To make it easier to preview the effect, select all your text layers and make a new group from them. Then select the pixels on the shirt layer by holding Command/Ctrl and clicking on its thumbnail in the Layers Panel. On the text group, choose Layer > Layer Mask > Reveal Selection. Now the text group will be limited to just the shirt area.

Step 7: Text to selection
To make a selection from all the text, duplicate the text group and use Command E/Ctrl E to merge the group into a single layer. Hold Command/Ctrl and click its thumbnail to load the new layer as a selection.

Step 8: Convert the shirt to text
Switch to the cutout shirt layer, and use Command J/Ctrl J to make a new layer from the existing text selection. Then hide the original shirt layer, and you’ll be left with just the texture words. If you find logos and so on interrupting the text, edit the cutout shirt layer first to remove these.

Step 9: Add a shadow
This is an optional step, and it depends on the image background. In this case, adding a shadow with Layer Styles helps to lift the text from the background.
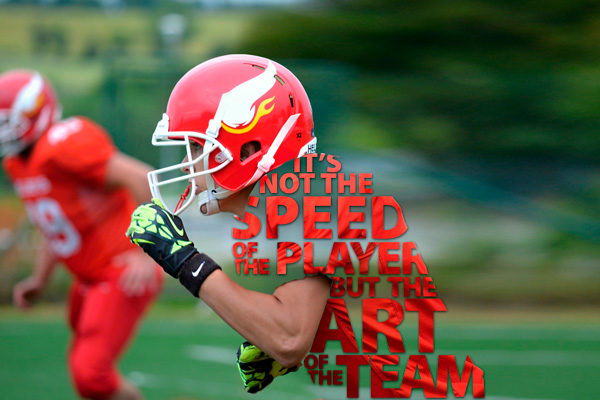
Step 10: Brighten the text layer
It’s likely that your new textured text layer will in places be too dark to read easily. Here, I’ve used the Curves dialog to brighten it, making it stand out more clearly from the background.

This article was last modified on July 2, 2018
This article was first published on July 2, 2018
Commenting is easier and faster when you're logged in!

Recommended for you

Photoshop CC 2018 New Features
The 2018 release of Photoshop CC brings a range of new features, tools and worki...
Heavy Metal Madness: We've Come a Long Way, Maybe
Sometimes when I most doubt the existence of God, I have to remind myself that f...

Adobe Releases Free Photoshop Extension for Blending Colors
Adobe has released a new free extension for Photoshop CS6 that provides two new...