


Create a New InDesign Document
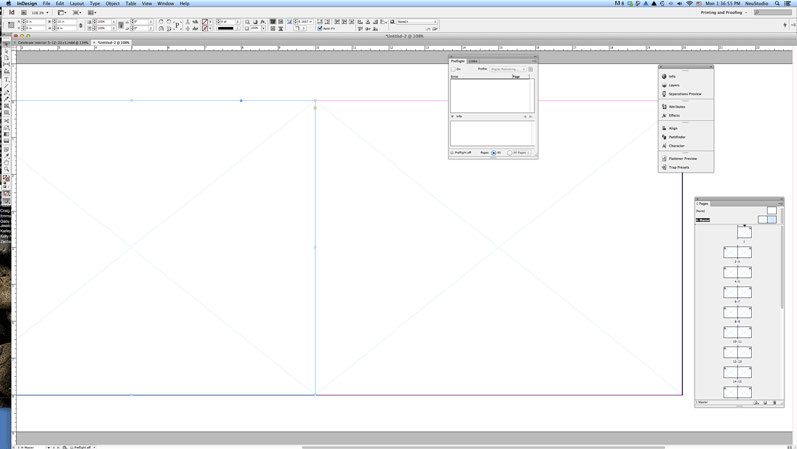
Make a new InDesign print document, with the dimensions of your book, the number of pages in your book, facing pages, 1 column, no margins, no bleed or slug.
On the document’s master pages, make an image frame on left-hand page the exact size of the page (from page edge to page edge, side to side and top to bottom), and select the Auto-Fit option in the Control panel.

Do the same on the right-hand page.
Get Out the Big Guns: Place All the Scanned Images
To shoot the images into your prepared file, use the image place gun. Have both the Bridge window with your scans and InDesign window with your new document open. The InDesign document should be open to the first page. In Bridge, be sure the page scans are in the order they should appear in the book.
Select all (Command+a/Ctrl+a) images. Click on any image and begin to drag it into the InDesign document. You should see a ghosted stack of images loaded into your cursor.

Click in the image box on the first page to drop the first picture into it, click in the image box in the second page to deposit the second image into that box, and so on, to place all your photos.
If you accidentally drop a photo into the wrong frame, just Undo to put the image back into your loaded cursor, and then click the correct frame. Even if you don’t notice your mistake right away, it’s not that hard to fix because you can always re-order the pages in the InDesign document later on.
Now we can address the paste-down page with the photo background. In this book, the title and byline are off center when the page scan is placed. A compromise is in order. We chose to enlarge the image in InDesign and recrop it. That seemed less jarring than allowing the headline to be off center.

 <
/p>
<
/p>
Save with the End in Mind
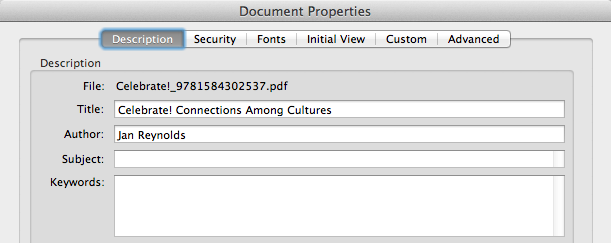
Select Export from the File menu, and choose Format: Adobe PDF in the pop up menu at the bottom of the screen. Depending on the requirements for your project, you might choose a Print PDF or an Interactive PDF. For this project, I used settings the vendor specified: (Print PDF, 275 dpi, all fonts included, subset below 100%, sRGB color space). And it’s always a good idea to use a naming convention to help you easily organize and locate your files. We name the file with the book title, using underscores instead of spaces, and the ISBN number with no dashes. So this PDF was named Celebrate!_9781584302537
Add Metadata
Open the PDF in Adobe Acrobat, and add any necessary metadata by choosing File > Properties (Command+d/Ctrl+d). You should consider at least adding the book title and author, so that people can search on those terms and locate the PDF.
And you’re done! In terms of quality, a PDF made from the scans of book usually can’t compete with one made from the original production files. But it can suffice for many uses, and it sure beats the alternatives of having nothing at all or re-creating an entire book from scratch.
This article was last modified on June 30, 2023
This article was first published on September 23, 2013
Commenting is easier and faster when you're logged in!

Recommended for you
Industry Measure Releases 2007 Publishing Industry Forecast
The Industry Measure today released its special report, “Publishing Foreca...

How to Turn Off Features You Don’t Want to Use in PowerPoint
The first step to making the PowerPoint UI a better place to work is to adjust s...

Live Paint in Illustrator
Illustrator’s Live Paint feature transforms the work of coloring graphics into p...