

If you’re a designer, you’d be forgiven if you responded to Adobe’s announcement of the new Lightroom CC desktop application with a shrug. Maybe photo processing happens upstream from you, or perhaps you already know Photoshop inside and out and don’t think you need Lightroom.
Even so, I think there’s a case to be made for Lightroom CC—the new, cloud-based tool, not the legacy Lightroom Classic CC—as an easy, frictionless asset manager and editor for individuals or small teams of designers.
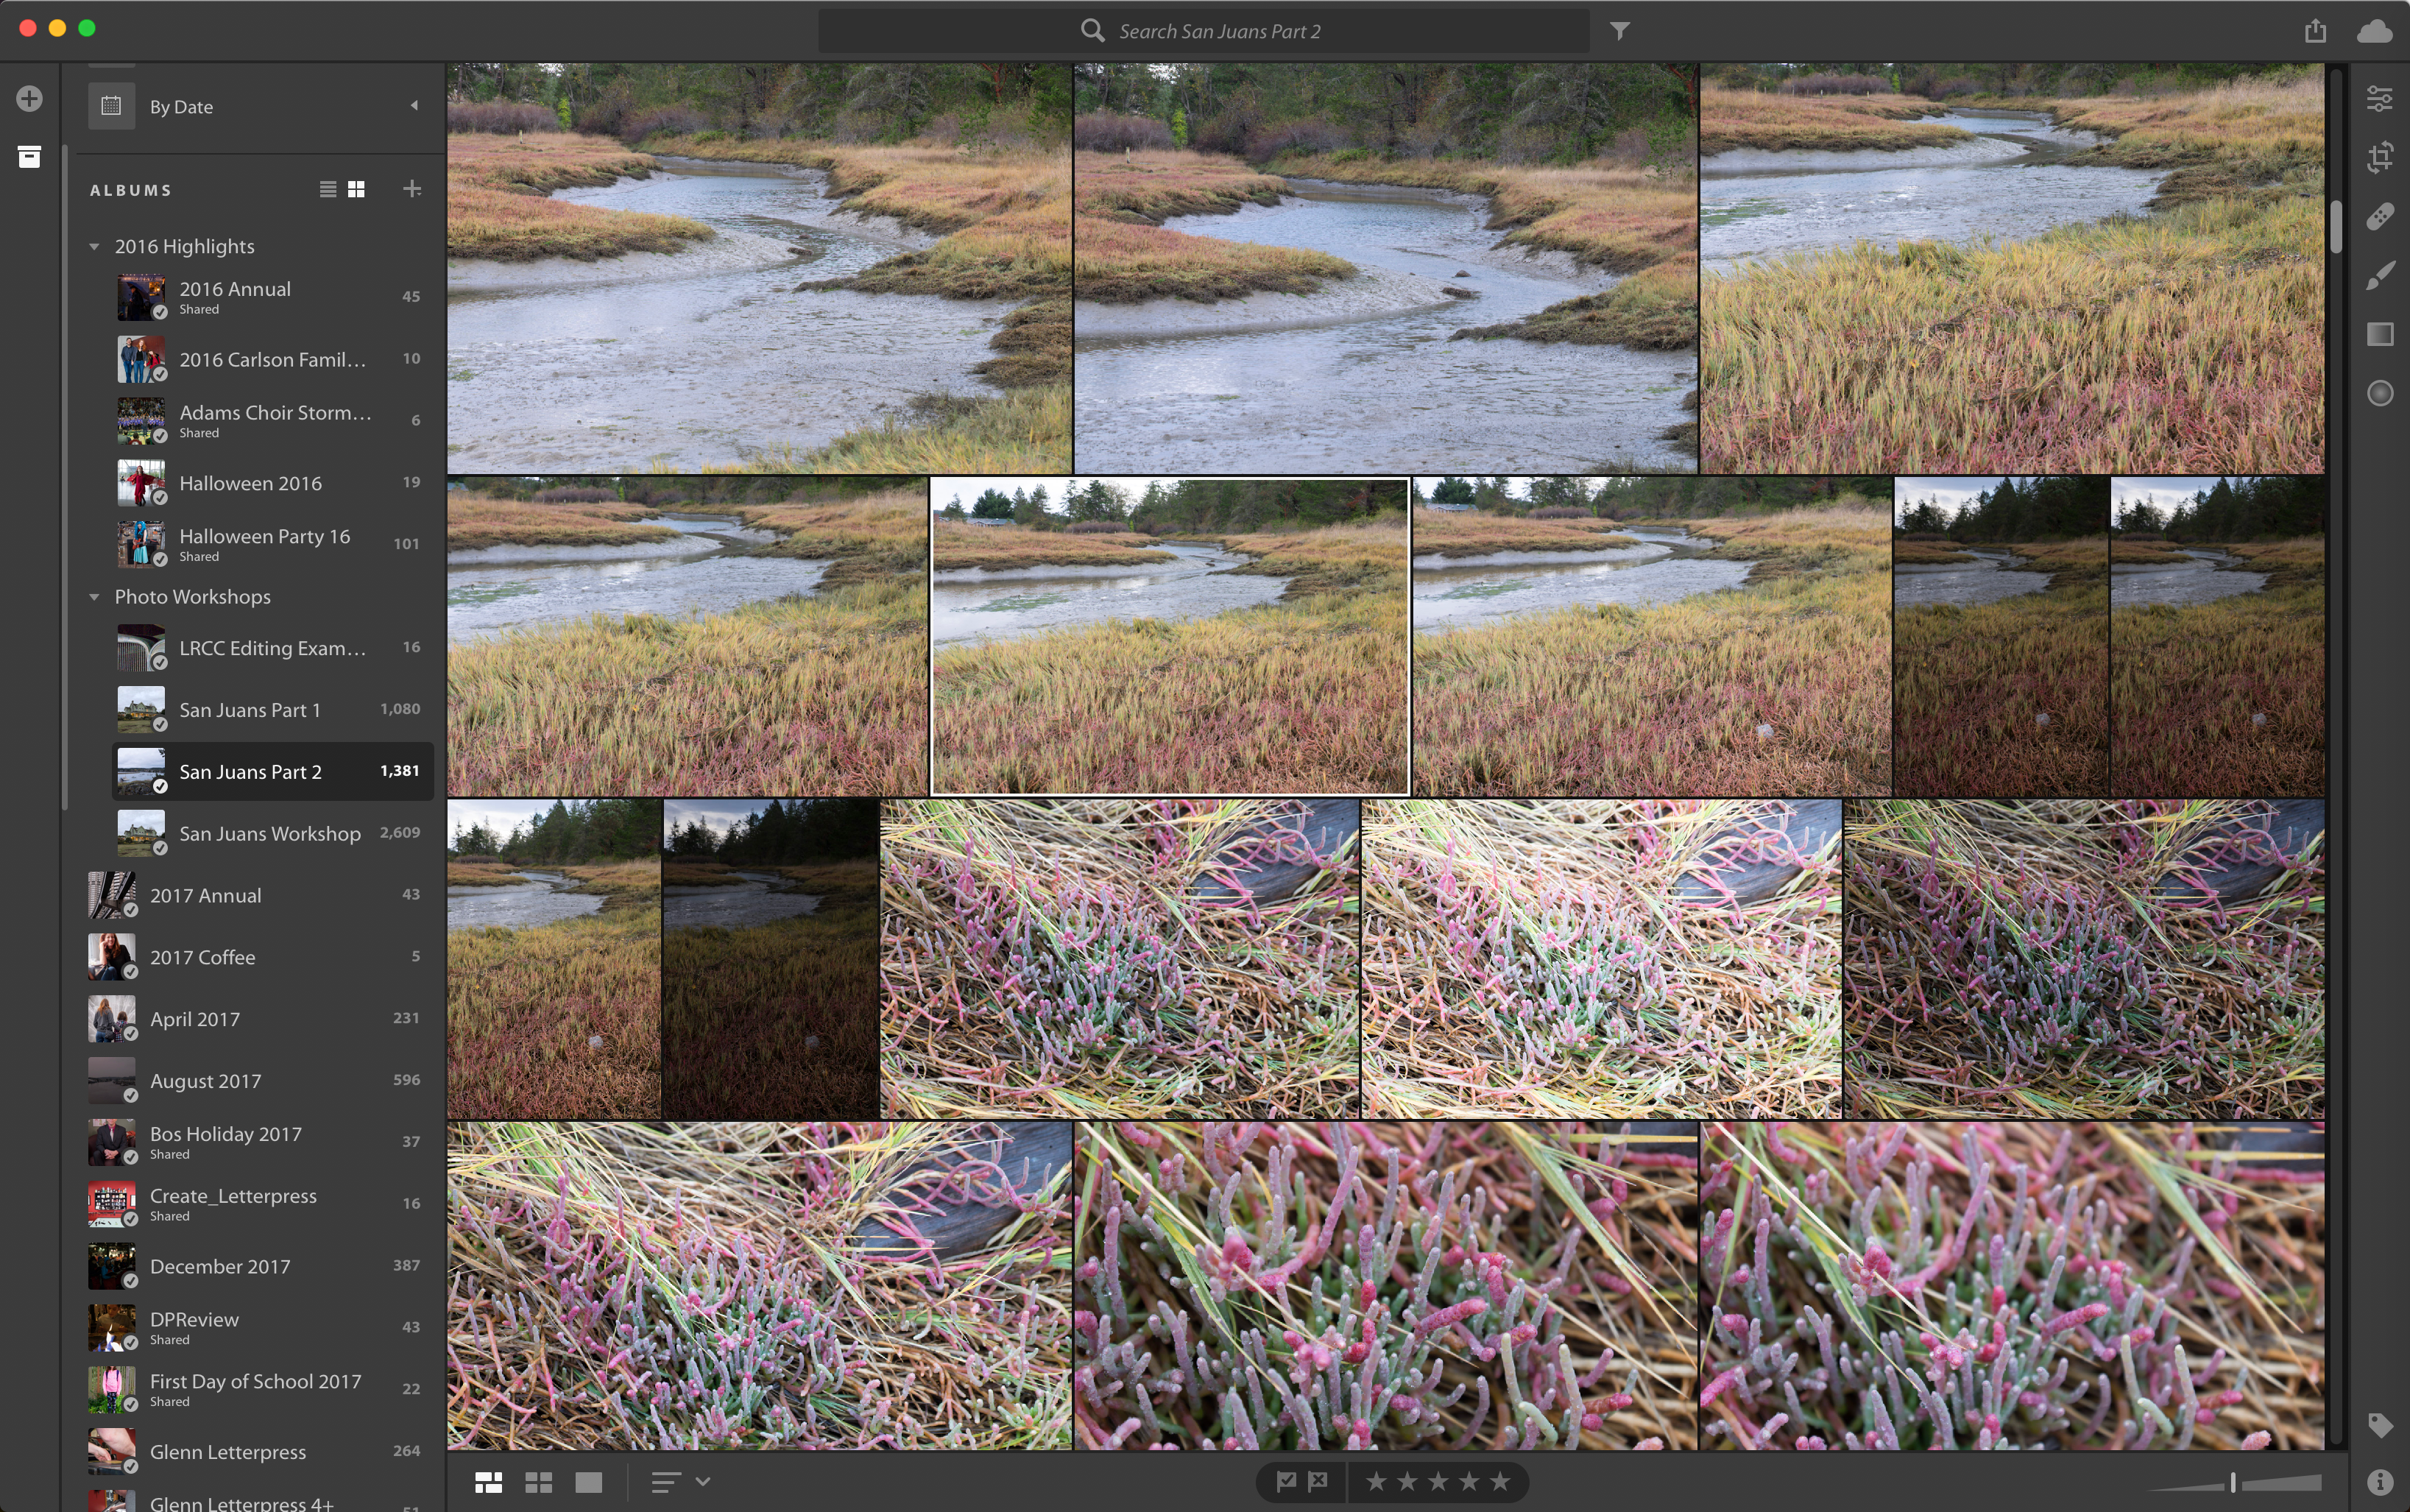
Raining Photos
Lightroom CC takes a left-brain/right-brain approach to photography. On one hemisphere, it’s a creative editor, with tools for adjusting and improving photos. On the other, it’s an efficient organizer that keeps track of an entire photo library and stores a copy of every image in Creative Cloud.
The cloud portion serves dual purposes: as an off-site backup of your photos (always a good idea), and as a way to share any of the images to other devices such as tablets, phones, and, for our purposes, other computers and applications.
That last part is key. If you use a file-based system to store images on an external hard disk, you may have assets stored on different disks, some of which may not be remotely accessible. By having all of the originals that you import into Lightroom CC stored on Creative Cloud, those photos are always available (as long as you have an Internet connection).
You may already do something like this with Lightroom Classic CC, but there are a couple of important differences between the Lightroom versions. In Classic, you need to specify which collections (albums) are synced to Creative Cloud. Even then, Classic doesn’t upload the originals; it sends lower-resolution Smart Previews to the cloud instead. That’s not ideal when you need high-resolution versions to incorporate into designs.
Adding them to Photoshop projects is even easier with Lightroom and Photoshop CC 2018. When you open Photoshop now, the Start workspace that appears gives you the option to view “LR Photos,” in addition to recent and Creative Cloud library files. Browse your albums or click the See More link next to Recently Taken to view your entire library in reverse chronological order.

Photo Editing for Non-Photographers
Lightroom Classic CC is a professional tool, and can be intimidating for folks who aren’t so focused on photo editing. Quite simply, it has a lot of components: the Library module for organizing photos, the separate Develop module for editing, separate other modules for creating books, slideshows, and prints, and panels—lots of panels. For experienced Lightroom editors, it means nearly everything is at hand. For designers who don’t use it much, it can be overwhelming.
Lightroom CC, by contrast, is deliberately streamlined. By default, panels appear one at a time. So when you’re viewing albums or photos listed by date, the My Photos panel slides open from the left. Viewing information about an image in the Info panel closes My Photos and opens the Info panel on the right.
Most of the adjustment controls appear in the Edit panel, which also appears on the right side, hiding the Info panel. (You can opt to view left- and right-side panels simultaneously in the application’s settings, if you prefer.) I know it sounds like window dressing, but it feels more like being in a room that’s been freshly de-cluttered.

Let me also pause to praise the Auto button. Among many photographers, the Auto button in Lightroom has been regarded with the same affection as the “P” (Program) setting on most cameras (“P is for Professional!”): it could do a fair job of giving you a balanced exposure, but the results can often be middling. Well, as of version 1.1, Lightroom CC (and Lightroom Classic CC 7.1), the Auto button uses Adobe Sensei technology to evaluate and correct an image.
Sensei is Adobe’s neural network that synthesizes image edits from hundreds of thousands of photos to come up with better results than the previous incarnation of the Auto feature. (Sensei is also responsible for identifying objects and scenes in photos, so you can search for “car” and view all photos containing automobiles, even if you never tagged them as such using keywords.) And Auto works pretty darn well. If you’re a designer who needs to speed-edit a bunch of photos, Auto will get you 90 percent there. At the very least, it’s a good first crack that you can build upon using the adjustment controls.
Underneath, Lightroom CC uses the same non-destructive imaging engine shared by Adobe Camera Raw and Lightroom Classic CC, and the high-quality underpinnings of Photoshop.
Thunder Overhead
This approach won’t work for everyone, I’ll admit, and there are a few dark clouds to keep in mind.
- Lightroom CC isn’t yet supported under Creative Cloud for Teams or Enterprise. That limits what you can do if your studio already has a Teams or Enterprise license. Adobe’s only comment on this front is to note that support is coming, but it has offered no other specifics.
- For individuals, you can use Lightroom CC on just two computers at a time. That makes it more difficult for teams to share resources. One option is to store the photos in Lightroom CC using an Adobe ID that everyone has access to, and access and download images using Lightroom on the Web at lightroom.adobe.com.
- Although you can open Lightroom images from within Photoshop, editing them doesn’t round-trip the edits back to Lightroom. When you start in Lightroom CC or Classic CC and edit a photo in Photoshop, the adjustments you make are saved to a new version of the image and stored with its original when you save the file. However, when you start in Photoshop—by opening the image via the Start workspace—saving the file prompts you to specify a location for the new version, and doesn’t include that in the Lightroom library.
- For some reason, the Start workspace appears only when nothing else is open; you can’t manually make it appear. So, if you want to go back to the Lightroom well for another image, you need to do it by starting in Lightroom CC and choosing to edit the photo in Photoshop.
The Right Tool for the Job
It would be great to know everything about every Adobe product, but if you’re a designer juggling lots of projects, you may not have time to do a deep dive into the depths of Lightroom Classic CC. The straightforward approach of the new Lightroom CC, especially in terms of having all your photos accessible via Creative Cloud, can be the complementary tool that saves time and makes working with photos in your projects easier.
Special Deal
For a limited time, order Jeff Carlson’s ebook Take Control of Lightroom CC for 25 percent off any order—that also includes any Take Control book—using the coupon code CPN60234137CPRO. Or, simply order the book directly and get the discount. This offer is good through the end of February, 2018.
This article was last modified on June 13, 2025
This article was first published on December 27, 2017
Commenting is easier and faster when you're logged in!

Recommended for you

CreativePro Video: Illustrator View Tips
Learn the different ways you can view an Illustrator document to speed up your w...

InDesign Magazine Issue 81: Publish Online
We’re happy to announce that InDesign Magazine Issue 81 (January, 2016) is now a...

Modeling a 3D Bracelet with Photoshop
Photoshop’s 3D modelling environment has matured to the stage that with CS6 Exte...