

This article appears in Issue 93 of InDesign Magazine.
Q: At my work we use InDesign’s track changes feature quite often. Is there any way that I can export a PDF with the tracked changes visible?
A: This is one of those funny ones where I could just say “no” and I’d be kind of correct, but that’s not what you want to hear. Allow me to explain.
You can’t do this from InDesign, but that doesn’t mean you can’t do it. The answer lies in InDesign’s little sister, InCopy. If you’re not familiar with InCopy, you should be. What is it? In a nutshell, it’s an editorial application for managing InDesign content.
The important thing to remember here is that InCopy is included with your full Creative Cloud subscription, so there’s nothing more to buy or subscribe to. If you subscribe to InDesign only, InCopy would be an additional $5/month.
Since this method will only work with InCopy content, you’ll need to export the text for use in InCopy. The easiest way to do this is, in InDesign, choose Edit > InCopy > Export All Stories. I recommend you create new folder at this point to hold the InCopy content since every individual story in your document will be exported as a separate file. Don’t worry about the names for the files—they’re irrelevant for this project, and you’re going to discard them when you’re done, anyway.
If you have frame edges shown in your layout, you’ll notice a new adornment in the upper left corner of the text frames (Figure 1).

Figure 1: This text frame adornment indicates a story has been exported to InCopy.
Save the InDesign file, and launch InCopy. Open the InDesign file using the File >
Open command.
If all you see is text, InCopy has opened the file in either Galley or Story view. If you’ve opened to the Layout view, you’ll notice that the file looks exactly like it does in InDesign. In either event, you’re good to go.
Exporting PDFs from InCopy is the same as from InDesign, but you’ll have more editorial options in InCopy. After choosing the File > Export > Adobe PDF (print) command, the PDF Export dialog box will appear (Figure 2).
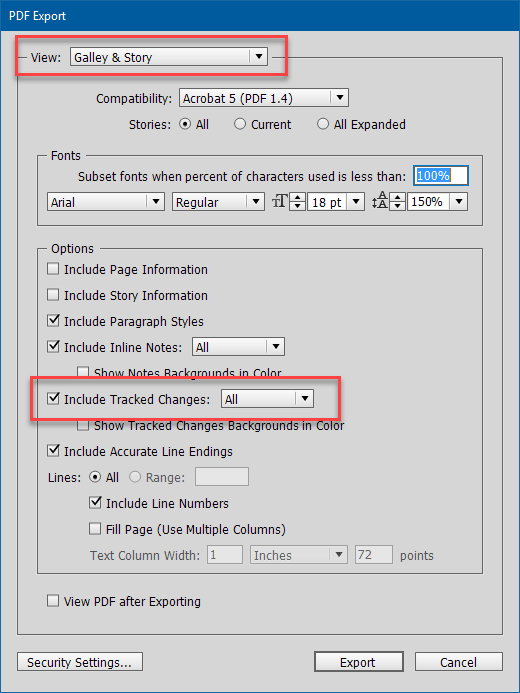
Figure 2: Select the option to Include Tracked Changes in InCopy’s PDF export dialog box.
Because Track Changes is not available in Layout view, you’ll need to choose Galley & Story from the View drop-down menu. The default for this is based on your current view of the document. If you’re viewing the layout, then Layout will be chosen. In Figure 3 you see, side by side, the InCopy Galley view along with the PDF.
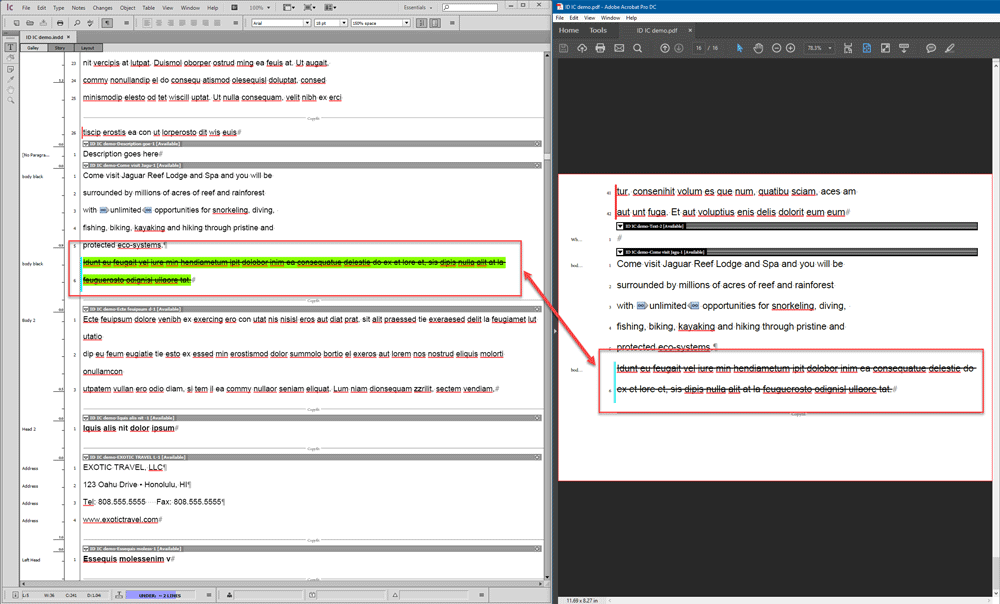
Figure 3: A tracked change in InCopy’s Galley view and an exported PDF.
Once you’re done, you’ll want to delete the InCopy links (if you don’t, you’ll need to use the InCopy check in/check out workflow). Close the file in InCopy, go back to InDesign, and, if it isn’t already available, open the Assignments panel (Window > Editorial > Assignments), and expand the selections until you see a list of links under Unassigned InCopy Content (Figure 4).
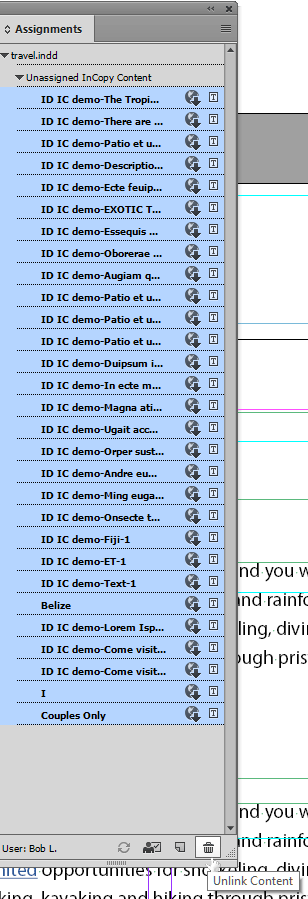
Figure 4: Once you unlink the stories that you exported to InCopy, the content will be stored in your InDesign file and the (potentially) long list of links will disappear from the Assignments panel.
Select them all, and click the Unlink Content button. This will unlink the content from InCopy. The InCopy adornment on the frames will disappear.
Opening the file in InCopy adds useful options to PDF export. But track changes isn’t the only one. Read on for another one of my favorites.
Q: We often use PDF reviews and would love to be able to add PDF comments without having to open the PDF and add them after the fact. Is there a way to do this from InDesign?
A: I knew you’d keep reading, and of course, the answer is yes… with a combination of InDesign and InCopy. The secret is in the Notes feature, which can be accessed by opening the Notes panel in InDesign (Window > Editorial > Notes) and InCopy (Window > Notes).
What exactly are notes? They are additional pieces of text that can be added to your document but are not part of the document text. Notes must be added into an existing text frame—insert your cursor into a text frame, and then choose New Note from the Notes panel (Figure 5).
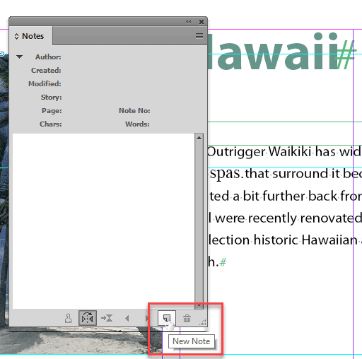
Figure 5: You can create new notes and review all existing notes in the Notes panel.
Alternatively, you can use the Type > Notes > New Note command.
With either method, enter your note into the Notes panel.
Figure 6 shows how a note appears in the layout in both InCopy (left) and InDesign (right).

Figure 6: It’s subtle, but it’s there: You can always find your note in the text flow.
Notice that there’s small symbol in the text flow to show where the note is.
Figure 7 shows what it looks like in InCopy’s Galley view.
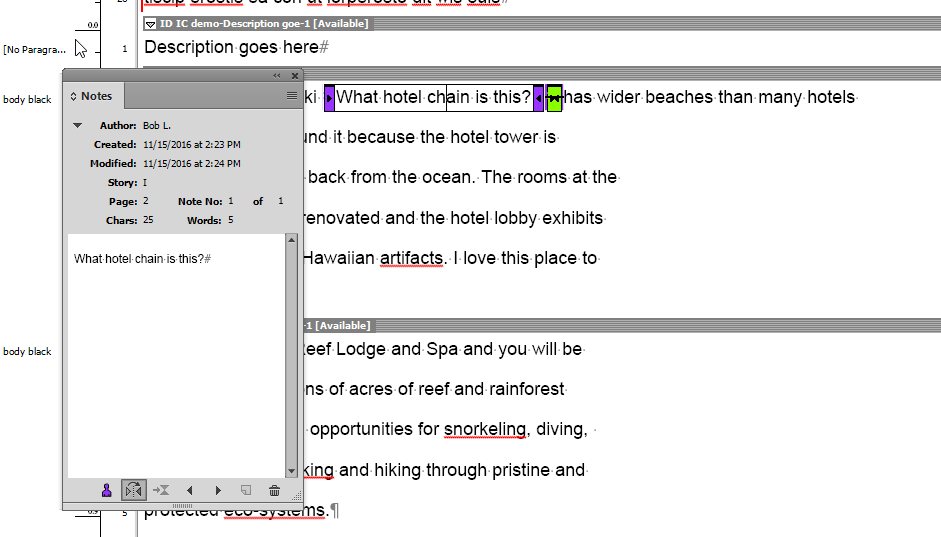
Figure 7: A note in Galley view
Now that you know how to create them, how do you get these little messages to show up as comments in your PDF? As with Track Changes, you’ll need to open the INDD file in InCopy, but this time there’s no need to export the content first.
With the file open in InCopy, let’s look at the PDF Export dialog box (Figure 8):
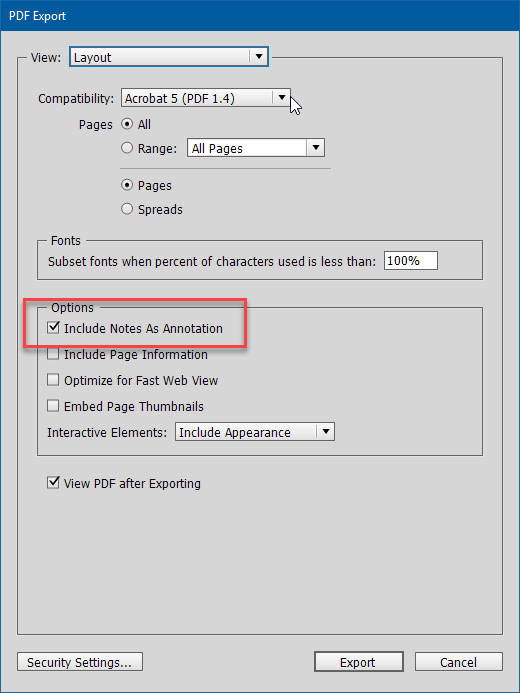
Figure 8: With no InCopy content available, Layout view will be the only View option available to you in the PDF Export dialog box.
Aha! “Include Notes as Annotation.” You may know these annotations by another name: Acrobat comments! Press the Export button, and with your PDF open in Acrobat or Adobe Acrobat Reader you’ll be able to see that comment (Figure 9).
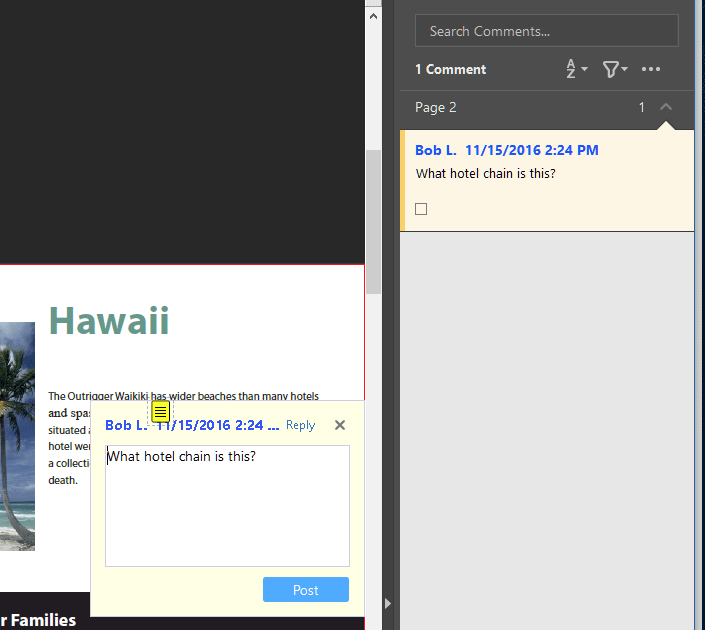
Figure 9: Your PDF comments got to your PDF before you did!
I know what you’re thinking. If Adobe can have this capability in InCopy, why can’t they have it in InDesign? To that, all I can do is point you to the Adobe Feature Request page on the web.
In case it’s not obvious, I’m a big fan of InCopy, and if these little tips about it have you excited and wanting to learn more, Anne-Marie Concepcion and Chad Chelius have some terrific courses on lynda.com.
Q: I work on documents that contain stories that jump to other pages. Is there a method to view both pages at the same time? It would sure make my life easier.
A: Not only can I make your life easier, but I get to tell you about one of my favorite overlooked features of InDesign.
With the document you want to work on open, choose Window > Arrange > New Window for filename.indd (Figure 10).
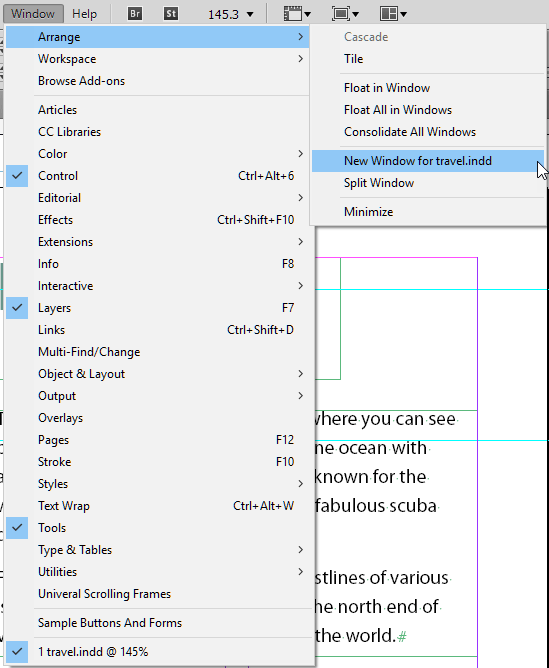
Figure 10: You can have more than one view of the same InDesign file open at one time.
This will open a second instance of your document. While it’s not absolutely essential, I’ve found that this technique works best if “Open Documents as Tabs” (Figure 11) is enabled in InDesign’s Interface preferences, since it keeps things a bit tidier.
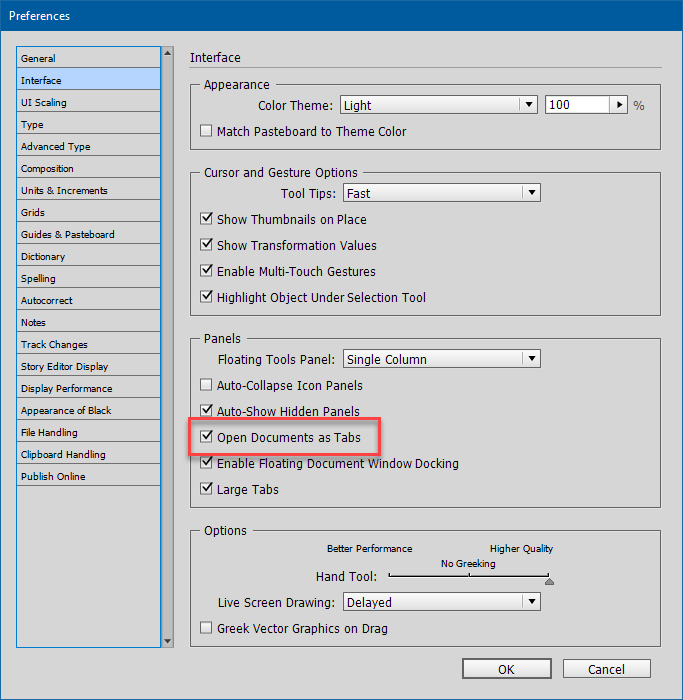
Figure 11: Select “Open Documents as Tabs” to keep everything well-controlled within the document window, but it’s also OK to have your second view be free-ranging.
With tabbed documents, the second instance should open with a split view, but if it doesn’t, choose 2-Up from the Arrange Documents drop-down menu (Figure 12).
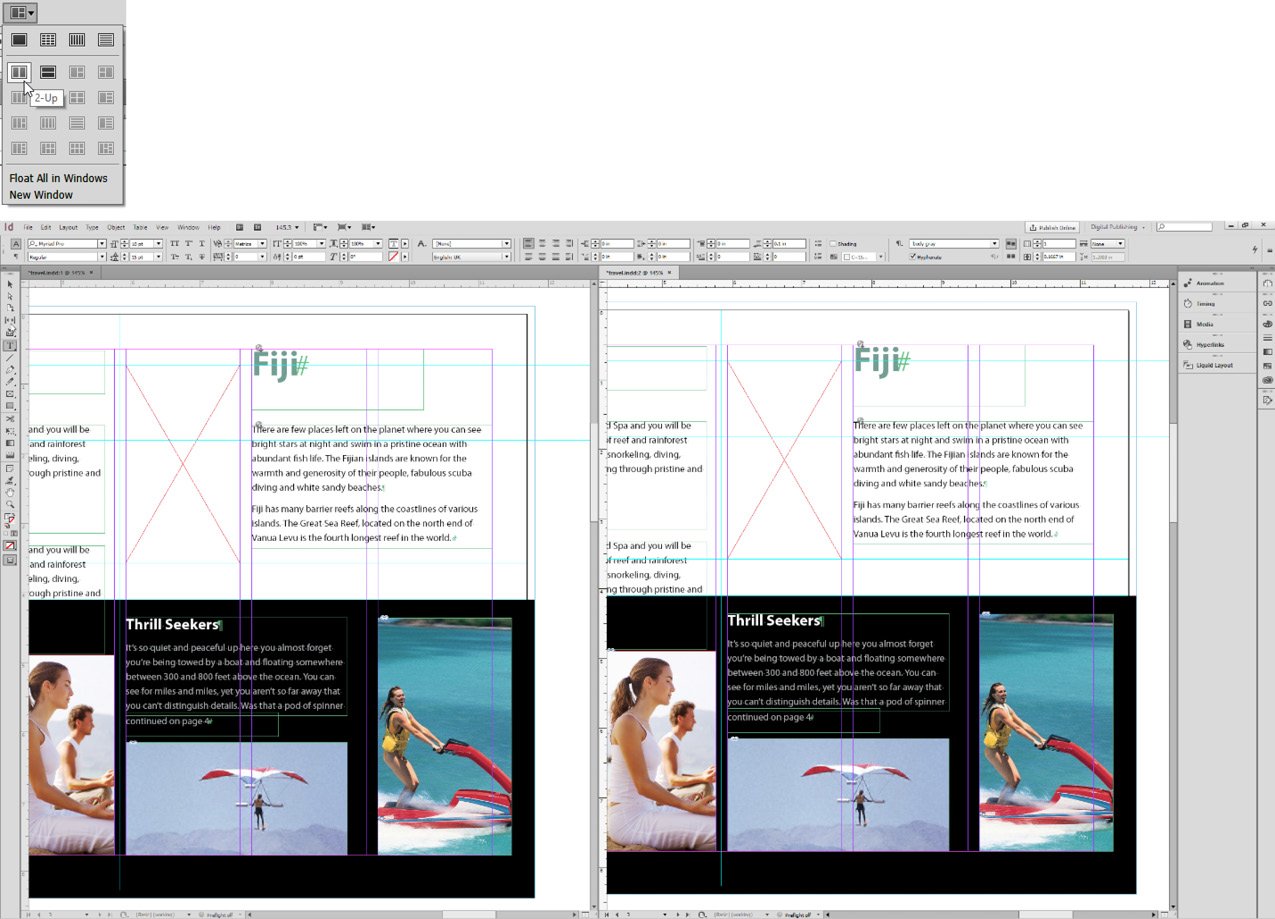
Figure 12: I prefer the side-by-side 2-Up arrangement, but you can choose to have them arranged vertically as well.
You can control the view of each instance independently (Figure 13), and any actions performed on one will be immediately reflected in the other.
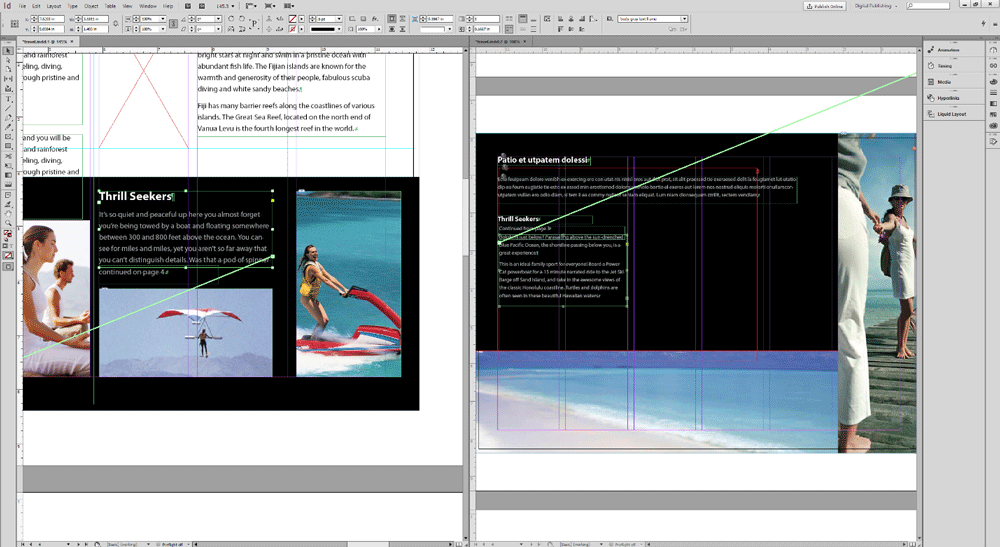
Figure 13: What I love about this feature: Immediate visual feedback!
Another useful application for a 2-Up view for a single document is working with the Story Editor while having the layout visible. If you’re not familiar with the Story Editor, you really should be. It’s a plain text editor built right into InDesign. Give it a try the next time you have overset text in your document; it provides a really helpful visual guide. To access it, right-click in the text, choose Edit in Story Editor from the contextual menu, and then select the 2-up display (Figure 14).

Figure 14: If you like to concentrate on your text but also want to see how it’s behaving in the layout, this is the feature for you.
Any changes made in the Story Editor will show in the layout immediately.
Commenting is easier and faster when you're logged in!

Recommended for you

How to Extract a Table from a PDF in Acrobat
Get your data out of a PDF and into an Excel Workbook with this quick Acrobat tr...

Tip of the Week: Setting How to See and Edit Overset Text
This tip was sent to Tip of the Week email subscribers on May 21, 2015. Sign up...

Place Multiple Pages of a PDF In a Grid in InDesign
You want to create a contact sheet of pages in a PDF, INDD, or AI file? It's fas...