

InDesign’s wonderful Animation and Timing panels (located in Window > Interactive) allow you to create some pretty nifty animation effects with just a few clicks, right in InDesign. These easy-to-use panels were introduced way back in InDesign CS5 for creating SWF output. But alas, any animation you create with these panels will not work in Adobe Digital Publishing Suite (DPS) projects.
In5, a powerful InDesign extension for creating HTML5 output from InDesign, supports most of the presets and settings in these panels. This got me to thinking . . . could I use in5 to export native InDesign animation in HTML5 format that could be used with the DPS Overlays panel? After a bit of experimentation, I developed the workflow below. This is a pretty slick way to create animation in InDesign for your DPS projects!
1. Purchase and install in5 from Ajar Productions. A demo version is available.
2. Open an InDesign article that you want to add animation to.
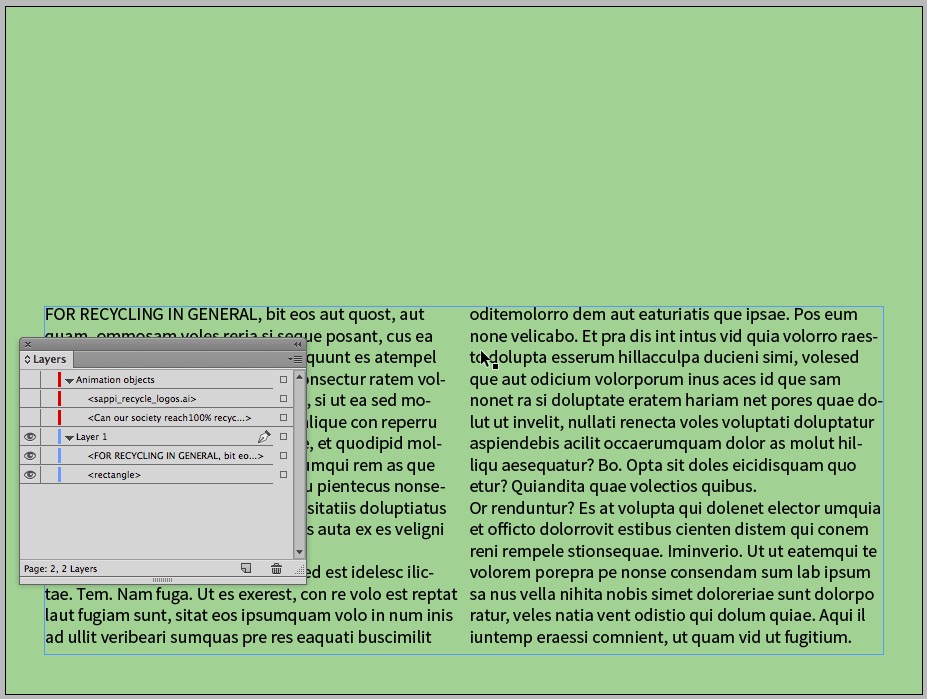
3. Select all the objects that you are going to animate, and put them on their own layer named “Animation objects”.
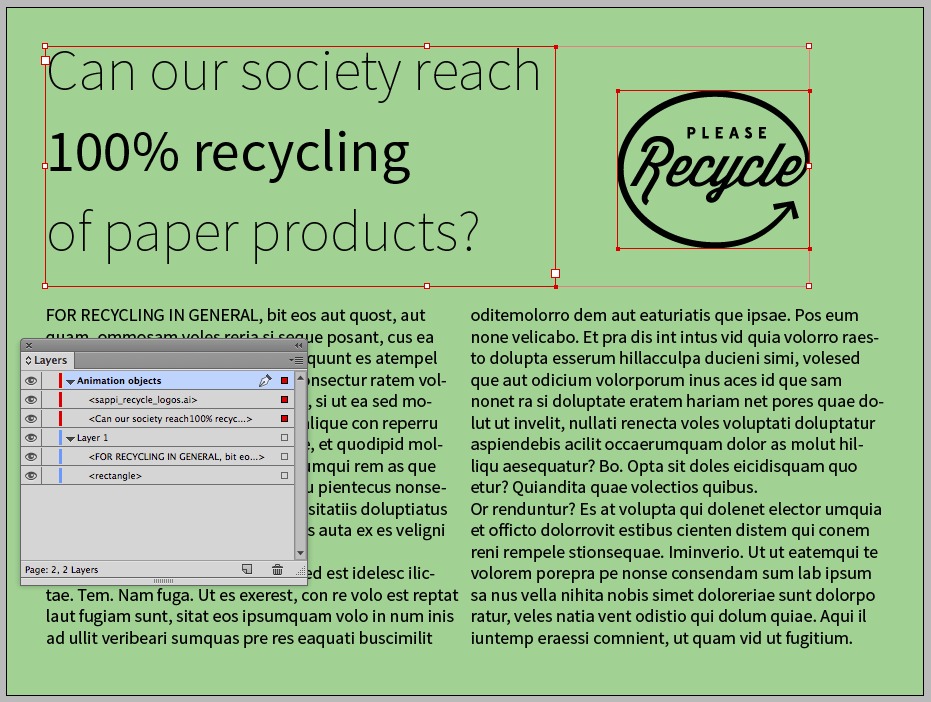
I’m going to animate the headline and the “please recycle” artwork, so I’ve put these 2 objects on the “Animation objects” layer.
4. Use the Animation and Timing panels to animate the objects on the “Animation objects” layer.
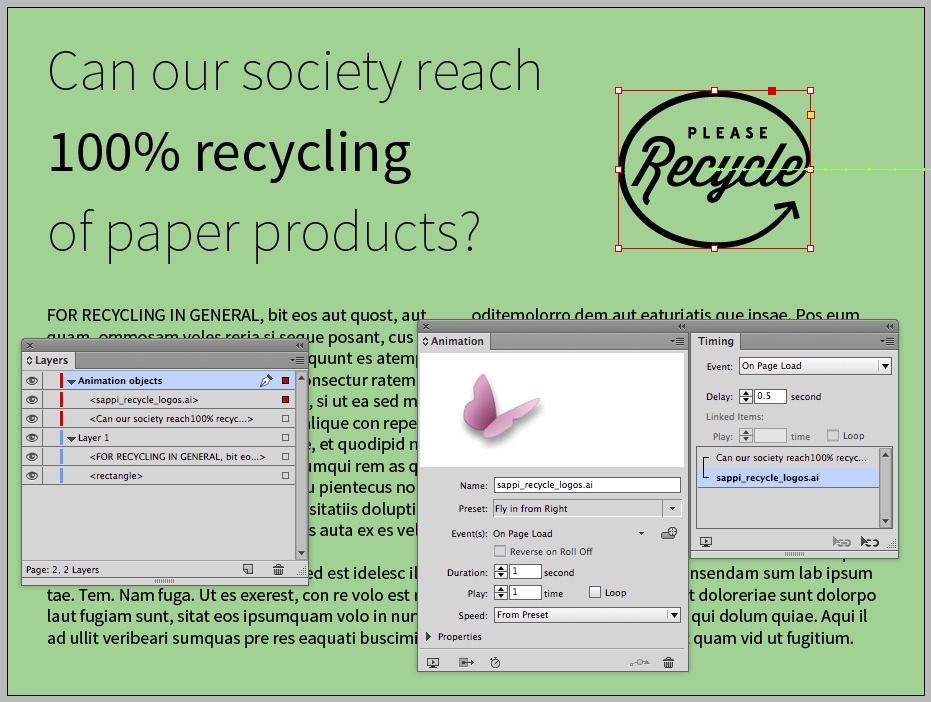
I’ve used the Animation and Timing panels to set the headline to “Fly in from Top” and the recycle artwork to “Fly in from Right”
5. Hide all the layers except for the “Animation objects” layer
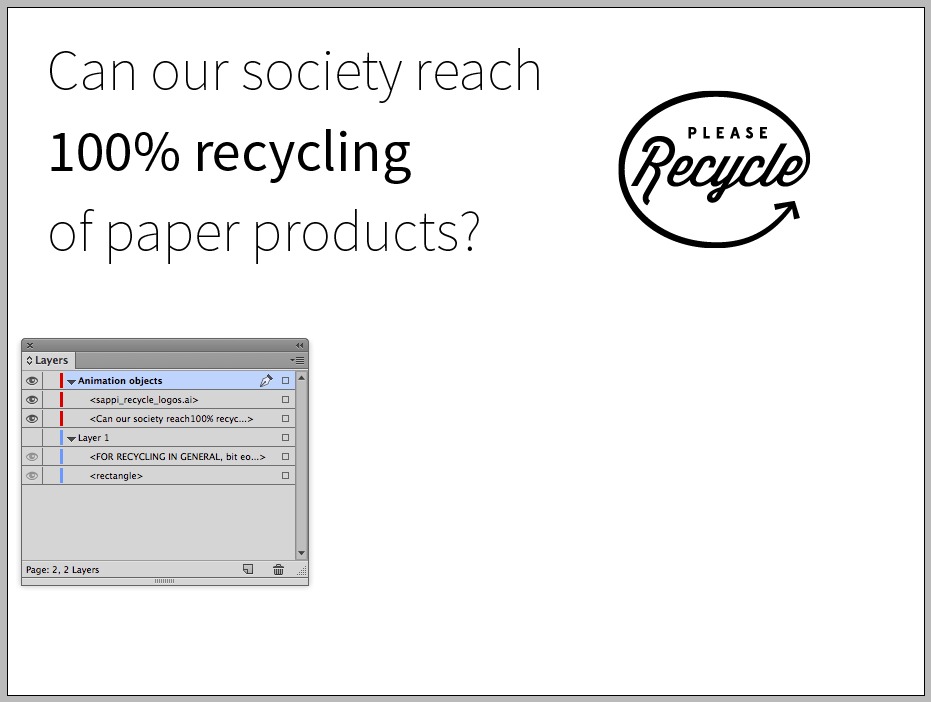
I’ve hidden Layer 1, leaving only the objects that are animated visible.
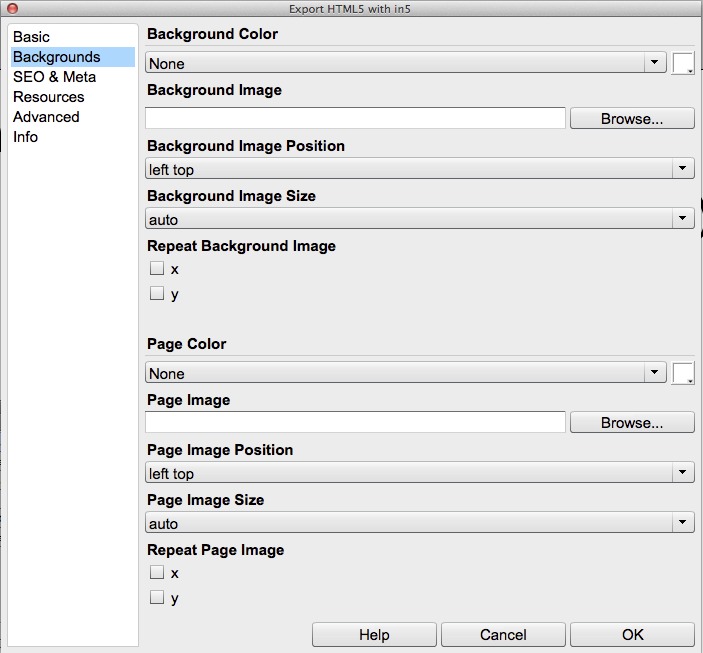
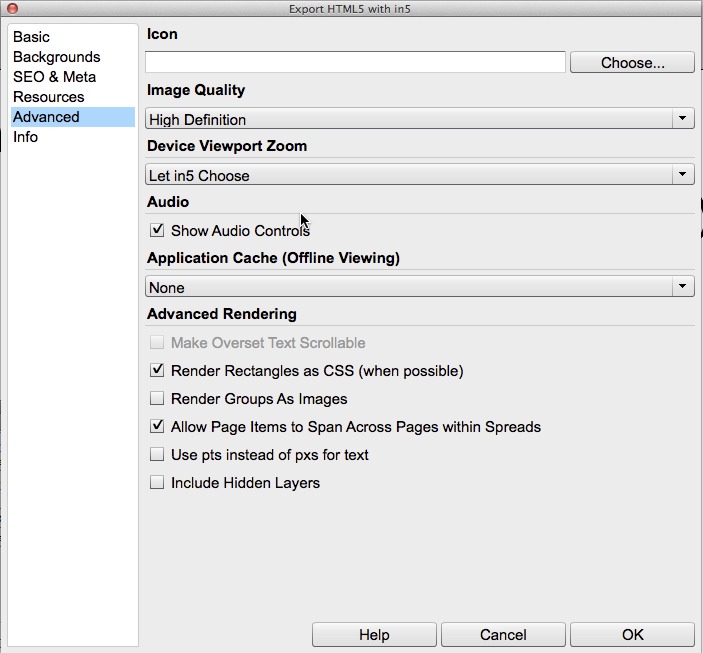
6. Choose File > Export HTML5 with in5.
7. Fill in the in5 dialog boxes exactly as shown.

Be sure to specify a new, empty folder for the destination. Enter the page number that contains your animation for the Export Range.
8. Click OK. When the in5 export is completed, click the “Open in Default Browser” option to see if your animation looks as expected.
9. Then, back in InDesign, hide the “Animation objects” layer, and show the other layers that you hid in step 5.
10. Create a new layer named “Final animation”, and create a frame that has no fill or stroke, and is large enough to contain the animation.

11. With the frame from step 10 selected, click on “Web Content” in the Folio Overlays panel.
12. Click on the folder icon in the panel, and navigate to the “index.html” file that was exported by in5. Fill in the rest of the options in the panel exactly as shown below.
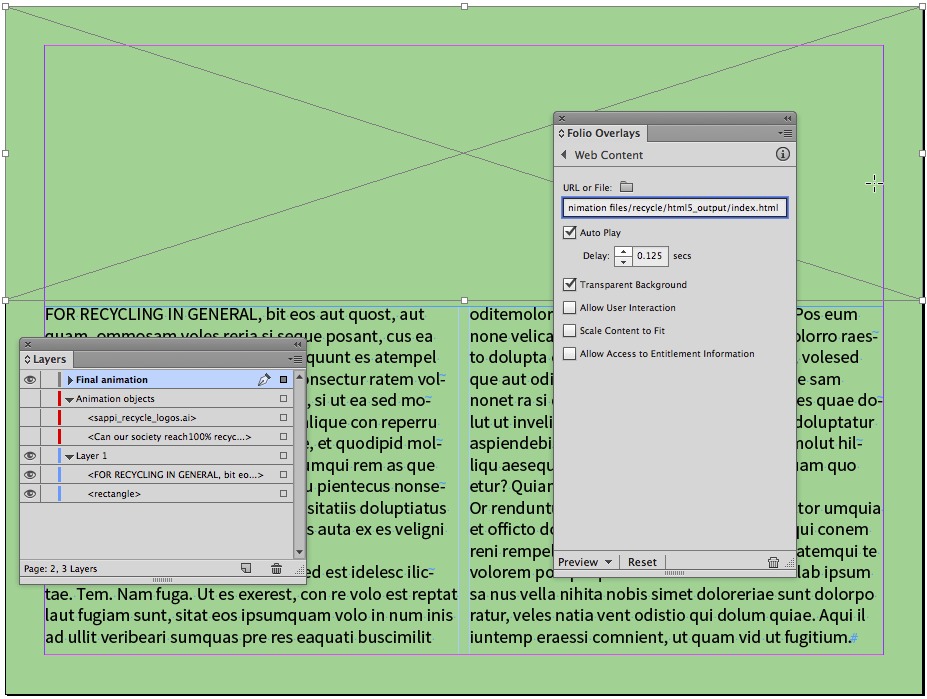
Be sure to specify a delay of .125 seconds, and choose the Auto Play and Transparent Background options.
13. The animation is now ready to preview on your tablet!
Creating animations that will work with DPS projects is just one of the cool things you can do with in5, so check it out.
This article was last modified on July 25, 2019
This article was first published on August 7, 2014
Commenting is easier and faster when you're logged in!

Recommended for you

InDesign Tip: Making Custom Motion Paths for Animation
One of the coolest ways to customize animations in InDesign is to use any path i...

This Week in InDesign Articles, Number 57
Some articles, some tips, some videos... a smorgasbord of InDesign info!

HTML5 from InDesign
Frustrated you can’t export Publish Online replica layouts to your own website?...