
Image Tracing in Illustrator
How to use Image Trace in Adobe Illustrator to convert pixel-based images into vector artwork.
This article appears in Issue 4 of CreativePro Magazine.
Creative professionals have myriad ways to create images. From traditional media to the cameras in our phones to full-featured painting applications on tablets and PCs, the choices are nearly endless. Images we create can be scanned as TIFF files and saved as JPG, PNG, PSD, and other formats. To convert these and other pixel-based images into vector artwork, Illustrator provides a powerful function: Image Trace. Let’s examine how it works!
Starting Point: Place an Image
Start by placing a raster (non-vector) image onto your artboard. Choose File > Place, or drag an image from the Library panel. To find an image to experiment with, visit Adobe Stock, click Free, and search for a particular image. Click the License button on the image to add it to your Library. I did that to get the lotus flower in Figure 1.

Figure 1. Raster lotus flower image from Adobe Stock
The image remains selected after you place it, and the Image Trace button appears on Illustrator’s Control bar (Figure 2). Don’t click it just yet! (If the Control bar isn’t visible, choose Window > Control to show it.)

Figure 2. The Image Trace button appears in the Control bar when a raster image is selected.
Before proceeding further, enable the Image Trace workspace. Choose Window > Image Trace to reveal the panel. It’s more advanced than other panels and features a Preview checkbox at the bottom. Tip: Turn Preview off to avoid waiting for the image tracing process to finish each time you change a setting.
With your placed image still selected, click Image Trace in the Control bar or click the Trace button at the bottom of the panel.
High-resolution images can take a while to trace, regardless of settings, so you may see the warning shown in Figure 3.

Click OK to complete the tracing process.
View and Modify Tracing Results
Illustrator’s default settings may not reproduce the traced image precisely. The Image Trace panel presents more options than the Control bar, so I like working in it to perfect the results. Click the Camera icon in the top row, then click Trace (if necessary) to see the updated results (Figure 4).
![Screen shot of photo of lotus flower shows X through the image box. Image Trace panel screenshot highlighted in red showing preset: [High Color], View: Tracing Result, Mode: Color, Palette: Full tone, Colors slider toward "More" and value of 85, Paths: 8402, Colors, 3283, Anchors, 110,365, Preview checkbox checked.](https://creativepro.com/wp-content/uploads/2022/01/imagetracing-fig004.png)
Figure 4. Using the High Color preset results in a detailed, photorealistic image that’s close to the original.
To see how paths were rendered for the traced image, select Tracing Result with Outlines or Outlines from the panel’s View menu. Clicking the eye icon on the right toggles the original source image. You can also click the triangle next to Advanced in the middle of the panel to fully expand it and give you access to even more options.
Experiment with the Advanced sliders to adjust the level of detail in the tracing results (Figure 5).

Figure 5. Tracing Result with Outlines, and the expanded Image Trace panel with all Advanced features shown
The info section at the bottom of the panel shows how many paths, colors, and anchor points were used to trace your image. Seeing these numbers, you can understand why it takes Illustrator a while to complete the tracing process.
Tracing Presets and Options
There are six image-tracing presets represented by the icons at the top of the Image Trace panel. Hover your pointer over the icons to see their names. Click an icon to apply the preset to your selected image. The name of the applied preset appears in brackets in the Preset menu. From left to right, here’s what the presets do:
- Auto-Color creates posterized tracings by reducing the number of colors in an image to make it more stylized while retaining detail.
- High Color results in detailed, realistic tracings as shown with my lotus flower (Figure 4).
- Low Color simplifies images to fewer colors and is ideal for tracing art that features a limited palette to begin with.
- Grayscale converts all colors in an image to corresponding gray tones as seen in Figure 6.

Figure 6. This yellow flower from Adobe Stock (left) was image-traced with the Grayscale preset (right).
- Black and White is perfect for tracing drawings, scanned artwork, text, and monochrome graphics.
- Outline simplifies images to black outlines using just strokes. No filled shapes are rendered when you apply this preset.
There are additional presets in the top menu. For example, Figure 7 shows the yellow flower with the Silhouettes preset applied.

Figure 7. Making a vector silhouette of a simple raster image is quick and easy, thanks to the preset.
Any preset can be customized and refined with the controls in the Image Trace panel, and your tweaks can be saved using the icon to the right of the Preset menu (![]() ). After you make a change but before you save it, the preset name in the menu will change to Custom.
). After you make a change but before you save it, the preset name in the menu will change to Custom.
Color controls
With Mode set to Color, you can set the tracing’s colors from the Palette menu to Automatic, Limited, or Full Tone. Below that, you can select the document’s color swatches and any swatch library that you have currently loaded (Figure 8). Note that the Palette menu is disabled when Mode is set to Grayscale or Black and White.

Figure 8. The lotus tracing image colored with swatches from the Impressionism library, which you can load from the Swatch Libraries menu at the bottom left of the Swatches panel.
Below the Palette menu is the Colors slider. This slider’s function and label will depend on the current mode. Move it left to include fewer colors (for a posterized look), right for more colors (for a detailed look). The slider shows accuracy in percentage for High Color and Grayscale modes, the number of colors for Low Color mode, and the Threshold from 0 to 255 for Black and White.
Check the Information section at the bottom of the panel to see the final number of colors or tones used for a tracing.
Advanced controls
Adjust the Paths slider to reduce or increase the number of shapes used for the tracing. The Corners slider lets you adjust the traced paths to be more or less rounded. Another control that will affect this is the Snap Curves to Lines checkbox further down. The Noise slider controls the level of detail that gets traced. Sliding it to the right can simplify an overly complex tracing by increasing the size of details that are ignored and not traced at all.
The two Method icons (![]() ) control how tracing paths are drawn: Abutting paths (left) are rendered with the edges of each precisely up against one another. Overlapping paths (right) are stacked so they slightly overlap.
) control how tracing paths are drawn: Abutting paths (left) are rendered with the edges of each precisely up against one another. Overlapping paths (right) are stacked so they slightly overlap.
The Fills checkbox creates filled paths, while Strokes creates outlines whose weight is specified in the Stroke field below.
The Ignore White option, when enabled, is perfect for tracing images where the white represents just a background and need not be rendered as separate shapes (Figure 9).

Figure 9. The original artwork for this logo was an opaque JPG with a white background. By turning on Ignore White, that background was ignored, tracing only the logo elements.
Expand the Tracing
You may have noticed while working in the Image Trace workspace that you can continue to change presets and options when a tracing is selected. Image Trace is a live effect; the result updates automatically as you work in the panel when Preview is enabled, or you can click Trace at any time to update the tracing manually. In addition, while the tracing is live the Layers and Appearance panels show the result as a single object called Image Tracing.
No matter how well you tweak the settings, chances are you’ll want to do some manual cleanup work on the traced paths. To do that, you must expand your tracing first. There’s no control for this in the Image Trace panel. Instead, click the Expand button in the Control bar or under Quick Actions in the Properties panel. You can also choose Object > Expand.
Final Tips and Suggestions
Here are a few parting thoughts for getting the most out of Image Trace in Illustrator.
- When starting out with your placed image, duplicate it to another layer or artboard, and lock it. That leaves you with a copy of the original image to compare to the tracing. The original placed art is deleted once a tracing is expanded.
- Before expanding, consider duplicating the tracing object or saving a copy of your document with the live tracing intact. This will enable you to go back and refine the tracing later with the Image Trace controls.
- After expanding your tracing, consider using Object > Path > Simplify. You can often reduce the number of anchor points by half with no noticeable alteration of the shapes, and that will help you work faster with the artwork, both in Illustrator and in other programs like InDesign.
Commenting is easier and faster when you're logged in!

Recommended for you
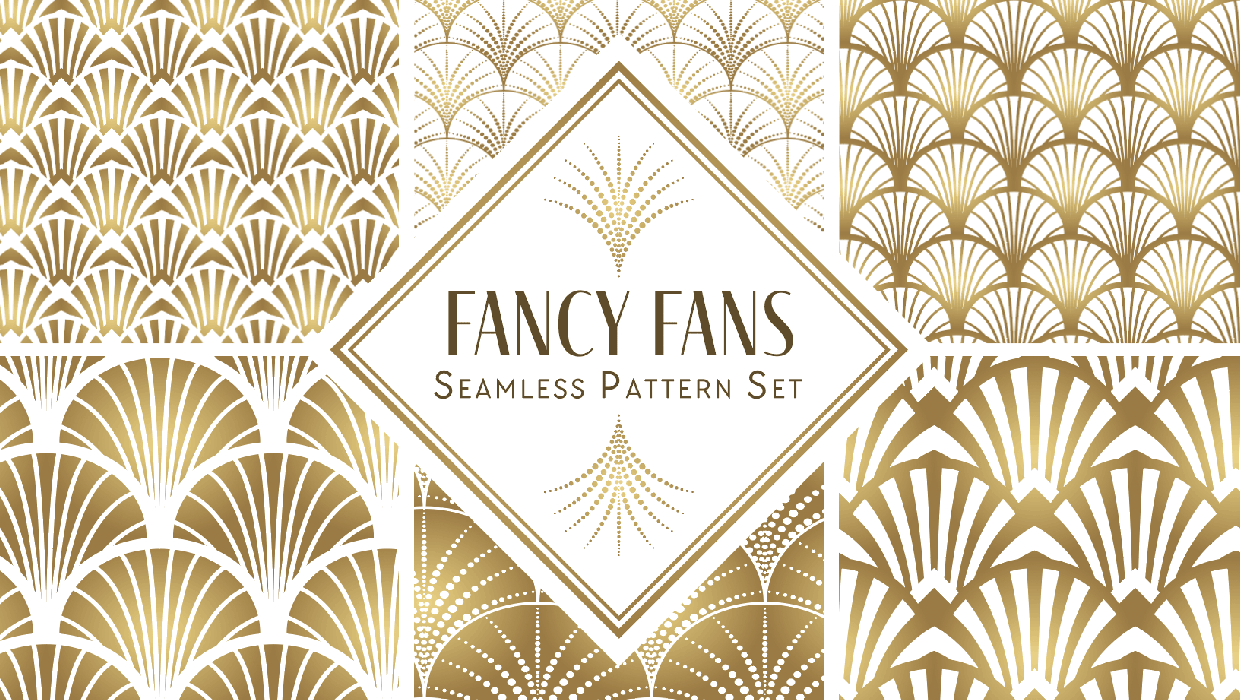
Illustrator Downloadable: Fancy Fans Art Deco Patterns
12 gorgeous vector patterns to add a sleek and swanky style to your designs
AI in Ai
Improve your vector art workflow with new artificial intelligence features in Ad...
How to Place CC Library Items with Transparency
Learn the "one weird trick" for getting CC library Illustrator graphics to come...