

When it comes to selecting objects in Illustrator, you have several different ways to approach this task. Whether you’re a “drag across all objects” kind of guy, or a “shift-click to select each item” sort of gal, the point is that many roads will lead you to your destination. One technique I use—once I remind myself that it exists—is employing the Magic Wand tool. With “magic” in the name, I don’t know why I often forget about it. It’s a great option for me because I have a bad habit of accidentally assigning two very similar colors to objects. As a result, I’ll have objects that are all red, but not the same red, meaning the Select > Same option won’t catch them. If you’re one of those people, the Magic Wand tool might be your new best friend!
Magic Wand Tool Basics
You can find Illustrator’s Magic Wand tool in the Tools panel, just below the Selection tool. To set the options for using the tool, either double-click it in the panel or choose Magic Wand from the Window menu.
In the Magic Wand panel, you indicate which similar attributes you want the Magic Wand to select for. Your options include: Fill Color, Stroke Color, Stroke Weight, Opacity, and Blending Mode. Select as many of the attributes as you want to match by clicking each checkbox. If you don’t see all of these options, you might need to toggle them on by using the panel’s menu in the top right corner.

Setting a tolerance value higher will include more items in the Magic Wand selection.
Where the Magic Wand really shines—and where it differs from the Select > Same operation—are the tolerance levels you can set for each attribute. If, for instance, you select Fill Color, you can also select a tolerance level based on pixels. If you select a red object with a tolerance of 40, the Magic Wand will also select shapes with varying shades of red, and perhaps even oranges or dark yellows. Choosing Stroke Width lets you set a tolerance of a set number of points, and the Opacity tolerance is set by percentage. A larger tolerance value will tend to give you a larger number of items selected when you use the Magic Wand.

With a tolerance value of 10%, selecting the star with 50% opacity with the Magic Wand will also select the oval with 56% opacity. The star with 61% opacity falls outside that range and is therefore not included.
Once you’ve set up your criteria and tolerance levels, selecting the matching objects is a breeze. Simply choose the Magic Wand and click on an object. All of the objects that match your criteria will automatically be selected. By default, “Use All Layers” is turned on in the Magic Wand options. This option will automatically select all matching objects, regardless of which layer they’re on. Turning it off lets you limit your selection to items on the same layer.
Adding Objects to a Selection With the Magic Wand Tool
You can add more objects to the selection by Shift-selecting another object. Keep in mind, however, that doing so will bring in not only that object to the group, but also all similar objects that fall within the set tolerance. This makes it easy to make a selection that includes all red objects as well as all green objects (assuming they are in that range).

Selecting the red rectangle also selects the red oval. Shift-selecting the dark green star also selects the light green star because it’s within the set tolerance.
Deselecting Objects with the Magic Wand Tool
If you Option/Alt-click on an object with the Magic Wand tool, that object and all the items within the set tolerance range of it will be deselected.
Saving a Selection of Illustrator Objects
Once you’ve perfected the tolerance and selected all the objects you need, you can then save those objects for quick selection in the future by choosing Save Selection from the Select menu.
This article was last modified on June 8, 2022
This article was first published on June 6, 2016
Commenting is easier and faster when you're logged in!

Recommended for you

Scanning Around With Gene: When Chemicals Plus Electricity Equaled Beautiful Art
You could certainly argue that the graphic arts industry, even in its present co...

Heavy Metal Madness: Of Evil Witches and Dancing Pickles
If I was marooned on an island that celebrated only one holiday, I sure hope it...
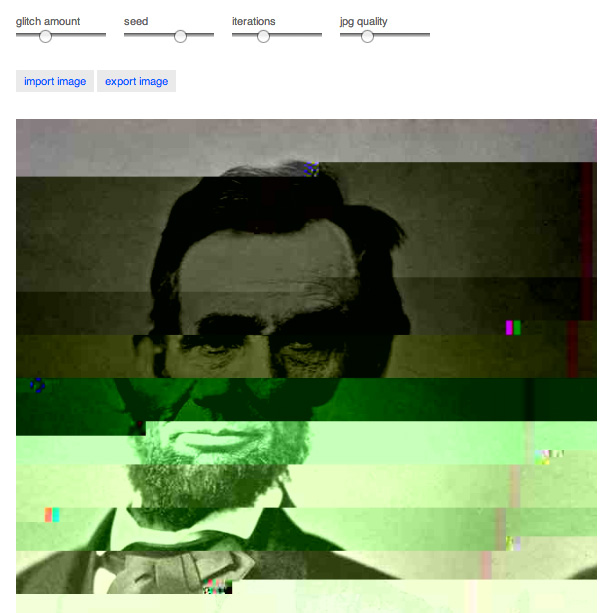
Do-It-Yourself Glitch Art
Here’s something perfect for a Friday, or any day when productivity isn...