

Rita writes:
I am trying to get text to wrap around a head shot in an InDesign table cell. I imported the picture into a frame that I created in the cell. Is it possible to wrap text around graphics in table cells?
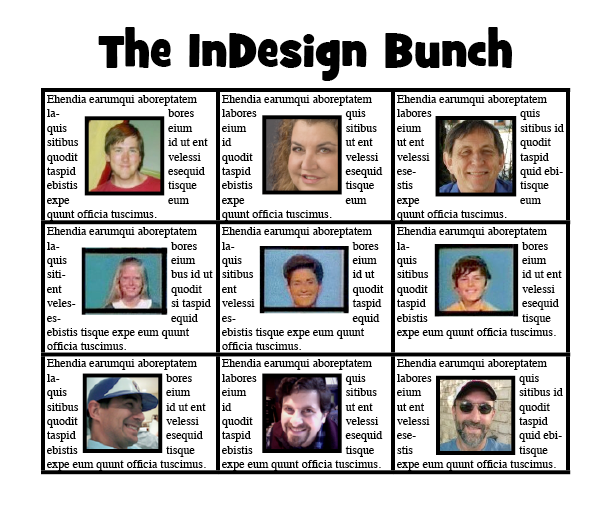
It would seem like it would be easy to use text wrap with an image inside a table, but it is more difficult than it should be. The short answer is to use anchored objects and apply text wrap to an anchored object.
How to Create Text Wrap with an Anchored Object in a Table
1. Select the photo with your black arrow and cut it to the clipboard.
2. With your type tool, click inside the your table cell in the beginning on the text (top left).
3. Paste your graphic into the text, it will become an inline graphic.
4. Select the graphic with your black arrow and go to the object menu > anchored objects > options.
5. Change the position from “inline” to “custom” and click OK.
6. Select the photo with your black arrow and position it where you want it to be inside the cell and apply the text wrap accordingly.
This article was last modified on July 11, 2023
This article was first published on December 15, 2009
Commenting is easier and faster when you're logged in!

Recommended for you

Create Color-Separated PDFs
Shelley wrote: How can I save a separated PDF from InDesign? I know about the se...

Making Slanted Strokes
Don't settle for the default right hash! Learn to make custom slanted strokes us...

Tip of the Week: Resizing Tables
This tip was sent to Tip of the Week email subscribers on January 15, 2015. Sign...