

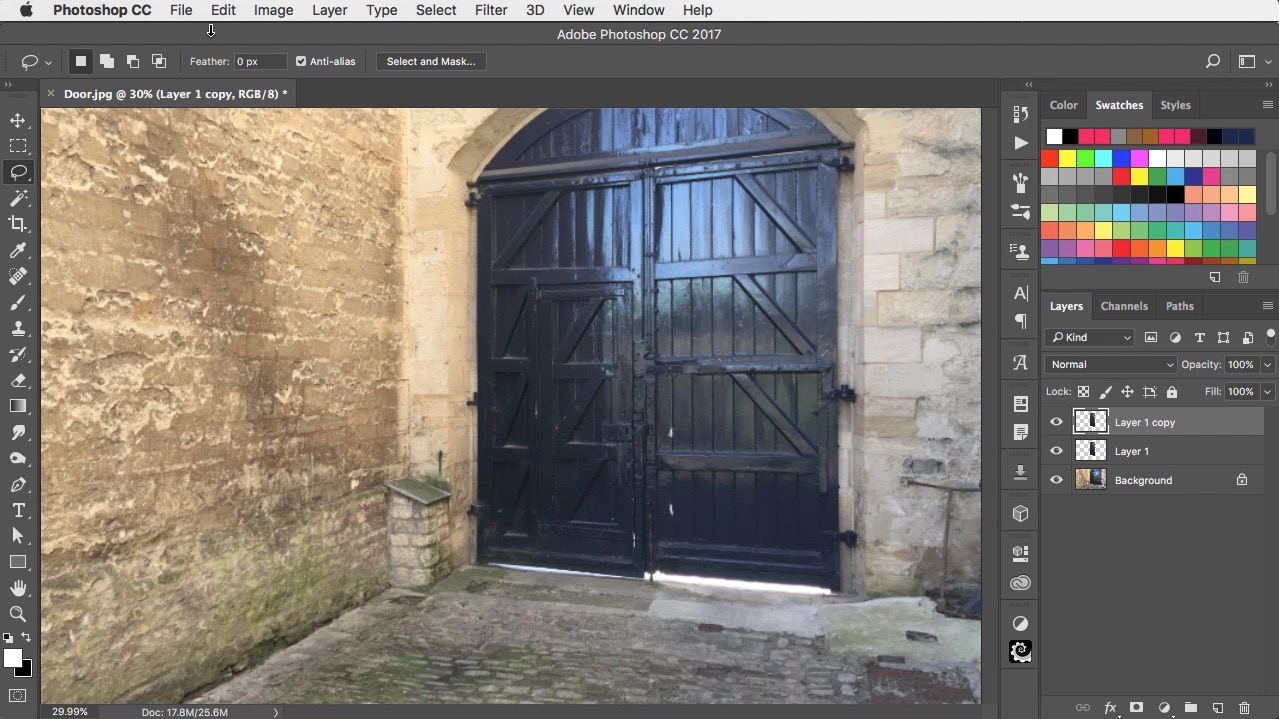
Opening closed doors is a useful Photoshop technique, and you can use it to open a door to any degree you choose. The tricky part is setting the perspective of the open door so that it looks real – and you just have to gauge this by eye.
Step 1
The easiest way to select the door is with the Lasso Tool. Hold Option or Alt to get the Polygonal Lasso tool, which will trace straight lines between points where you click; all you have to do is to click once at each corner of the door in order to select it.

Step 2
Use Command J (Mac) / Ctrl J (Windows) to make a new layer from the selection. Then use the same command again to duplicate that layer – we’ll need the copy to make the view through the door later.
Step 3
Go into Free Transform using Command T (Mac) / Ctrl T (Win), and drag the middle handle on the right side to make the door about half the width. This is the first step in making it look open.

Step 4
Hold Command+Shift (Mac) / Ctrl+Shift (Windows) as you grab the bottom right corner handle, and drag it down to increase the sense of perspective on the open door; then repeat the process with the top right corner. Adding the Shift key constrains the movement to purely vertical, so you don’t distort the door too much.

Step 5
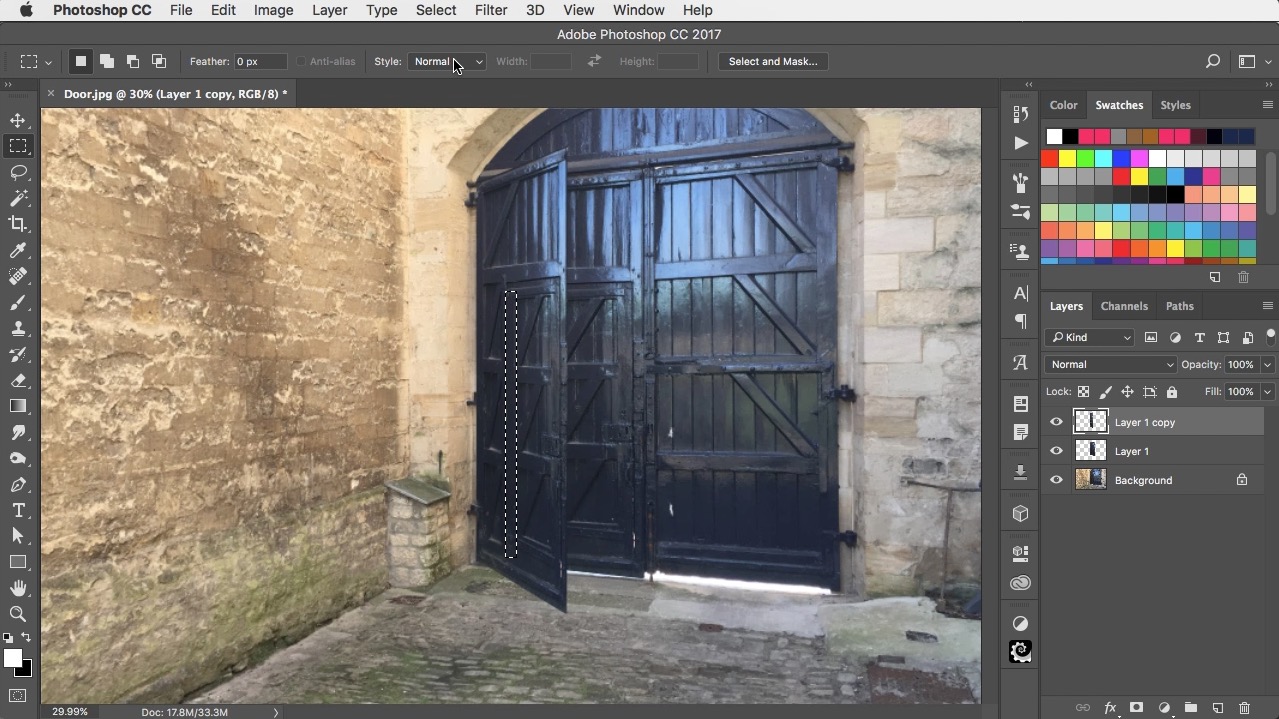
The door needs some thickness to it in order to make it look like a real door. Use the Rectangular Marquee Tool to select a tall, thin section of the door, and use Command+J (Mac) / Ctrl+J (Windows) to make a new layer from the selection.
Step 6
Move the new layer to the edge of the door, and use Free Transform to stretch it to the full height. Hold Command+Shift+Option (Mac) / Ctrl+Shift+Alt (Windows) as you drag a corner handle to add some perspective to this door edge.

Step 7
Now for the view through the open door. Select the original copied door layer in the Layers Panel, and check the box at the top of the panel to lock the transparency of this layer. That way, you can’t paint or clone outside the bounds of the existing door.

Step 8
Switch to the Clone tool, making sure that it’s set in the Options Bar to sample Current & Below. Hold Option/Alt and click on the ground at the front to set the clone source, then paint inside the door layer to clone the texture into that area.

Step 9
You can add a new view through the door if you like, by selecting an appropriate image and using the door layer as a Clipping Mask. Or you can do as I’ve done, and simply paint in white or black to suggest a foggy scene beyond the door. When you’re done, uncheck the Lock Transparency button and clone over the dividing line between the view and the original ground.

Open Door Tutorial and Artwork
Check out the video version of this tutorial below, and get a link to download the original artwork at https://www.2minutephotoshop.com/opening-doors/
This article was last modified on October 18, 2017
This article was first published on October 18, 2017
Commenting is easier and faster when you're logged in!

Recommended for you

Photoshop How-To: Distorting Text
This story is taken from “Photoshop Studio Skills: For Photoshop 7 and Pho...

Adding Multiple Strokes to Editable Text in Photoshop
See how to use stacked layer styles in Photoshop to add an infinite variety of l...

Color Management is Not Color Correction
In the webinar I presented to the Graphic Artists Guild titled Color Manage...