
We first looked at the Illustrator plug-in FontSelf back in 2016. Since then, the process has been greatly simplified, so it’s time for a fresh look. FontSelf costs $39 for the Illustrator version, and $59 for a version that works with both Illustrator and Photoshop. You can read more here. In this tutorial, we’ll look at how to build a convincing retro typewriter font, complete with ragged edges and misplaced glyphs.
Start with an alphabet
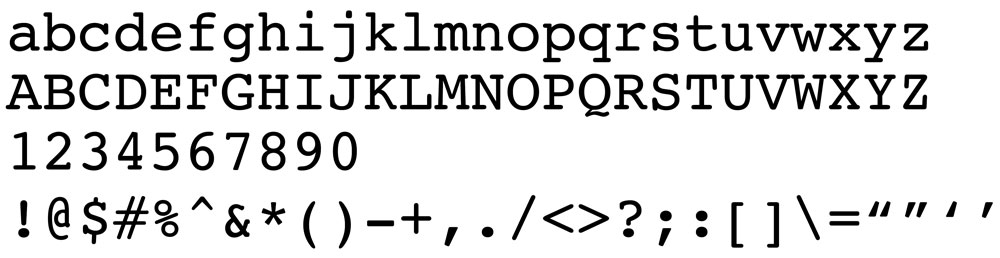
We’ll begin by using Courier, the built-in font that’s on every computer. It’s a monospaced typewriter-like font, but it’s far too clean to look like the real thing. Start by typing all the characters in the font, with one line each for upper case, lower case, numbers and punctuation.
Convert to outlines
Select all the text and use Type > Create Outlines to turn the text into editable paths. It’s worth duplicating the lines of text before you do this, in case there are any glyphs you need to add later – that way you’ll be able to match the size.
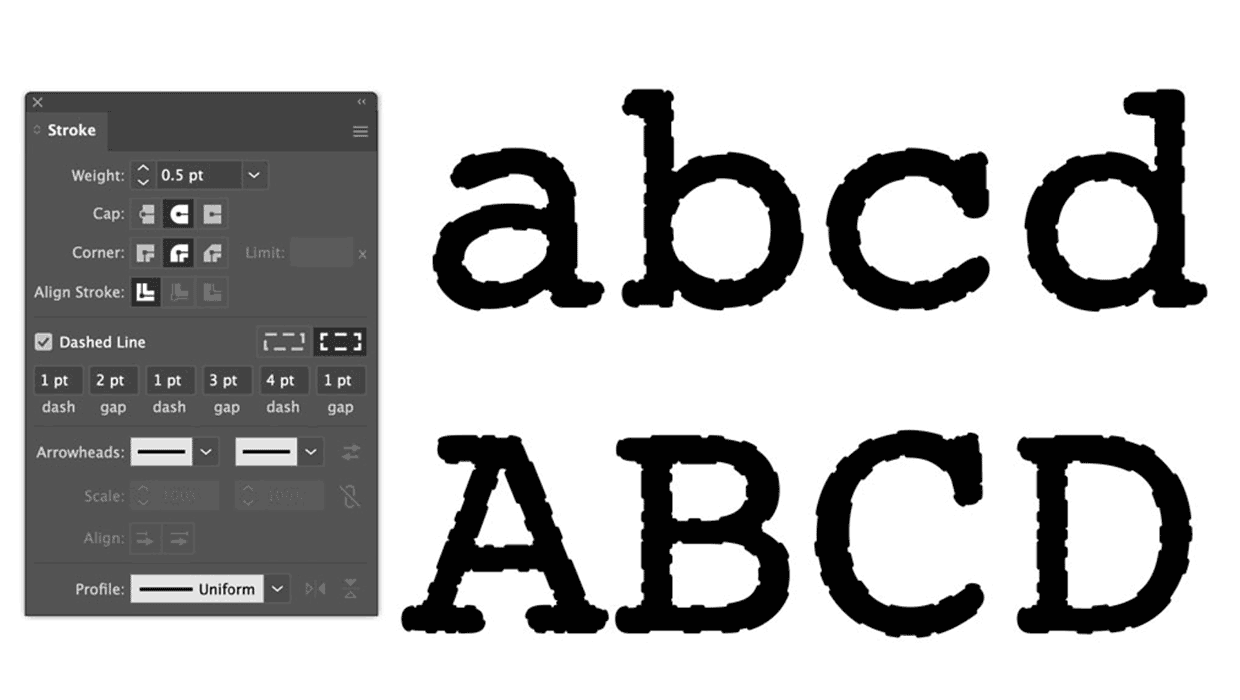
Roughen it up
There are several tools for roughening artwork, but they’re all too crude and hard to control. The best way turns out to be to add a stroke to the artwork, then use the Dashed Line option to produce the appearance of random irregularities. Here, I added a 0.5pt stroke, setting the Caps to Rounded. I used a 1pt dash followed by a 2pt gap, then a 1pt dash with a 3pt gap, and finally a 4pt dash with a 1pt gap.

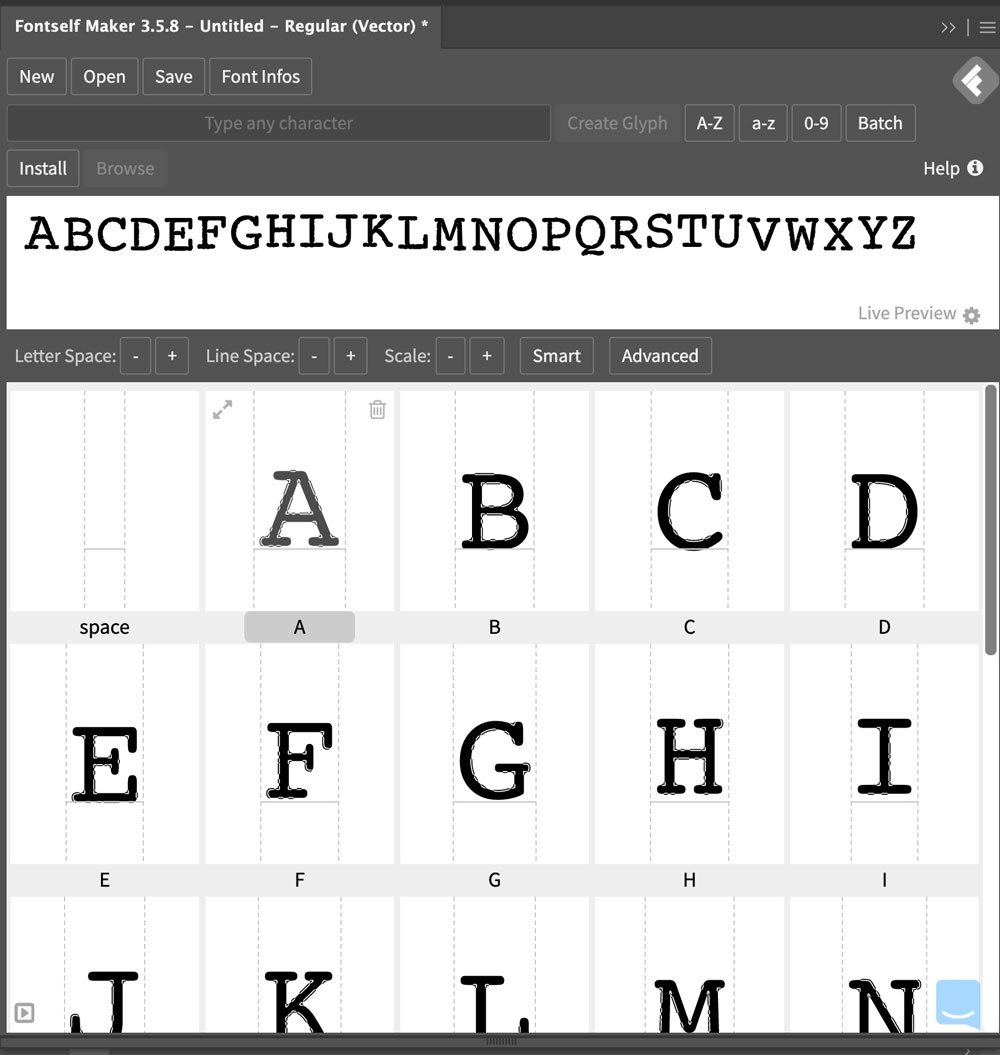
The complete font
You can apply the stroke effect to all the text in one go. Here’s how the whole font looks: at this size the stroke produces a pleasingly random raggedness.

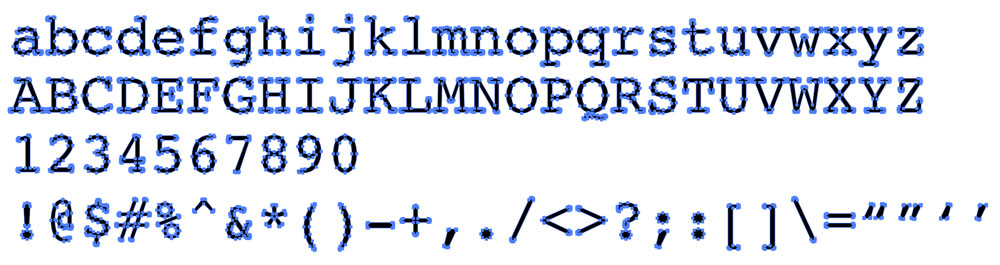
Add a jiggle
Ungroup the outlined text using Object > Ungroup, so that each glyph is a separate object. To complete the old typewriter effect, select bunches of letters and use the cursor keys to nudge some up and some down.

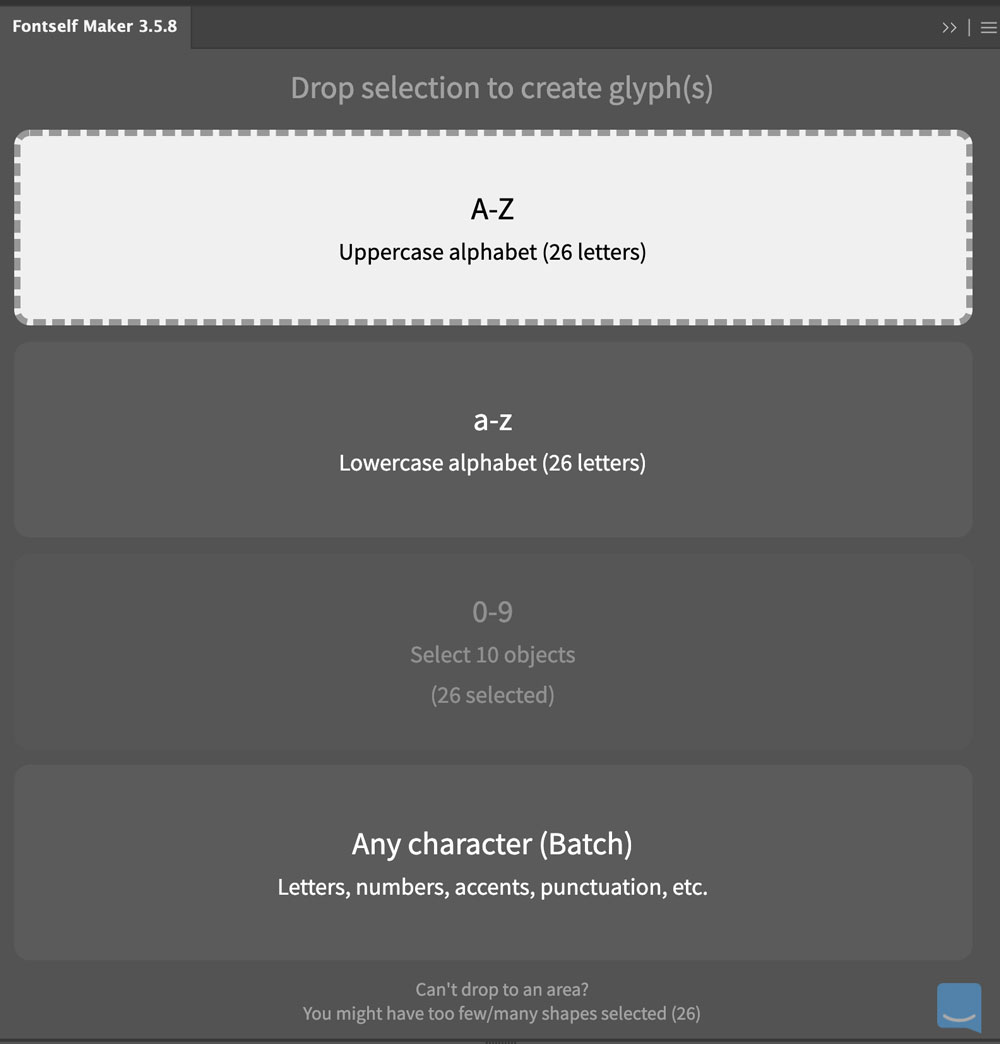
Open FontSelf
Open the FontSelf dialog, which you’ll find under Window > Extensions. Select one line of text and drag it into the FontSelf window. As you do so, each section will be highlighted as you roll over it: drop your line of text into the appropriate section. I started with the uppercase alphabet.
The font-building begins
In just a couple of seconds, FontSelf will turn your glyphs into a workable font. The line of uppercase letters appears at the top, and you can see how the jiggle action produces random heights. If you want to fine tune this, you can select each letter and drag it up and down in the FontSelf window.
Add the remaining glyphs
Repeat the process with the remaining lines of text. Note that the numbers need to start with 0 and end with 9. If you’ve typed 1 to 9 and then 0 as I did, simply move the 0 to the beginning of the line before dragging. You can drag the line of punctuation into the Any Character (Batch) field at the bottom of the FontSelf window.

Set the key bindings
FontSelf will automatically assign the upper and lower case alphabets, and the numbers, to the correct keys. But it’s unable to do so with punctuation, since it doesn’t follow any standard order. So after dragging the punctuation into the FontSelf window, you’ll have to tell it which keys to assign to each glyph.

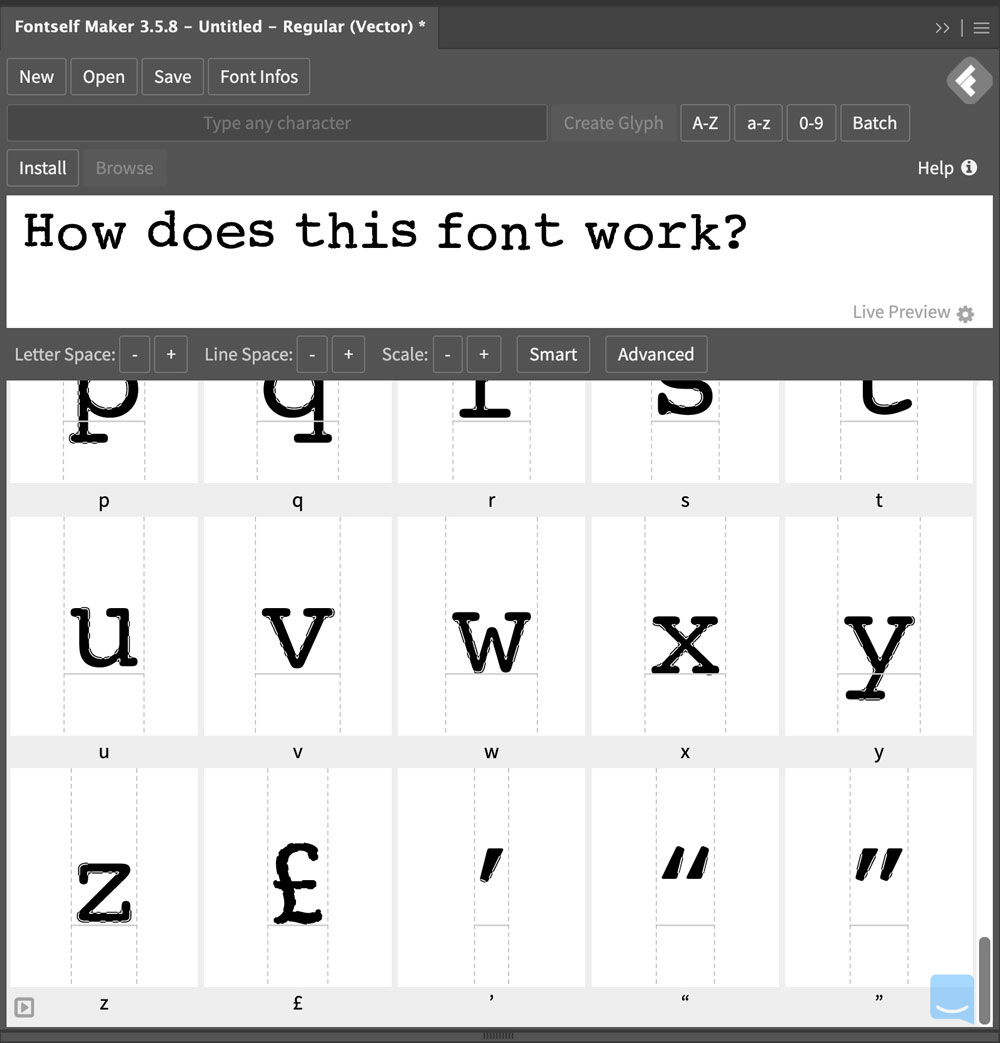
Try it out
Once all the glyphs are in place, you can try the font out by typing whatever you choose in the Preview pane at the top of the FontSelf window. Since this is a monospaced font, character kerning is not relevant; for regular font, FontSelf can apply smart kerning to glyph pairs. There are help files on their website that explain this, and the manual overrides, in detail.
Build your font
When the font is looking as you want it, Click the Save button in the FontSelf dialog and give it a name. You can then fill in some optional information (the creator’s name, website, and so on) and the font will be saved to your computer. You can then double-click it to install it just as you would with any other font, and it will appear in all your apps.
Download Typewritten
Click here to download the Typewritten font.

This article was last modified on July 5, 2023
This article was first published on June 26, 2023
Commenting is easier and faster when you're logged in!

Recommended for you

URLs: Breaking (Badly)
With the help of GREP styles, you can solve the problem of bad breaks in long UR...

Paper Cut Out FX
With just a few clicks with the Pen tool in InDessign you can create this fun ef...
New Contest! The Case of the Imperfect Paste
Solve this InDesign mystery for a chance at winning a great prize.