
We live in strange times. TV shows and movies showing crowds of people look anachronistic. And images of two people meeting without wearing face masks look antisocial and risky. We may not easily be able to thin out the crowds, but we can add face masks. Here’s a quick way to do it.
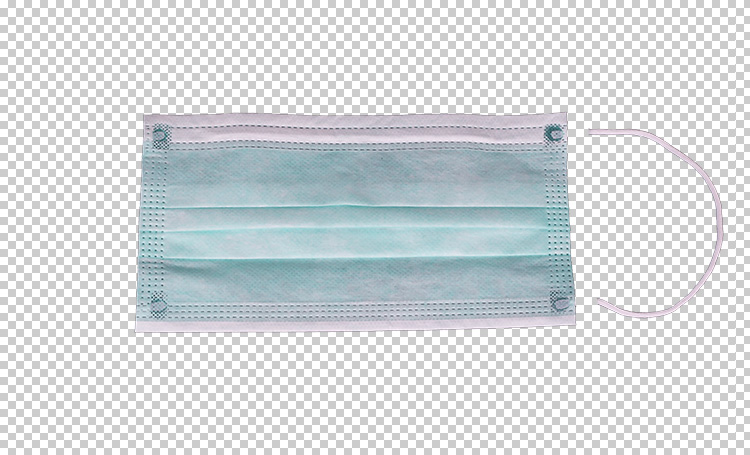
Step 1: Find a mask
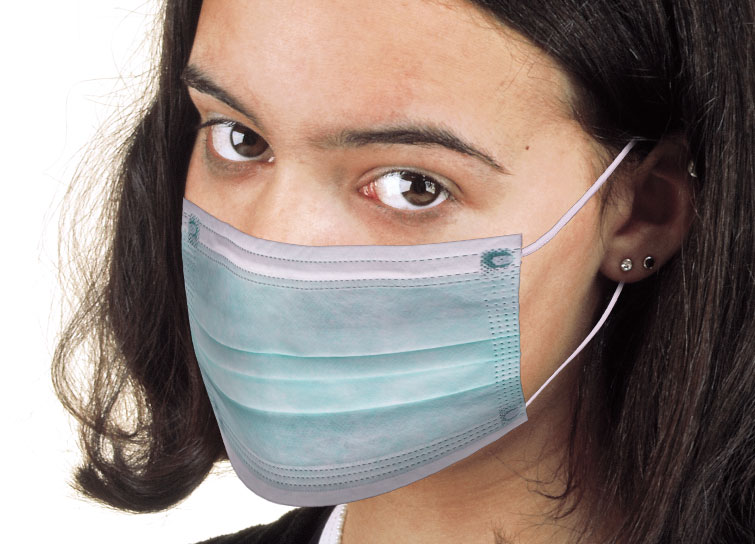
There are plenty of images of face masks out there, but you want to be sure you don’t get sued for breaching copyright. This face mask comes from Wikipedia and is in the public domain – you can download it here, courtesy of nursetogether.com.

Step 2: Cut it out
As this mask has been photographed on black, it’s easy to select it and delete it. Or you could use Select > Subject to do the job for you.

Step 3: Straighten and Separate
Use Free Transform to straighten the face mask, even if it’s going to be at an angle later. You’ll have much more control that way. Then cut one of the straps to a new layer, and delete the other one.
Step 4: The Target Image
It’s much easier to put a face mask onto someone who’s square on to the camera, but let’s look at a trickier task: applying the mask to a face photographed at an angle.

Step 5: Paste and Shrink
Copy and paste your face mask into place. I strongly recommend you turn it into a Smart Object before continuing (Layer > Smart Objects > Convert to Smart Object) as this will allow you to edit the shape later. Use Free Transform to make it roughly the right size.

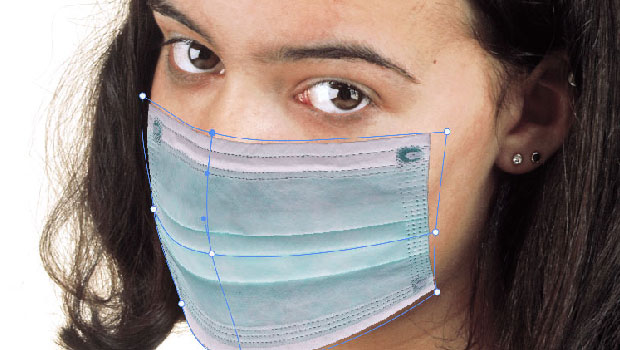
Step 6: Warp the Mask
Click the Image Warp button on the Options bar to show the Bézier handles at the corners. Use these to distort the mask so that it fits the shape of the face.

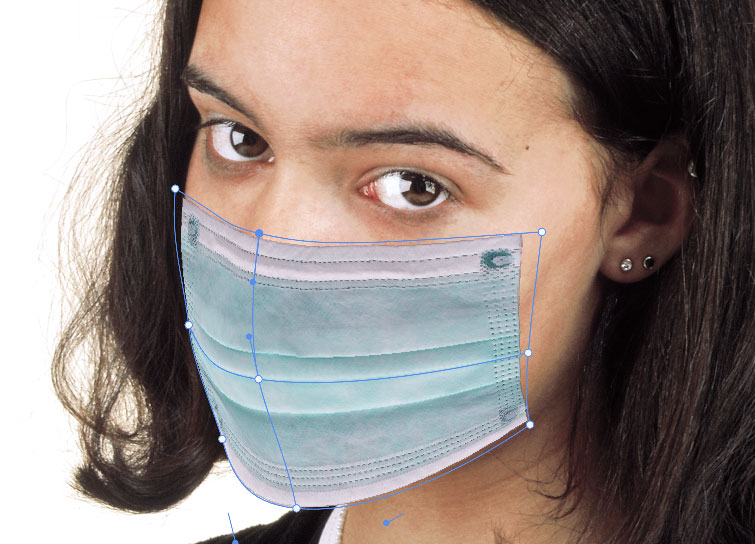
Step 7: Add more controls
Hold Option/Alt and click the center line to add a new vertex at that point. You can now drag that middle point to the left to make the mask look as if it’s properly fitting the face. Use the top handles to add a slight bulge over the nose.
Step 8: Add some Shading
If you’ve converted the mask to a Smart Object as suggested in step 5, you won’t be able to paint on it directly. So make a new layer, set to Hard Light mode, using the mask as a Clipping Mask. You can now use Dodge and Burn to add some shading to the side and bottom of the mask.

Step 9: Add the Strap
Take the strap you cut off on step 3, and paste it into the image. Use a combination of Free Transform and Image Warp to bend it so it appears to loop towards the ear.
Step 10: Mask the strap
Make a Layer Mask for the strap layer, and use a soft-edged brush to paint it out as it enters the hair and disappears beneath the ear. The soft brush also gives the impression of some shading on the strap under the ear.
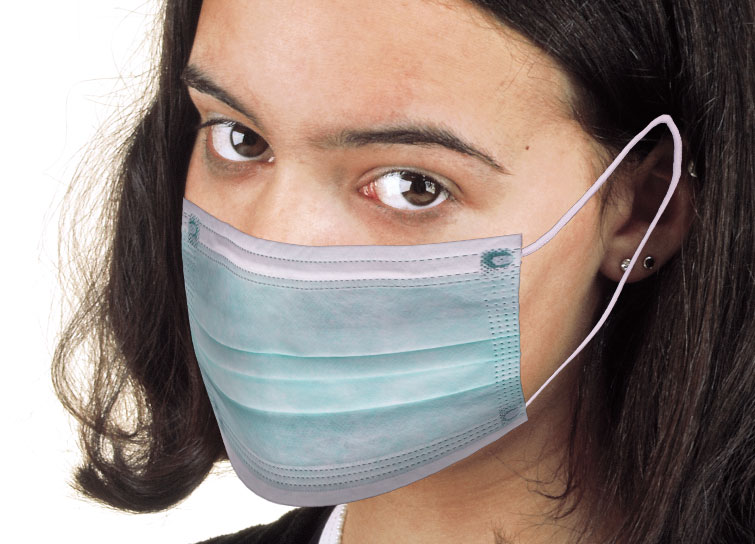
Step 11: Add a shadow
Make a new layer beneath the mask layer. Rather than painting the shadow in black, choose a dark brown from the face and set the mode of the layer to Multiply. Use a soft edged brush, at a very low opacity, to build up the shadow above the mask and under the strap.

This article was last modified on February 26, 2021
This article was first published on February 26, 2021
Commenting is easier and faster when you're logged in!

Recommended for you

Out of Gamut: Thoughts on a Sharpening Workflow
Editor’s Note: For an updated look at sharpening, see “Creating Shar...

Adobe Unleashes Creative Cloud 2015
This week (June 15) Adobe unleashed the latest version of Creative Cloud: Adobe...
Learning about 3M VAS: A CreativePro Conversation
CreativePro Network CEO David Blatner chats with 3M's Sean Springer about the ne...