


This article appears in Issue 73 of InDesign Magazine.
I’m a paperholic—I admit it. Perhaps I was paper-deprived as a child, but I gravitate almost uncontrollably toward exotic vellum or glitter-ridden papers. Couple that with my lifelong loves of both printing and eating, and you can imagine how I feel about edible substrates. Yum! So relax, sit back, grab a spoon, and open your mind to a whole new form of publishing that is taking off.
Simple Edible Printing: Getting Started
You’ve probably seen what are commonly called “photo cakes” at a grocery store or bakery. You can walk in and commission such confections; you can order various goodies with printed decorations, or just order the printed sugar sheets and apply them to a frosted cake yourself. Online purveyors, grocery stores, and bakeries allow you to submit an image to their specs, and they’ll create the edible art for you.
But guess what—you can do this at home! The most common process involves feeding a thin sheet of frosting (coated onto a carrier sheet) into an inkjet printer using food-grade inks. Other than the nature of the paper and inks, it’s just like every other time you’ve ever hit File > Print. (Well, except for the fact that now you can eat your mistakes.) Of course, given that you’re printing something that will be eaten, your choice of subject may be challenging. I still think it might be uncomfortable eating part of your smiling sister’s visage on her birthday cake—should I eat the nose? The eye? The mouth? Maybe I’ll just nibble on her shoulder…
/wp:paragraph –>Whatever image or design you choose, if you want to do this yourself, you need to know there is a bit more to the process than throwing ink in the printer. For example, the edible ink cartridges aren’t available for every printer, and the delicious paper requires a bit of special handling. But if you’re comfortable in the kitchen, here’s how to get started.
Equipment
Several online vendors offer turnkey systems, which might be appealing if you just don’t want to fret over the options. But while the turnkey approach might appeal to someone who’s fearless with a pastry tube and terrified by technology, it’s often actually more expensive than just buying the printer, edible ink, and yummy paper separately. For example, I priced a turnkey setup from one distributor which included:
- Canon MG5520 (Pixma) printer
- 1 set of edible inks
- 2 packs of 24 icing sheets
- Print-head cleaning solution
The price for the turnkey system was $470 (on sale from the original $499). However, I could buy each component separately for far less: just $75 for the printer at Amazon.com; a set of edible inks for $81 (from the same distributor as the turnkey system); the icing sheets for $56; and the cleaning solution for $20. Total? $231.99—half the price!
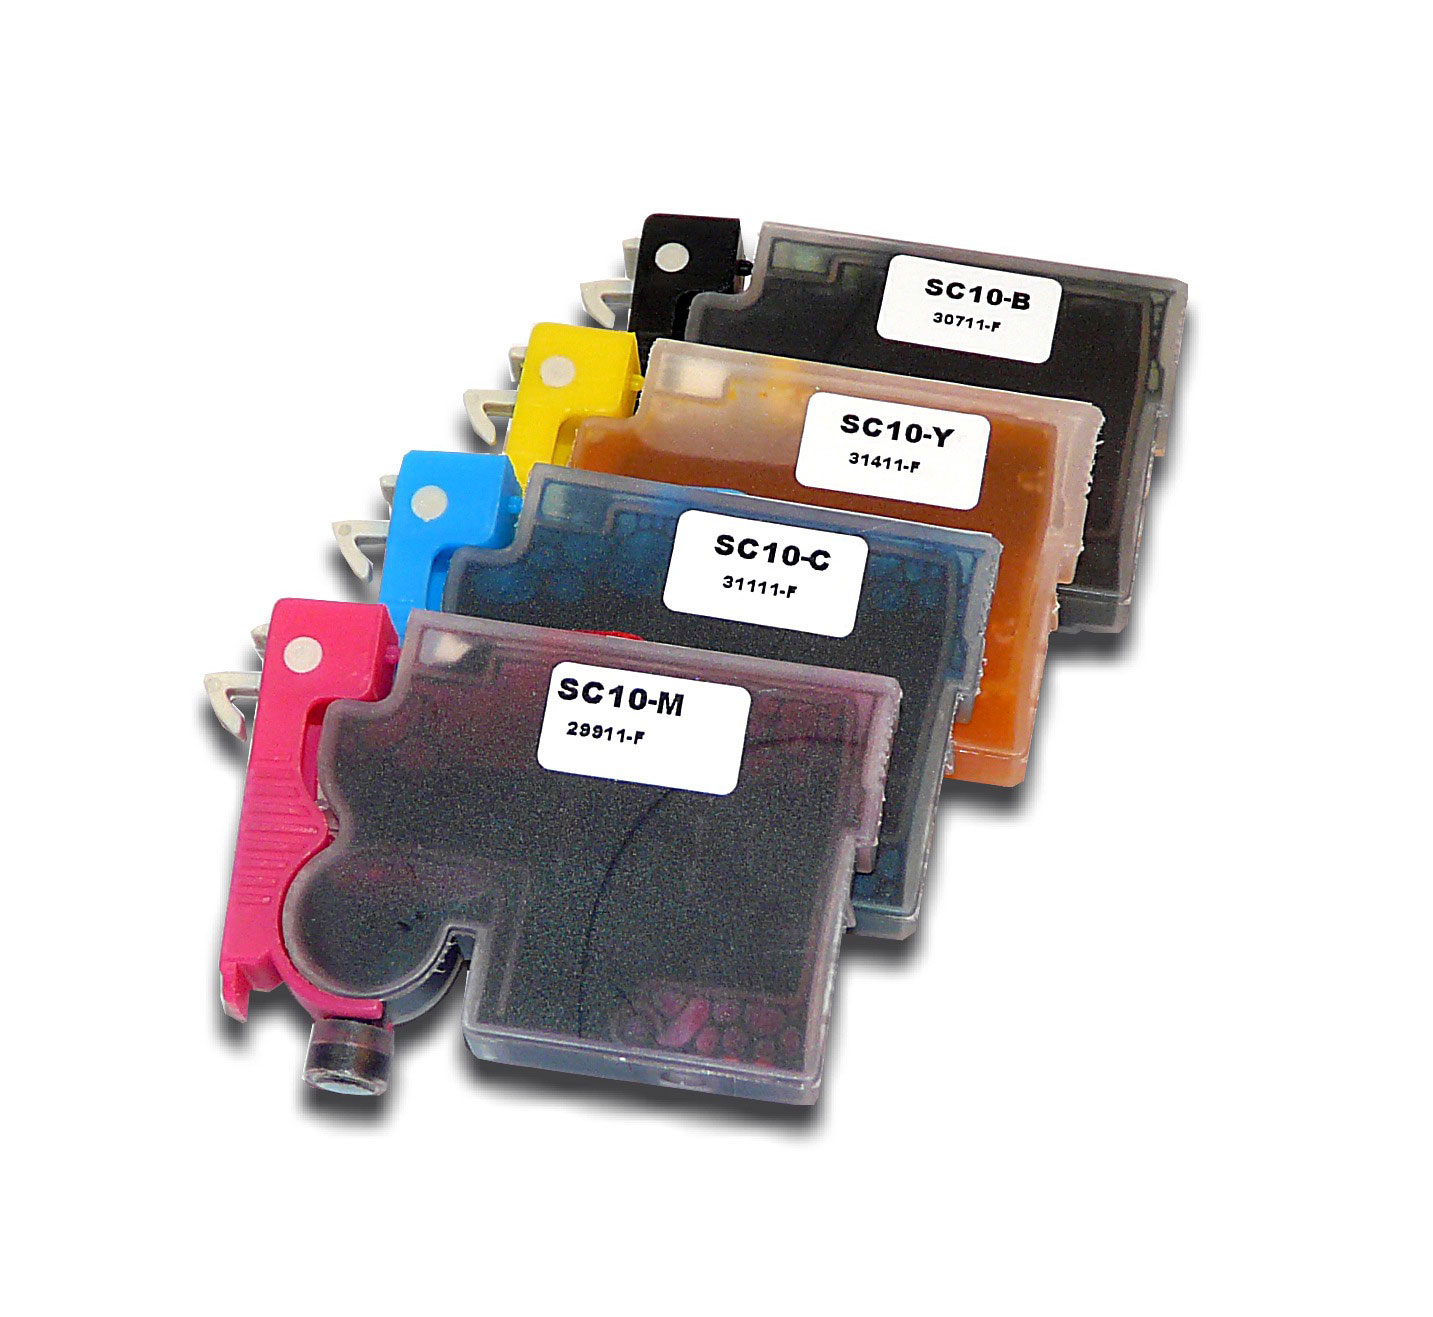
You might think your printer options are limited, but sites like kopykake.com and inkedibles.com list edible ink cartridges for a surprising number of Canon, Epson, and Brother printers—PIXMAs galore, tons of Epsons, and a fairly wide fraternity of Brothers (Figure 1). All of these solutions allow you to print from InDesign or any other application onto thin sheets of edible paper, which you then transfer to
a frosted cake.
If you’re going into business, however, you’d want to look at dedicated industrial-grade machines that print directly onto confectionery products such as cakes, chocolate, or cookies up to about 4.75” thick. Such a device can come with a price that’s a little harder to swallow.
Printing Considerations
While the actual printing process is very much like printing a letter, there are some issues unique to edible printing. For example, you should never use the same printer for edible and conventional inks. Ever! Despite the availability of head-cleaning solution, there’s no guarantee that you could get every last molecule of non-edible ink out of the system. So for safety’s sake, you must start fresh with a printer that has never been used for regular printing.
Edible inks are a bit more prone to clogging than conventional inks; if you’re not using the printer steadily, print a test piece about once a week to keep the system limbered up. That might seem tedious, but hey—you can eat the test page! Maybe you should run a couple more, just to be sure. After all, it’s two hours until lunch…
Edible Paper
Obviously, the stuff you print on has to be as edible as the ink. There are several types of edible “paper,” each of which you then apply to different types of foodstuffs. Although these substrates are printable, some require special storage and handling.
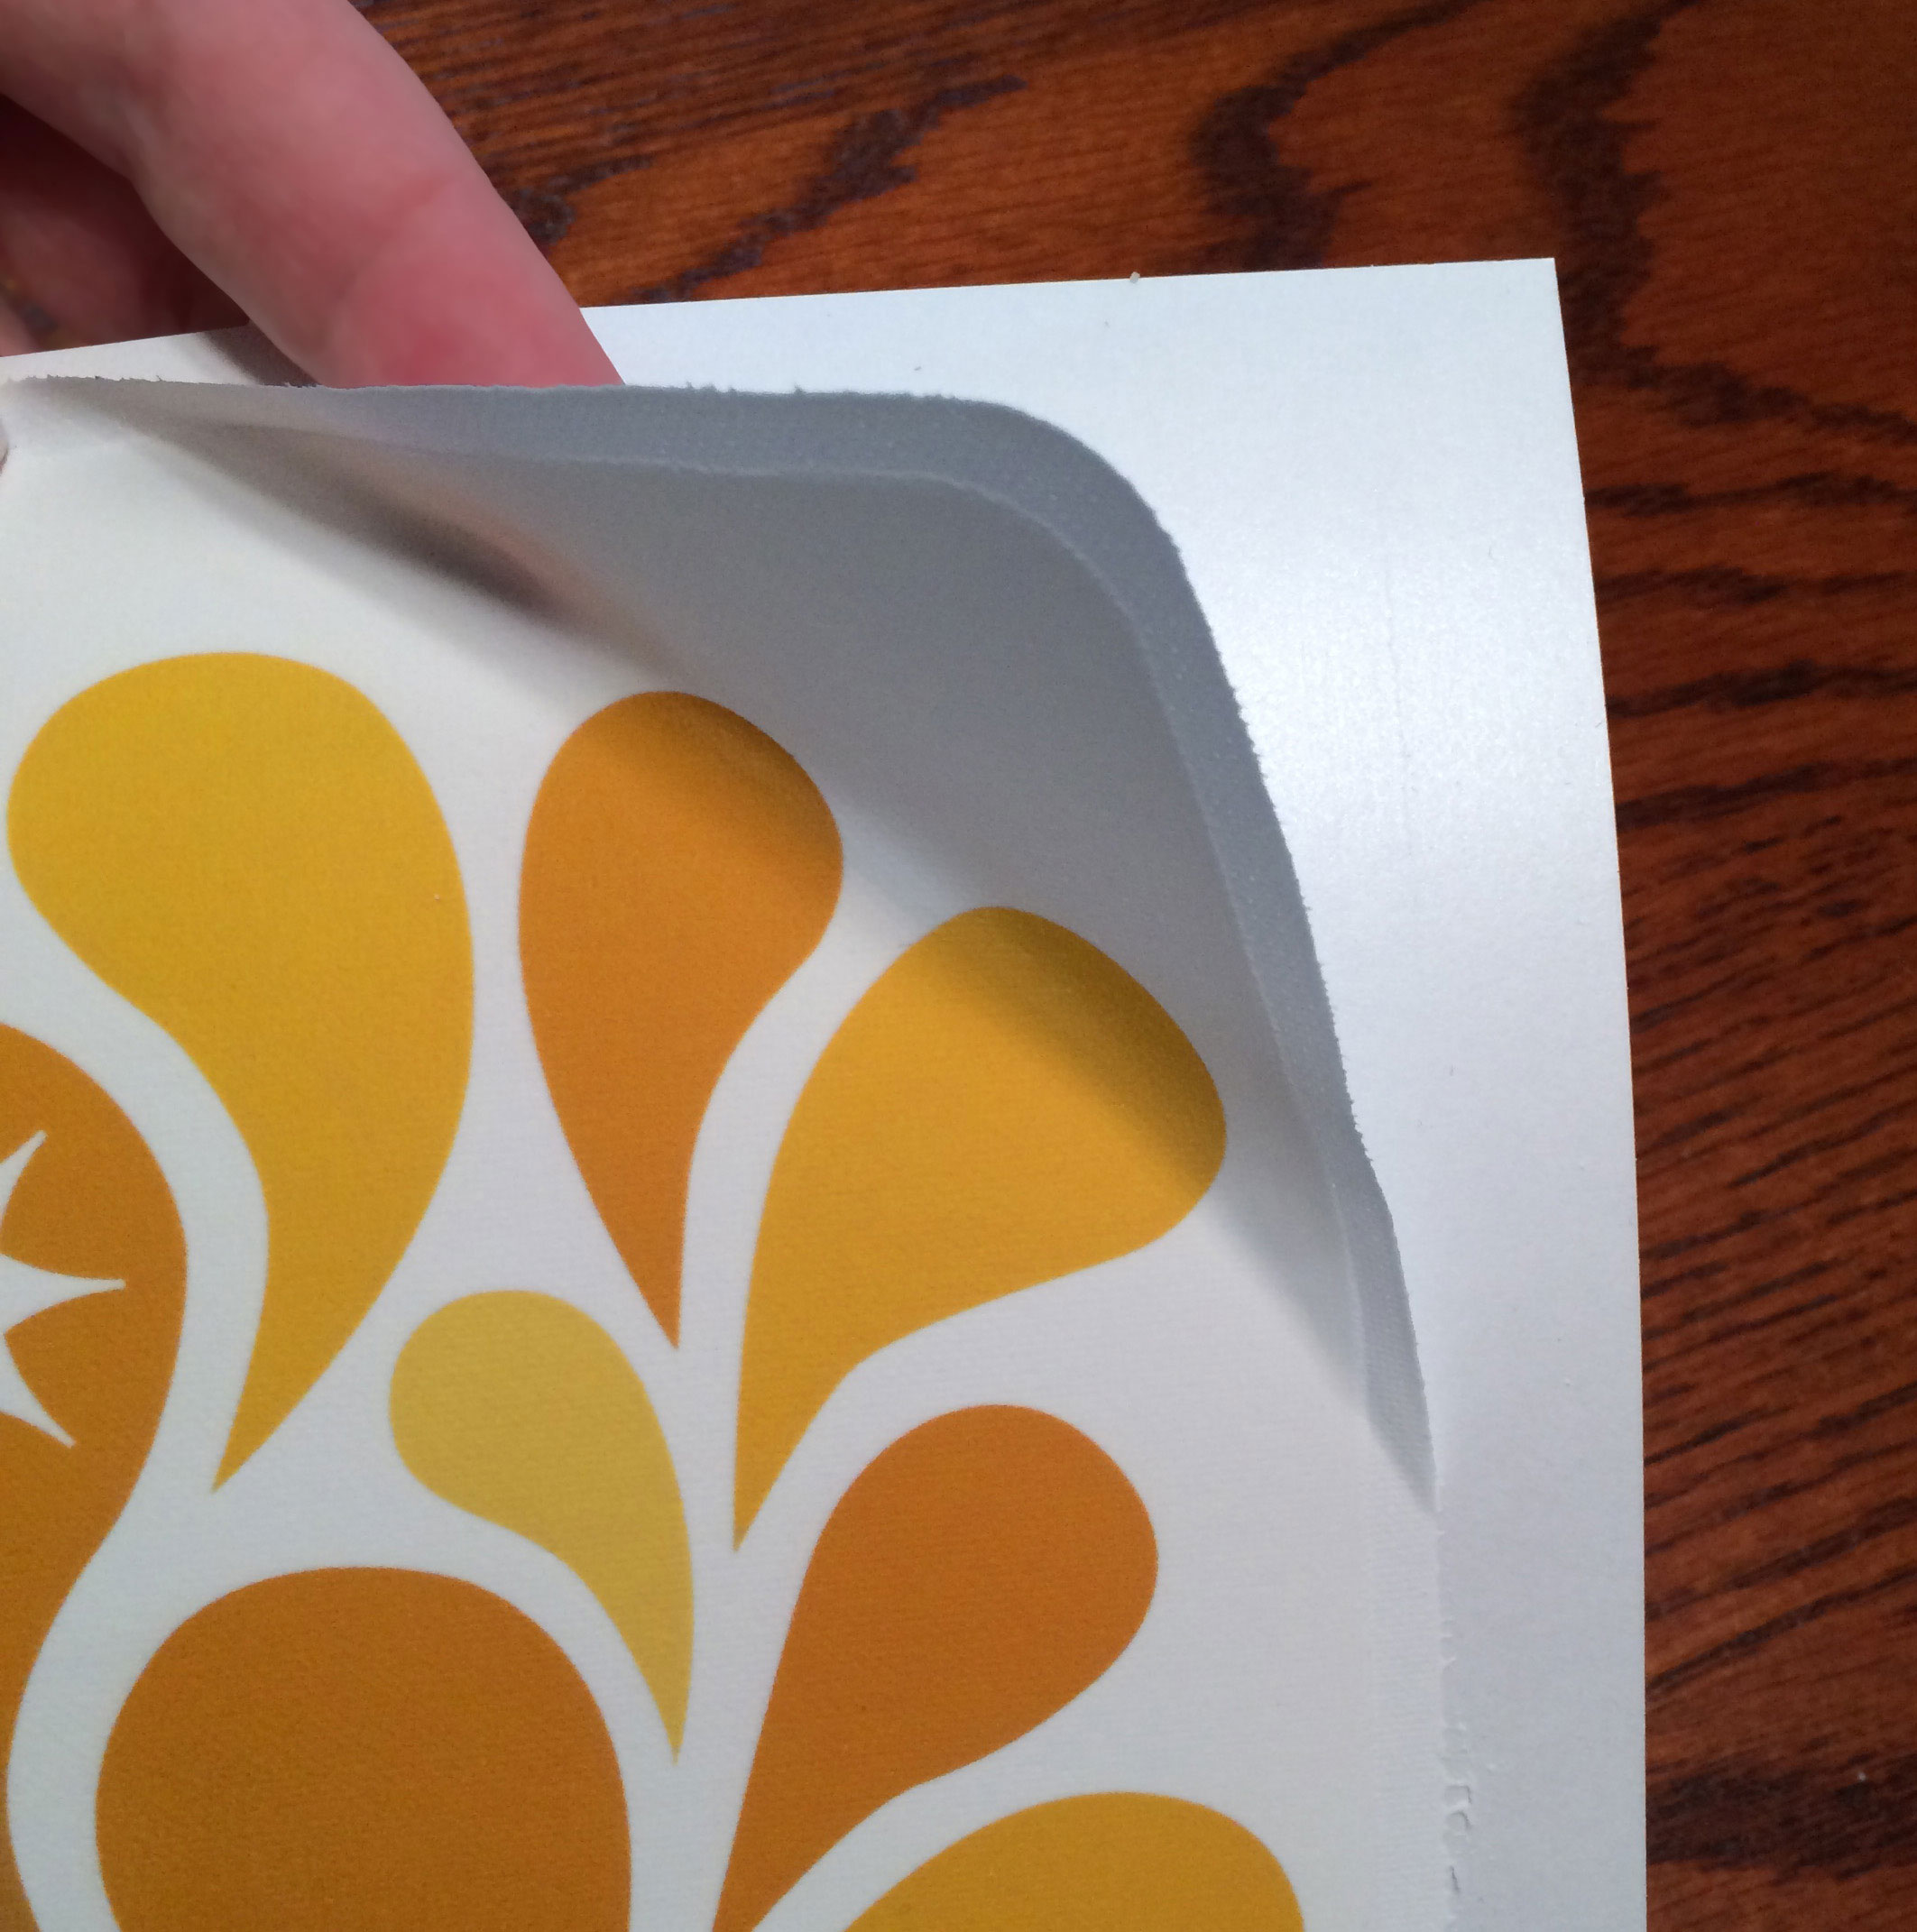
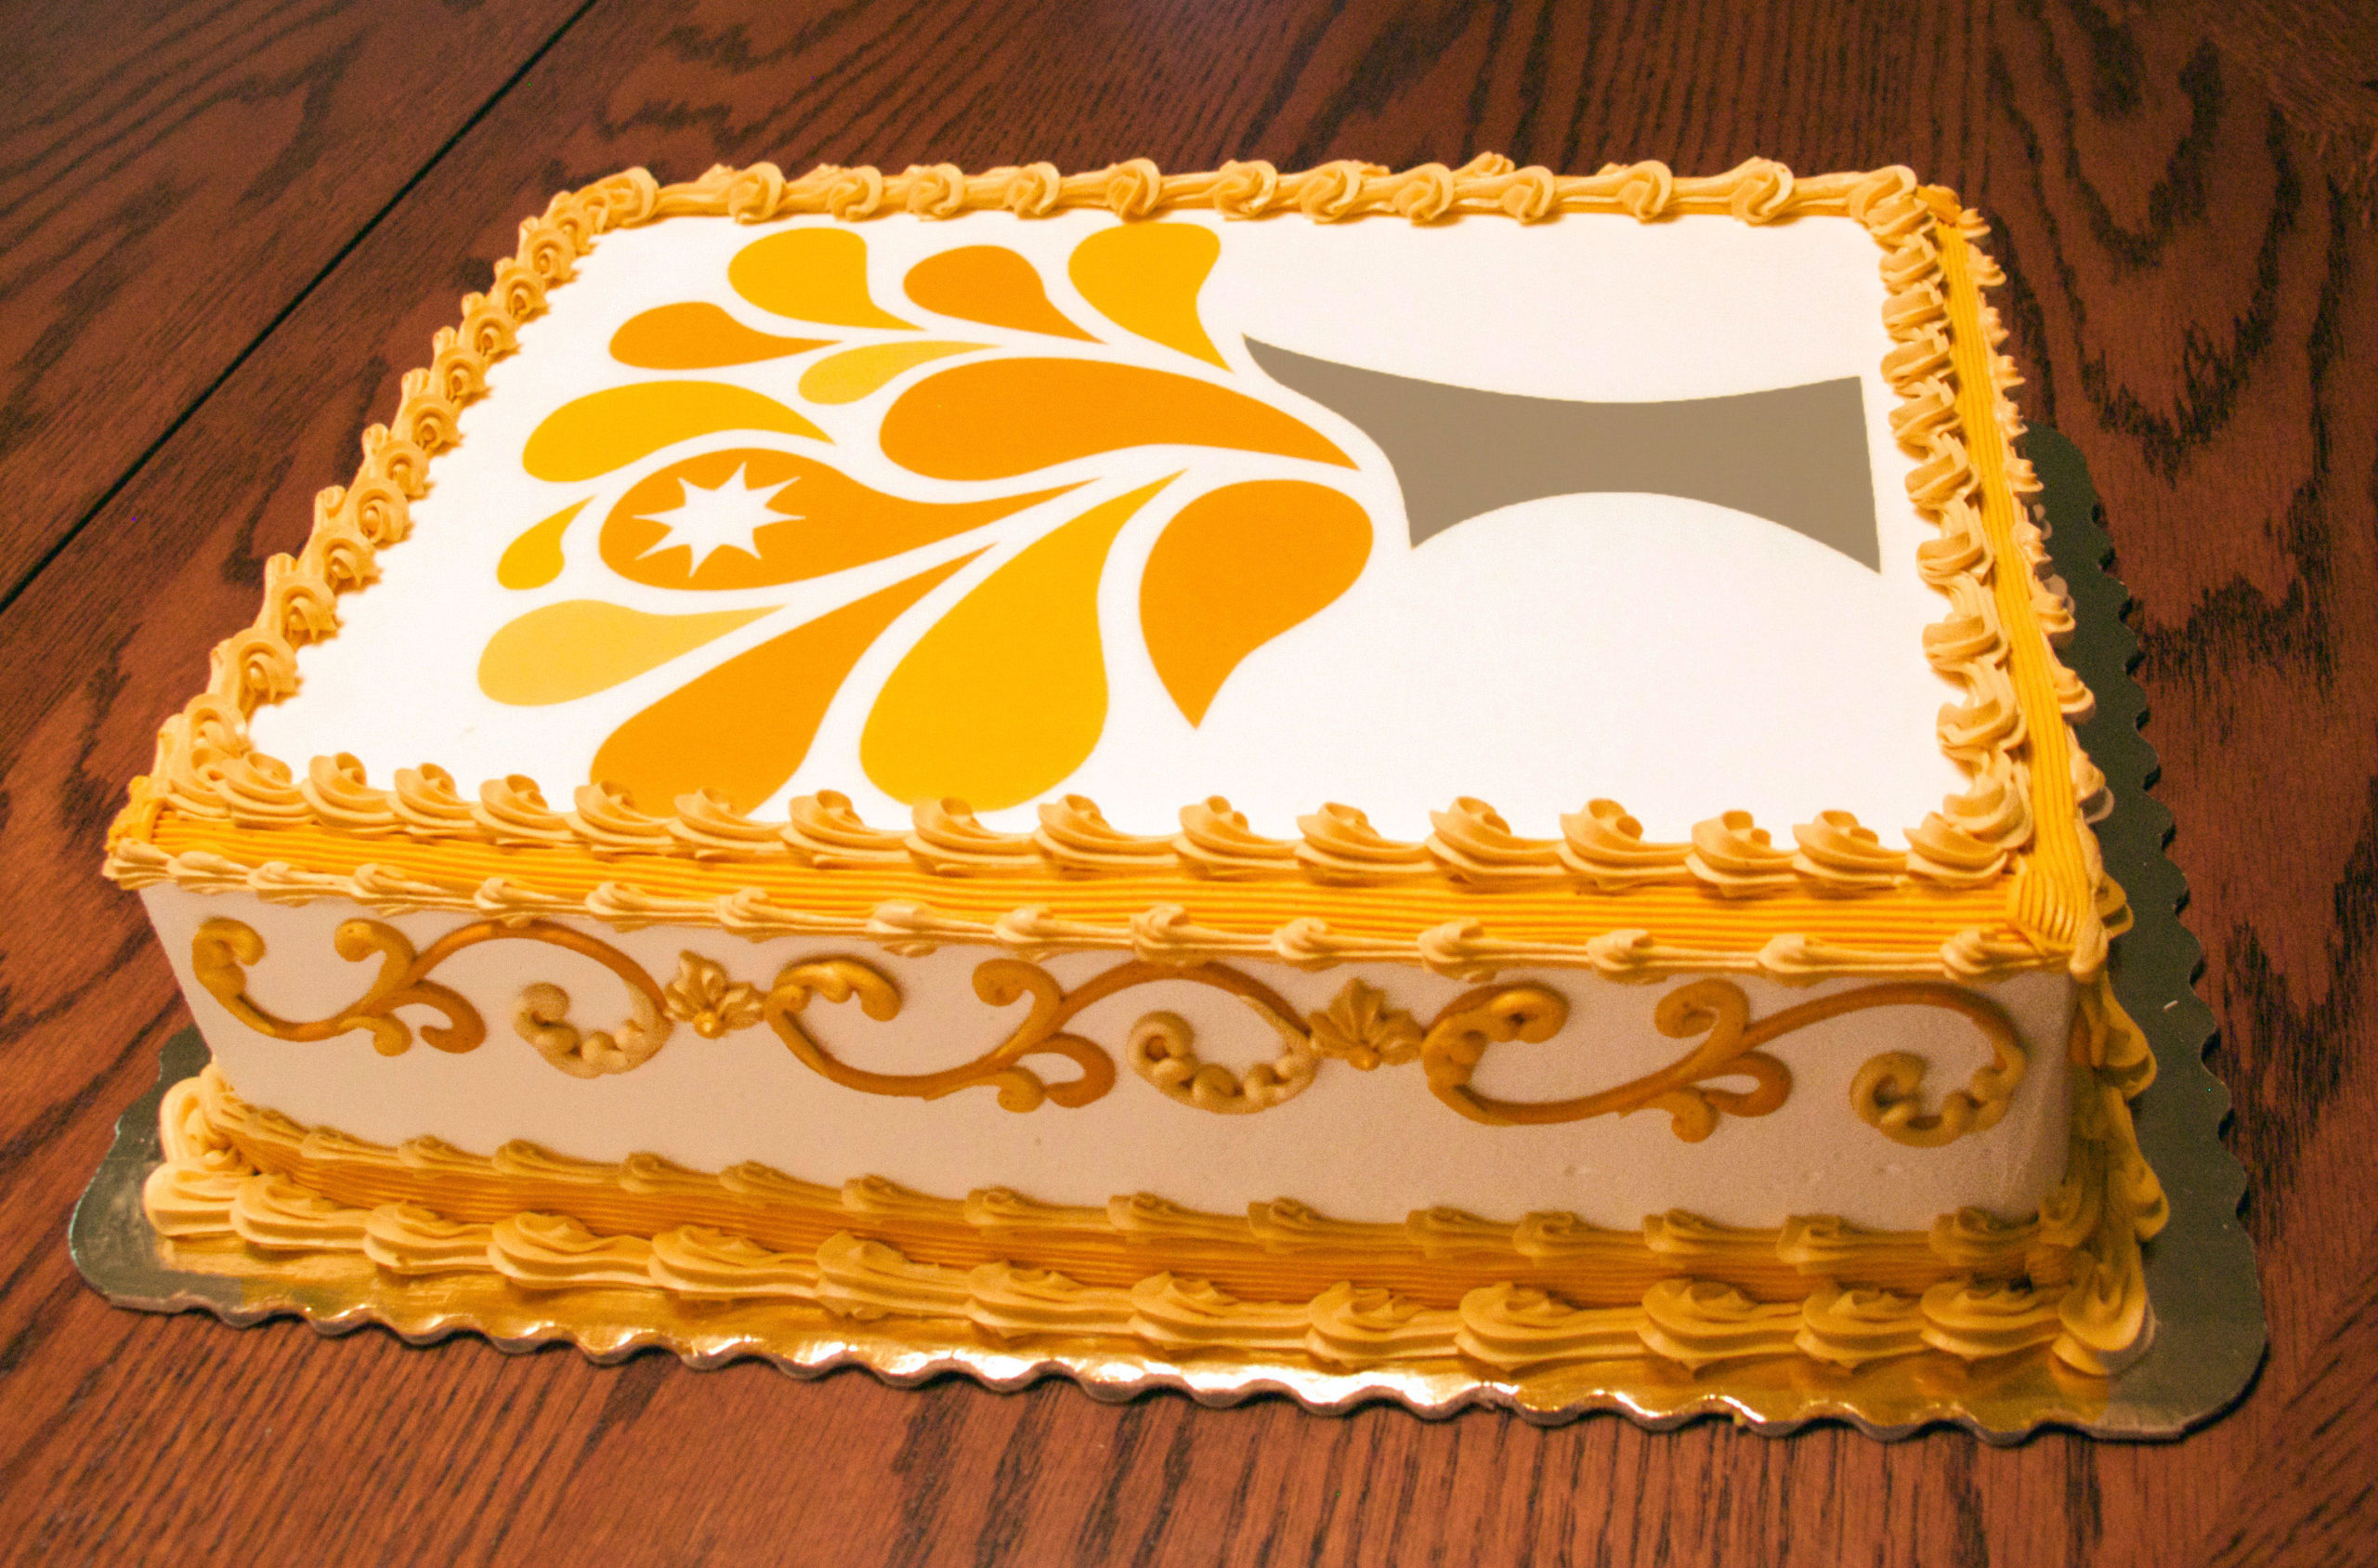
Icing sheets: In an icing sheet, a thin layer of cake frosting is mounted on a paper or plastic backing carrier that lets it travel through the inkjet printer (Figure 2). It’s best to store the printed icing sheet in its sealed carrier bag, so it remains limber as you peel it from the backing and position it on a frosted cake top (Figure 3). Once it’s in place, it will soften slightly and meld with the underlying frosting (Figure 4).

Tip: Icing sheets are intended to be applied to a cake with moist frosting, such as buttercream (but not on top of something like whipped cream). If you intend to apply to a dry surface, such as fondant icing, you’d need to apply a thin coat of buttercream or corn syrup first to enable the icing sheet to adhere to the fondant. Icing sheets are available in white and in colors, including pastels and metallic luster.
Wafer Sheets: Sometimes also called rice paper, wafer sheets are made with potato starch or tapioca starch, vegetable oil, and water. Wafer sheets are intended to adhere to dry surfaces, such as marzipan or gum paste, and should not be used on moist underlays. To adhere, slightly dampen with water or corn syrup, and mold to the underlying confection. Wafer sheets can even be used on bread dough, baking into the surface while in the oven. Wafer sheets are available in white and some colors. Because wafer sheets are rather dry and a bit stiff (compared to icing sheets), it can be tough to make them adhere to irregular surfaces.
Cheese Sheets: Oh, boy. Parmesan cheese-flavored edible paper—think of the possibilities! Pizza, sandwiches, bread… even cheese itself! Cheese sheets can be printed, and then applied to hot or cold foods. While this mildly cheese-flavored edible substrate isn’t a substitute for a generous sprinkle of freshly grated Parmesan cheese, it provides a unique way of applying a label or message to savory food.
Edible Printing Supplies
Ready to start printing out edible pieces and eating your mistakes? You probably can’t buy this stuff at your local grocery or office supplies store. But numerous online suppliers provide edible ink and paper, as well as other nifty stuff, such as confectionery die-cutting equipment (be still, my heart). Here’s a list of companies to get you started:
Icing Images (icingimages.com): Icing sheets, wafer sheets, edible ink cartridges, and turnkey printing systems, as well as printing services.
Inkedibles (inkedibles.com): Icing sheets, wafer sheets, cheese sheets, edible ink cartridges, edible markers, airbrush inks, turnkey systems, and printing services.
Edible Supply (ediblesupply.com): Icing sheets, wafer paper, edible ink cartridges, edible gel, turnkey systems, and printing services.
Printed Confectionery Products
If you don’t want to invest in the equipment and supplies to print confectionery content, but would like to order printed edible paper products, these suppliers are happy to oblige. You just have to apply the icing sheets or wafer paper to your own cakes, cupcakes, or cookies.
Edible Prints (edibleprints.com)
Icing Images (icingimages.com)
Inkedibles (inkedibles.com)
Edible Supply (ediblesupply.com)
3D Edible Printing
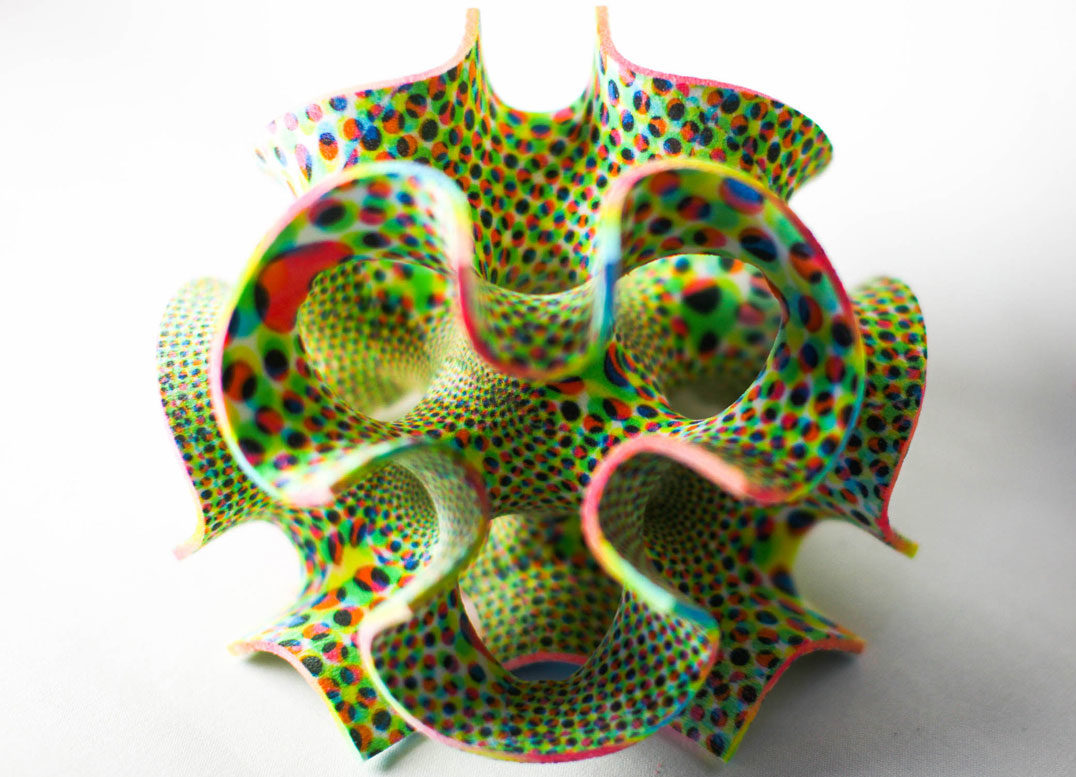
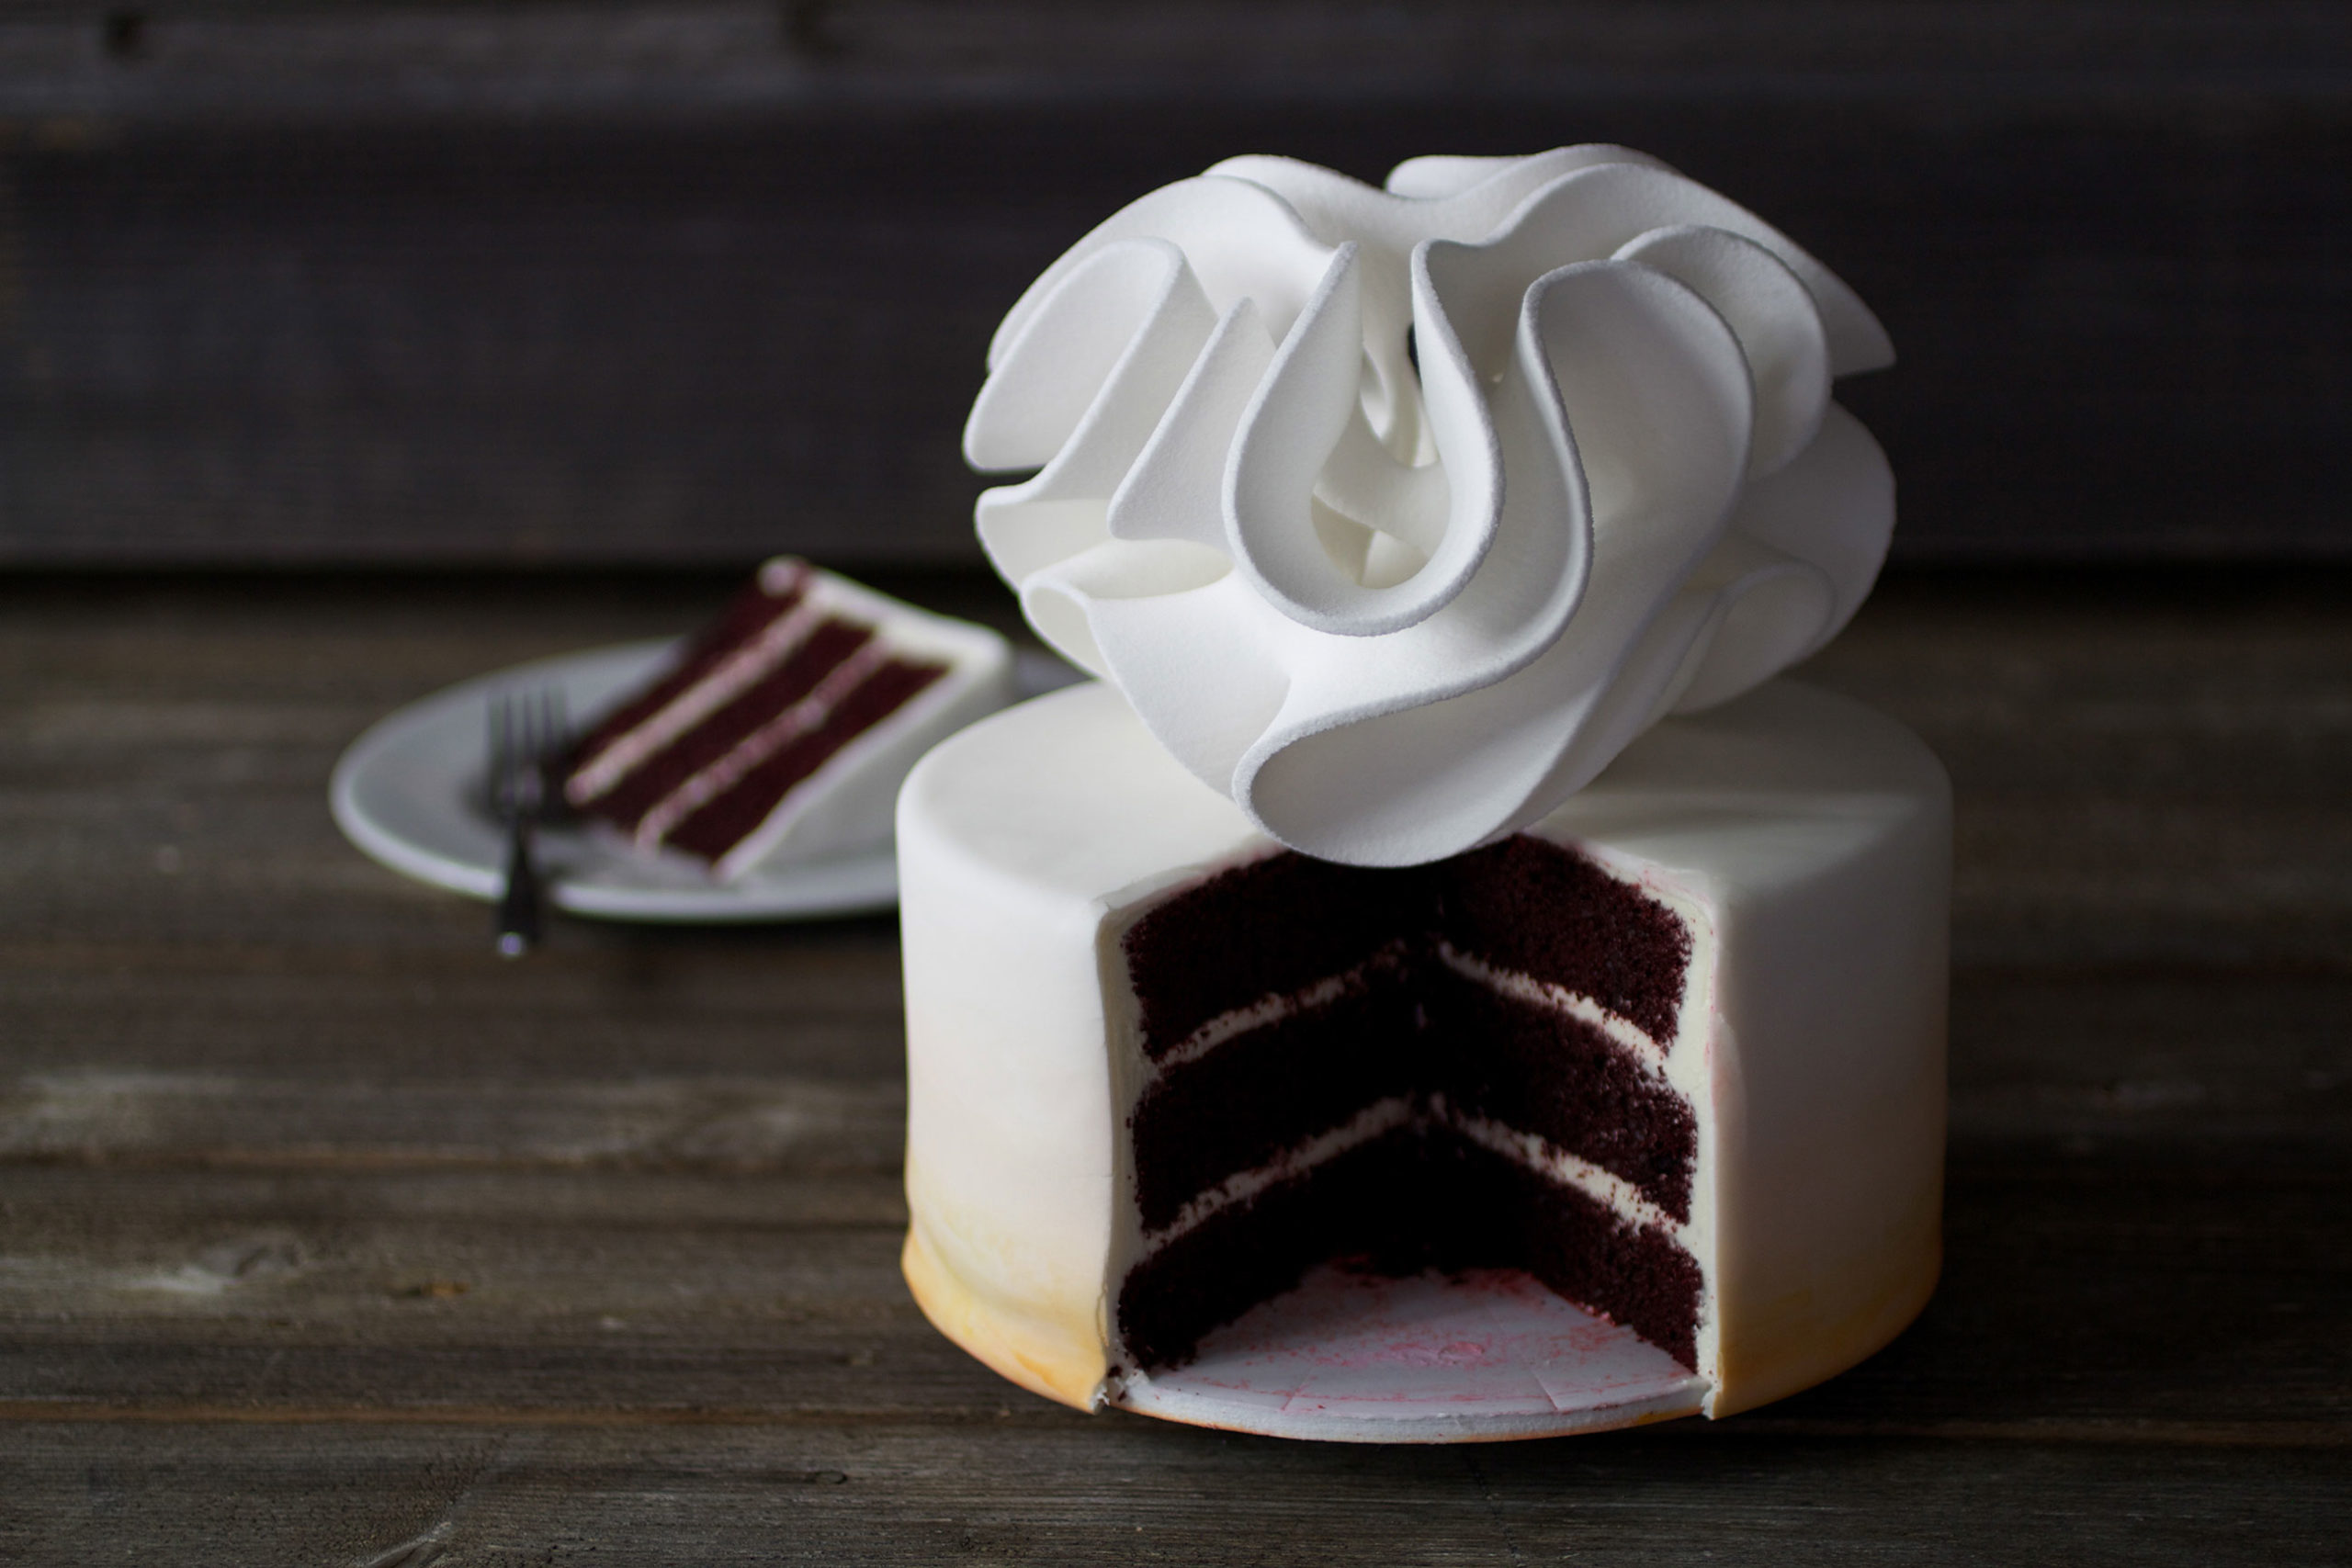
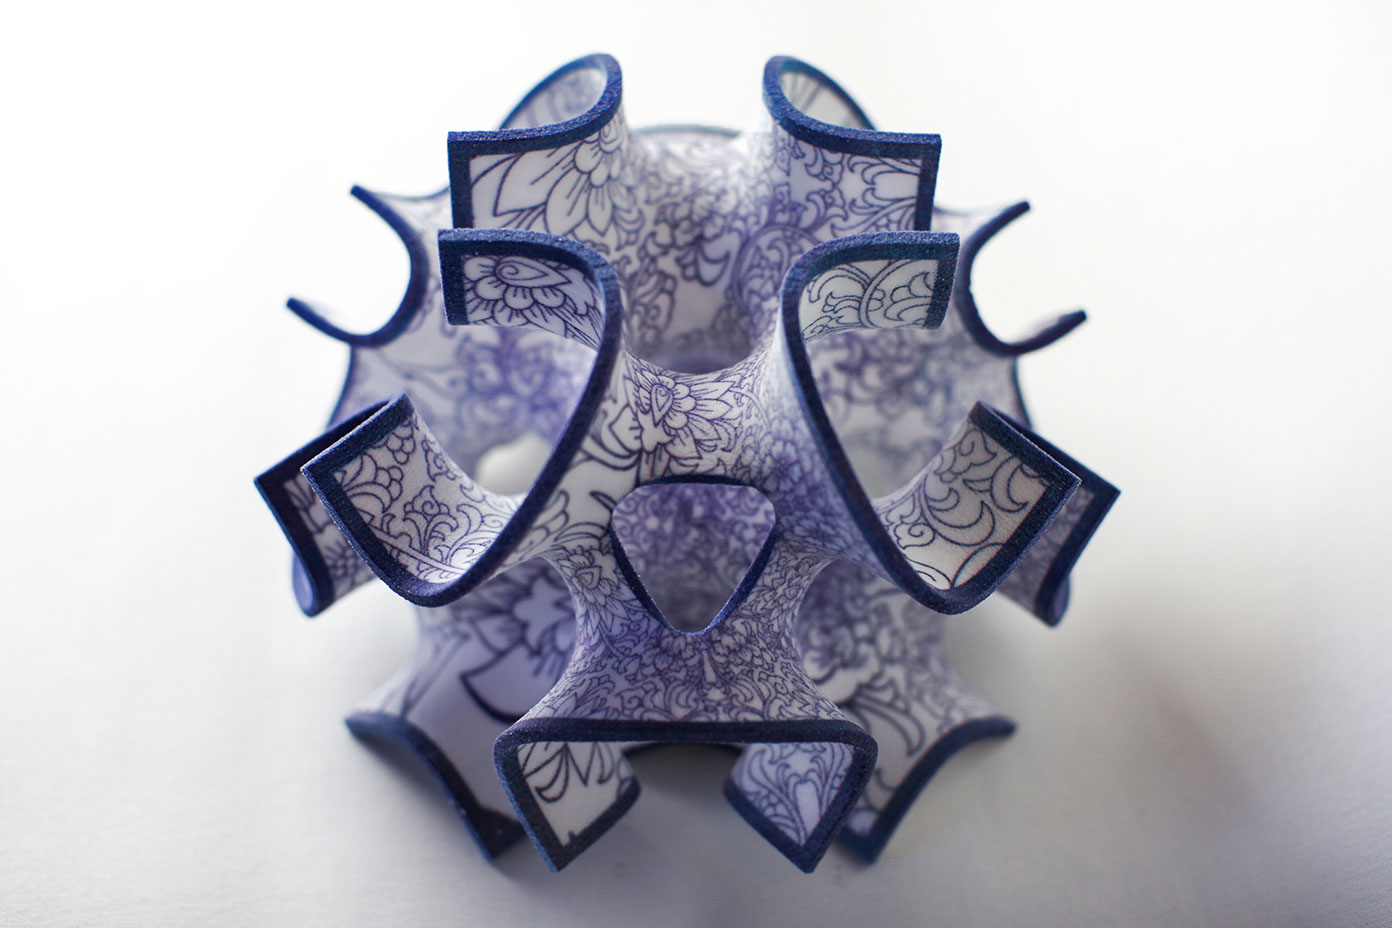
But wait—as the late-night TV pitchmen say—there’s more! If you’re not satisfied with the prospect of just printing out photos of the neighbor kid’s soccer team and sticking it on a flat cake, you might be excited to know that we’re seeing the first glimmers of 3D edible printing. Just Imagine cake toppers that look like Möbius strips (Figure 5), or little edible car-shaped party favors. (Hey, I’m just into cars and science-geek stuff; your mileage will vary.) Of course, you won’t be able to design these items with InDesign, but Photoshop sports an ever-expanding set of 3D printing features.
In recent years, there have been Kickstarter campaigns for consumer-level food printers, and Consumer Electronics Show announcements of soon-to-be-released home food printers, but most have fallen by the wayside (if they even made it to the wayside)—we’re still waiting for the Foodini, from Natural Machines.
However, now 3D Systems, purveyor of all manner of, well, 3D systems, is venturing into the realm of edible objects. In collaboration with The Hershey Company, they’re developing the CocoJet chocolate printer, which was previewed at the Consumer Electronics Show in early 2015, and debuted at Hershey ‘s Chocolate World in December, 2014. The CocoJet prints dark, milk, and white chocolate; here’s a brief video. I do not need to know about this. Really, I don’t.
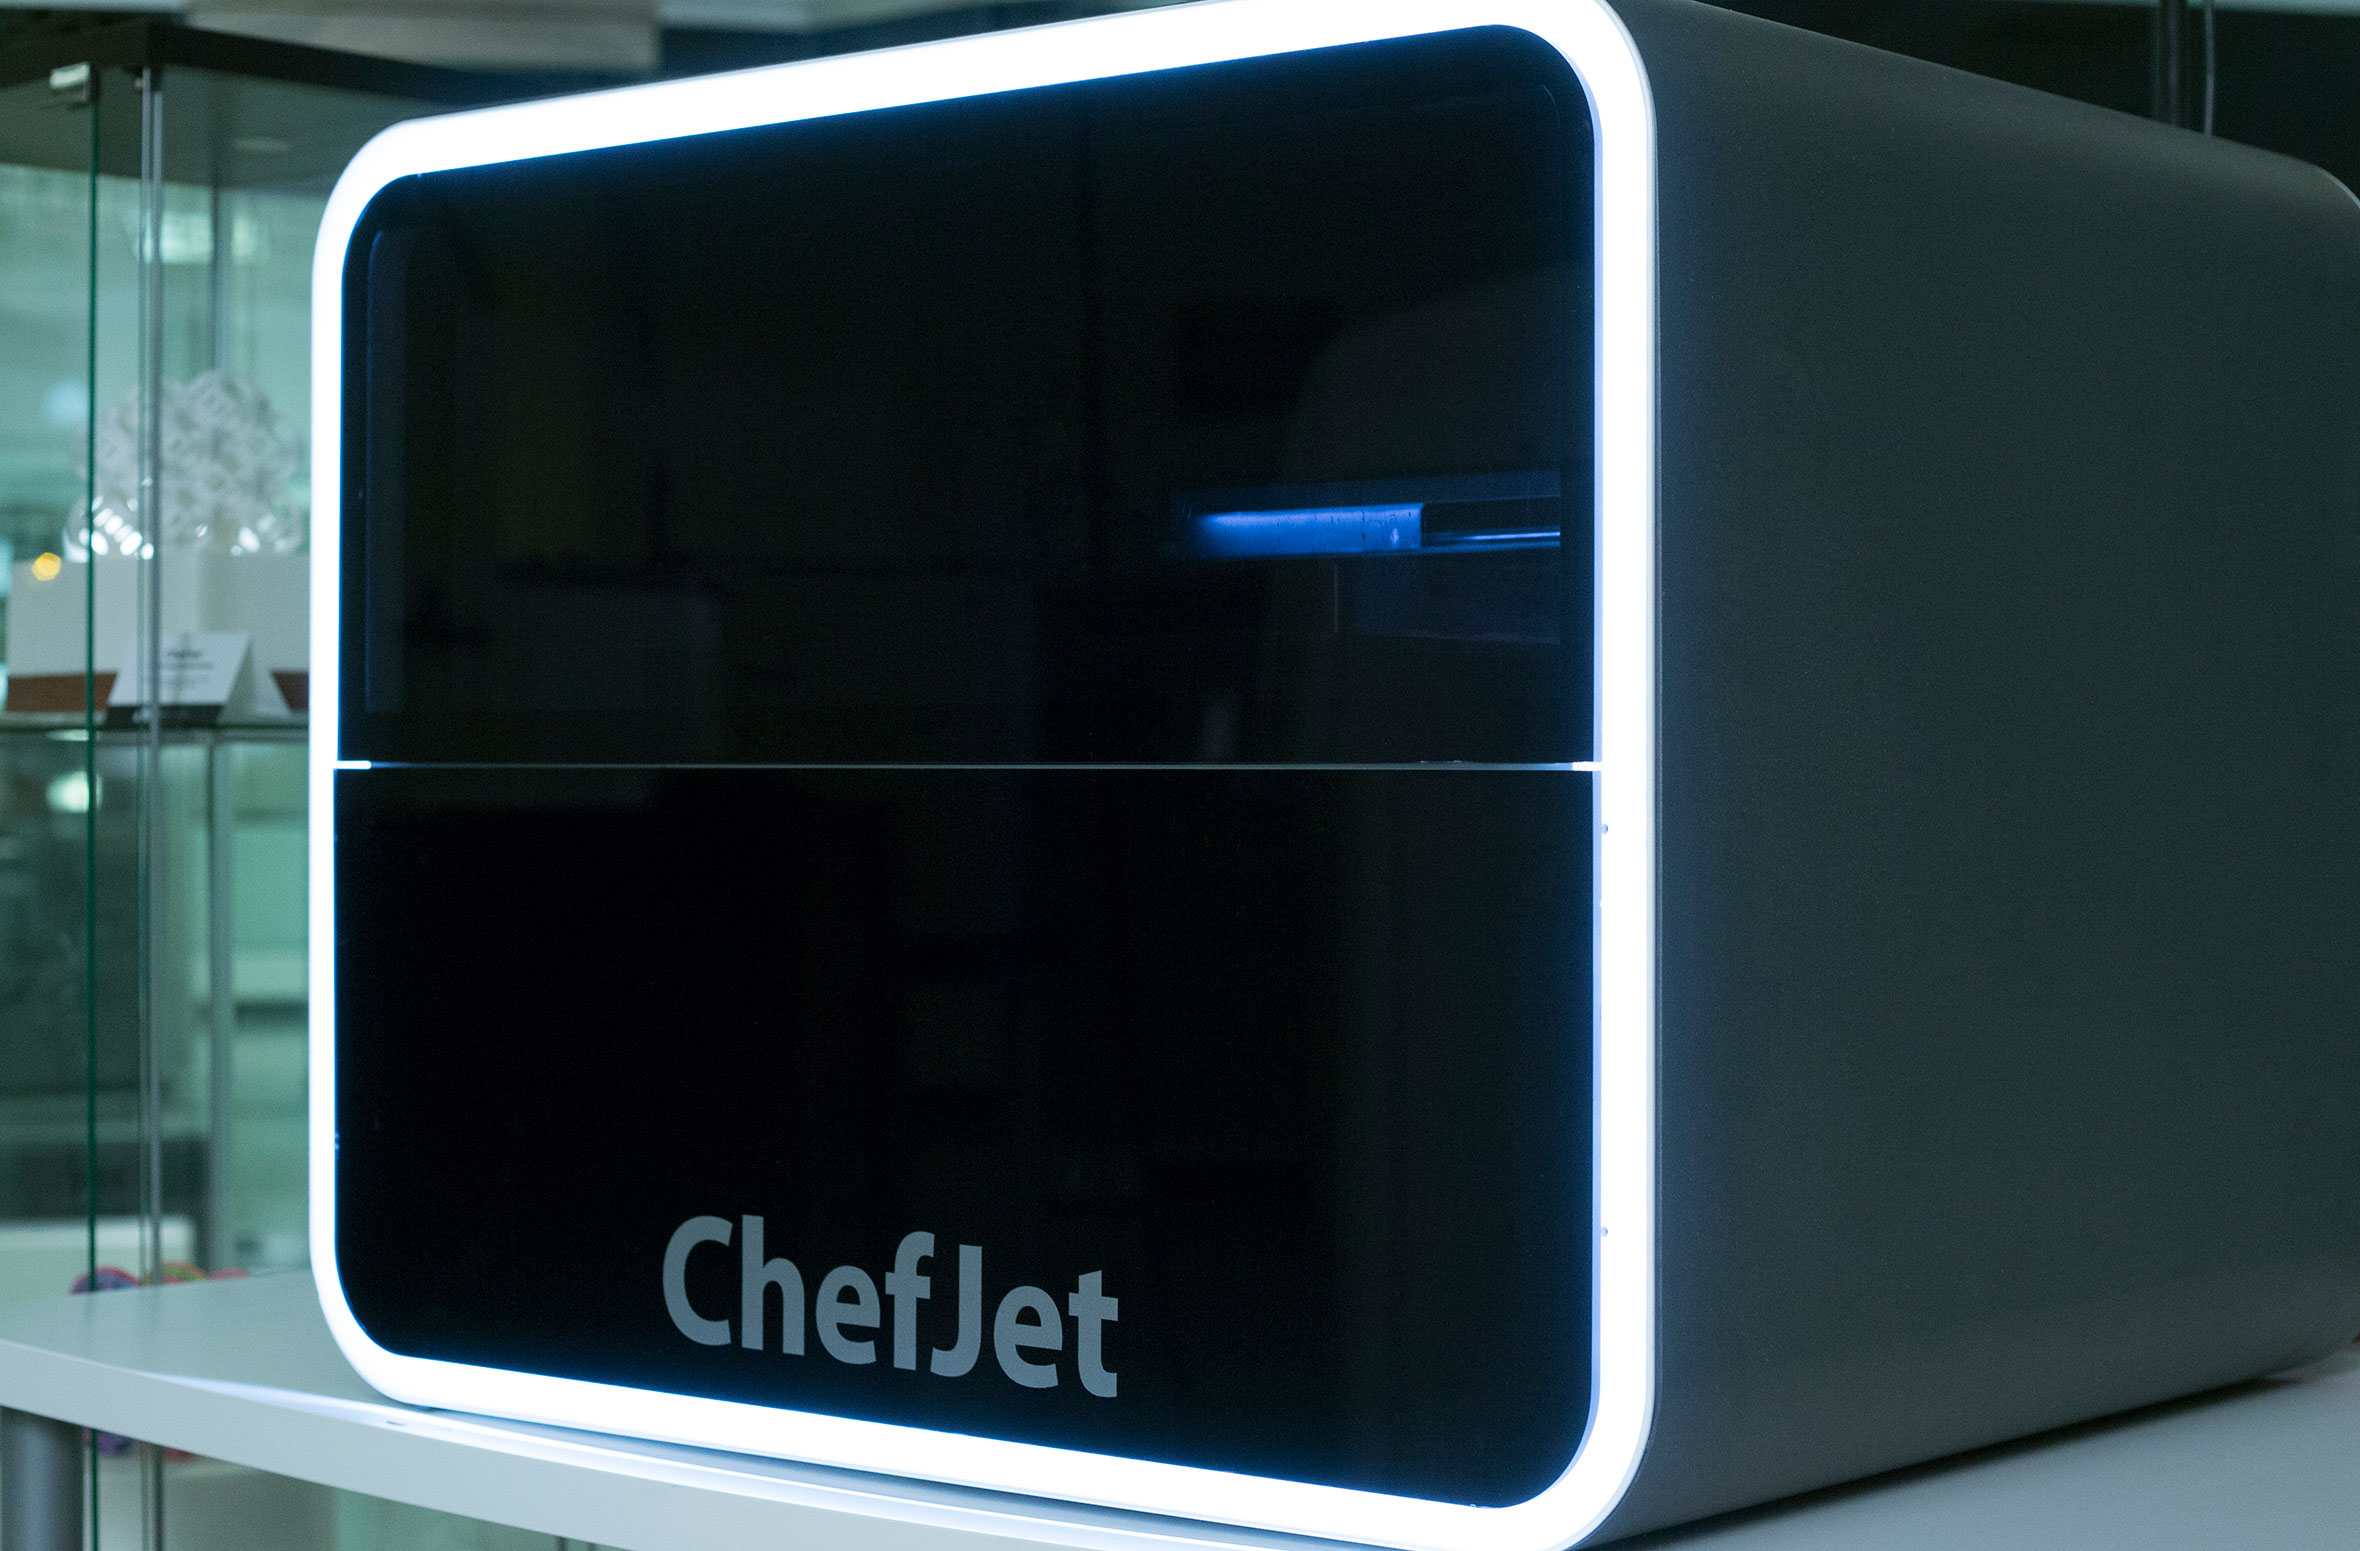
Moving beyond chocolate, 3D Systems has announced two fascinating sugar-printing systems: the one-color ChefJet 3D (estimated to be just under $5,000 USD) and the multicolor-capable ChefJet Pro 3D (estimated to sell for just under $10K) (Figure 6). While creating glorious pieces such as those seen in the Sugar Lab gallery requires CAD software, the ChefJet machines will ship with simplified, intuitive 3D design software intended for non-engineers to use. Both ChefJet systems are expected to be available in the latter half of 2015. I want one so bad I can… taste it.
Finally, I should mention that NASA is even experimenting with 3D food printing for astronauts, but I’m guessing the results will probably be more like peanut butter particle board than the fantasy fare of the Star Trek replicator: “Print-O-Matic, make me a roughly star-shaped, flavorless, soy-based cookie replica!”
Own What You Print
One final bit (or is that a bite) of advice for getting started with edible printing: don’t ignore rights and permissions. In other words, just because you can eat it doesn’t mean you’re always allowed to print it. If you’re printing a photo of your family, you’re free to do what you want. But if you want to print something copyrighted, be careful—get written permission from the license holder! A local bakery recently printed a college logo on a celebration cake for a family whose son was graduating. They were sued by the university to the tune of $16,000 for unlicensed use of the logo. I’d say that’s overreacting (and lessens the chances of alumni donations). But beware, nonetheless, to ensure that your first experience in edible printing will be a sweet one.
Commenting is easier and faster when you're logged in!

Recommended for you

Yet More Reasons to Create Tagged PDF
Even if you don’t care about making your PDF files accessible (though you should...

Why Am I Seeing Yellow Highlighting on My Text?
A (thankfully) easy solution to an often frustrating InDesign problem!

Get Many Images From One Original Photo
This 18-page article from issue 39 of Before&After Magazine shows you how to get...