
Designing Photo Albums in InDesign
Everything you need to know to efficiently build beautiful photo albums in InDesign


This article appears in Issue 57 of InDesign Magazine.
InDesign makes it a breeze to design a fully custom 40-page photo album in an hour—or less. (And that’s if you’re starting from scratch.) You can design for any vendor, export to a variety of formats, and wield unparalleled control over every nuance. Plus, you get the convenience of working with a single document. Yet surprisingly, for many photographers and photo enthusiasts, the idea of using InDesign to build photo albums doesn’t come naturally, even for those photographers with design backgrounds and experience using InDesign. Since first becoming aware of this shocking phenomenon, I’ve been on a one-woman mission to save photo book lovers everywhere from masochistically attempting album design with improper tools (a.k.a. Photoshop). Whether you’re entirely new to creating photo albums or you’re just tired of spinning your wheels attempting to do layouts in photo editing software, this overview will show you how to make albums painless—with InDesign.
Getting Started
Obviously, it’s pretty hard to get started on an album design if you don’t know the size, format, and specifications required for your project. So before doing anything else, you’ll want to:
- Decide on a vendor
- Choose which book to make
- Gather the required file specifications and/or download any related templates
The range of products offered (album sizes, shapes, and finishing options), turnaround times, cost, and quality can vary dramatically from vendor to vendor. Your best bet? Plan to invest time doing some serious web surfing to get an idea of what your options are. As far as template files and specs go, because many vendors still support the use of Photoshop for albums, they may only As far as template files and specs go, because many vendors still support the use of Photoshop for albums, they may only provide
PSD templates—but don’t let that stop you. Just download their Photoshop templates to get the specs for setting up your own InDesign documents. (And let those vendors know that you’d like an InDesign template!)
Helpful InDesign Preferences
Whether you’re new to InDesign or have worked with it for years, when it comes to photo album production, it’s worth making a couple of tweaks to your preferences. The key to making these changes stick is to make them with no open documents, so close any documents that may be open.
Units and Increments
InDesign’s default unit of measure is picas, but the file specifications for your book project will likely be in inches or millimeters (depending on what part of the world you’re in). To keep yourself sane, you can change this setting to whatever your project requires, otherwise InDesign will convert everything back to the default of picas. To do this, go to InDesign > Preferences > Units and Increments (Windows users choose Edit > Preferences > Units and Increments). Set the Horizontal and Vertical Ruler units to Inches (or whatever your project requires), as shown in Figure 1.
Object Fitting
One of the countless benefits to doing album design in InDesign versus using Photoshop is the ability to drop in images and make them fit immediately, without having to resize each and every one. The key to making that happen is the default setting related to object fitting. Choose Object > Fitting > Frame Fitting Options. From the drop-down menu next to Fitting, choose Fill Proportionally. For the Align From option, click the center point to select it (Figure 2).

Figure 2 These two object-fitting settings will make images fill their frames proportionally by default, saving you boatloads of time!
Custom Keyboard Shortcuts
When editing and retouching my album designs, I don’t know what I’d do without my two custom keyboard shortcuts (but if I had to guess, I’d say it would probably involve tears of frustration). The two keyboard shortcuts I highly recommend can be created by choosing Edit > Keyboard Shortcuts. Next to Product Area, choose Panel Menus, and then scroll down to the corresponding Link commands (Figure 3) to enter your shortcut:
- Links: Reveal in Bridge (I use Command+Right Arrow/Ctrl+Right Arrow)
- Links: Edit Original (I use Command+Down Arrow/Ctrl+Down Arrow)
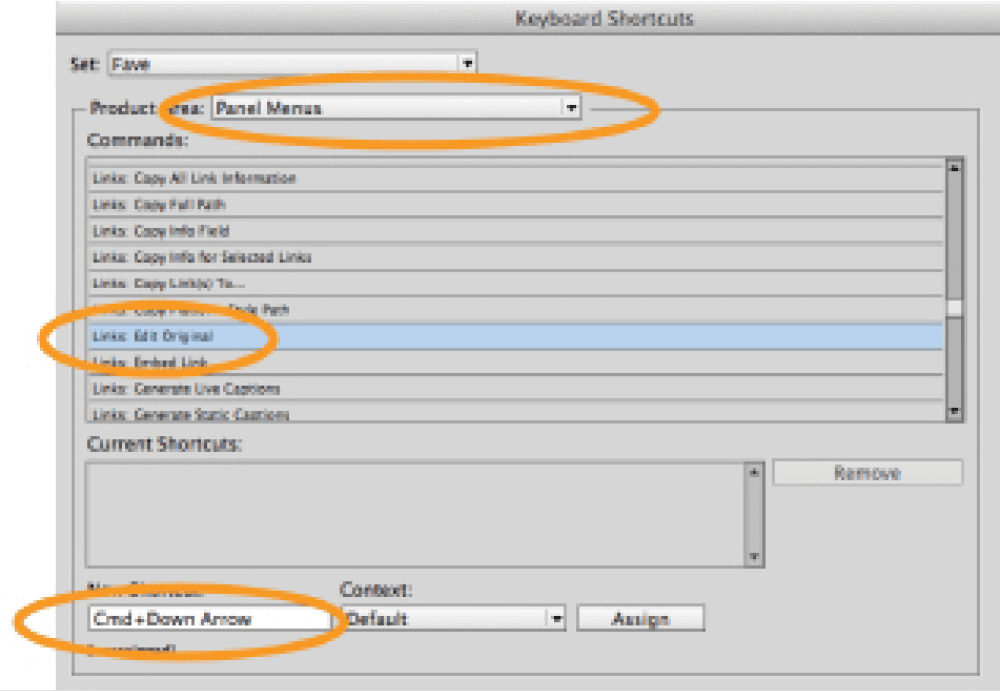
Figure 3 Taking time to create custom keyboard shortcuts will pay impressive dividends down the road.
Workspace
You’re working with images—lots of images. And Adobe has a product that lets you manage those images really easily: Adobe Bridge. One of the great things about designing albums in InDesign is the ability to drag and drop images directly from Bridge into your layouts. Arranging your workspace to accommodate a full column devoted to Bridge makes selecting and placing images almost… blissful. To arrange Bridge into a single column (filmstrip style), make sure Bridge is active, open the Window menu, and remove the check marks next to everything except Path Bar. (If you’re in Bridge CS6 or earlier, just choose View > Compact Mode.) Grab the corner of the window and adjust as necessary (Figure 4).

Figure 4 Arranging your workspace to create room for a full column of photo browsing makes the design process a cinch.
Document Setup
Facing Pages and Bleeds
If you’re used to designing things like magazines in InDesign, you’re familiar with the concept of facing pages. But if you’re coming from a photo background (where you’ve only had experience with Photoshop), you’re likely to be more comfortable working with spreads that consist of a single big ol’ page. As mentioned earlier, the photo industry still revolves heavily around Photoshop—even when it comes to multi-page projects like photo books. And because there’s no such thing as facing pages (or bleeds) in Photoshop, nearly all the file specifications, dimensions, and templates you’ll find for albums will refer to spreads rather than individual pages, and bleeds are usually built into the given document dimensions. Thus, if you prefer to work in facing pages (and separate out your bleeds), chances are you’ll have to convert the dimensions as necessary. Otherwise, for an album that calls for a total of forty 10×10 pages, you’d set your document up as shown in Figure 5.

Figure 5 Facing pages or no facing pages, as long as the final output meets your vendor’s requirements, go with whatever makes the most sense to you.

Figure 6 The Edit Page Size button makes it easy to change the size of select pages for a cover or for a book that starts on the right or ends on the left.
Guides and Master Pages
Even with InDesign’s built-in smart guides and helpful alignment tools, it’s not a bad idea to add a few of your own standalone page guides. Instead of drawing guides over and over again on each page or spread, place them on the A-Master page (Figure 7). And if you’re a fan of color-filled backgrounds, put those on the master page as well. Anything you place on the A-Master will automatically be applied to all the pages in your document (unless you create and apply a different master page). Helloooo time-saver!
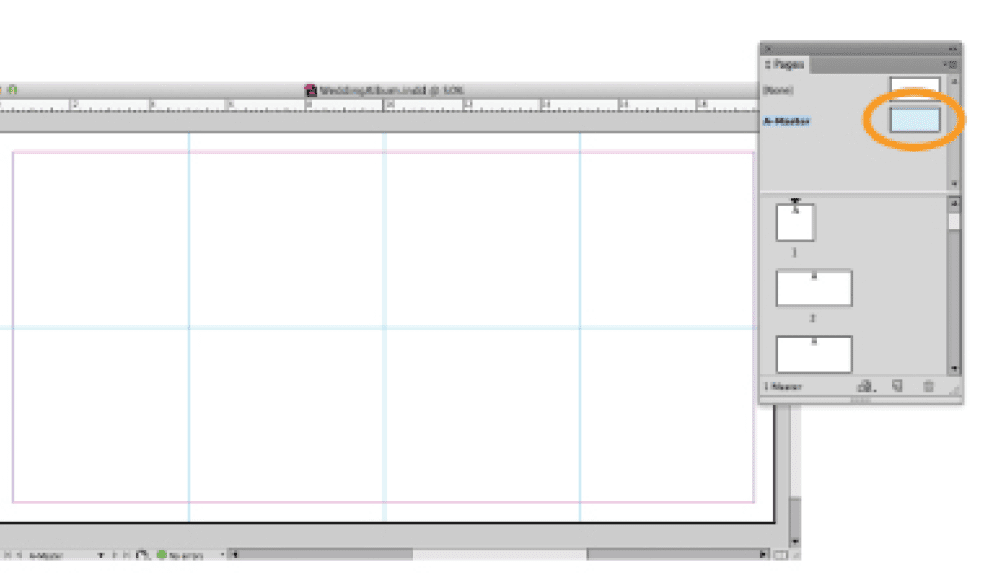
Figure 7 Guides created on the master page, calling out the center (fold), 5″, and 15″ marks
Image Wrangling
When it comes to getting images into your document and combining them into a workable layout, InDesign gives you some great tools to get it done quickly. Here’s a look at a few of my favorites.
Drag and Drop
Adding images is as simple as using the Rectangle Frame Tool (F) to draw a frame, and then dragging and dropping an image from Bridge. (You can also drag from any folder in the Mac OS Finder or Windows Explorer, but as you can tell, I like Bridge.) If you want even more simplicity, draw a series of frames, select multiple images in Bridge, and then drag and drop to place them all at once (Figure 8). You can even use the arrow keys to “scroll” through the loaded images appearing within your cursor. (Those software engineers are so dang clever!)

Figure 8 Use the Rectangle Frame Tool to create frames, and then drag and drop from Bridge. Here, I’ve dragged four images in, clicked once to place the image on the left, and the cursor shows me that I have three more to go.
Size and Resize
You can adjust the image within the frame with the white-colored Direct Selection Tool (press A) or by double-clicking with the black Selection tool. (You’ll know you’ve selected the image, and not the frame, when you see a rust-colored frame instead of a blue one.) Hold the Shift key while dragging a corner handle to scale the image proportionally (Figure 9).

Figure 9 Hold Shift while dragging from a corner with the Direct Selection Tool to scale an image proportionally within its frame.
Grids
If you’ve never seen InDesign’s Gridify command in action, it might just blow your socks off. To give it a whirl, use the Rectangle Frame Tool (F) to draw a frame just as before, only this time, before releasing the mouse button, use your arrow keys to add columns and rows (Figure 10). Take that, Photoshop!
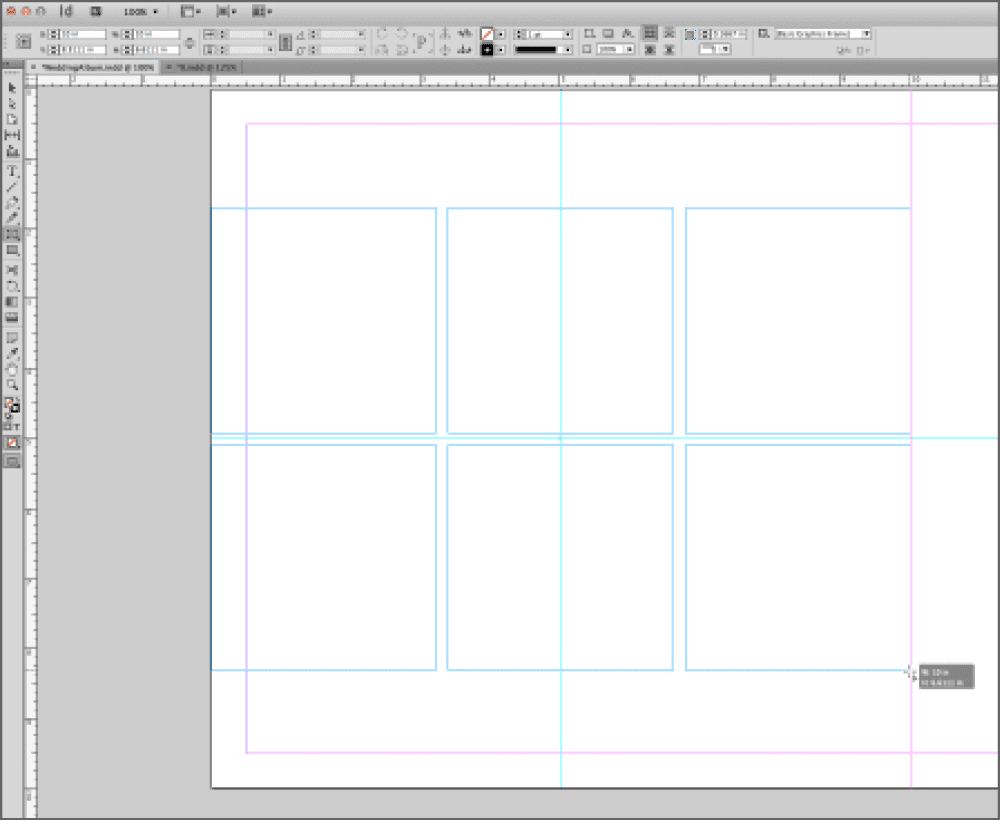
Figure 10 Never before has making a grid of images been this incredibly easy.
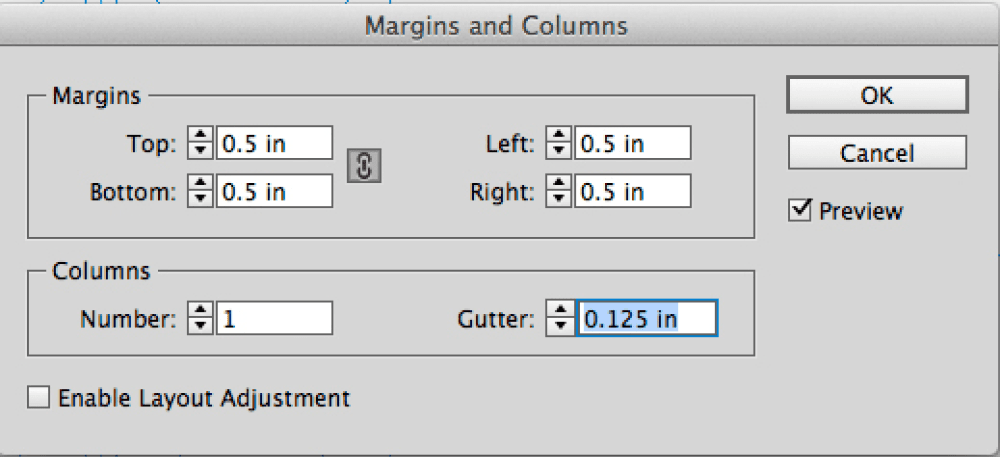
Figure 11 Designate your desired frame spacing within grids via the Gutter setting.
Combining Frames for Custom Grids
Grids are pretty rad in and of themselves, but what if you want to combine a few frames for a more custom look? Reach no farther than your Pathfinder panel! Select the desired frames, and in the Pathfinder panel, click the Add icon to combine them into one shape. If the original frames weren’t overlapping, you’ve just made a compound frame (one image shows up in all the pieces). If you want to make one big rectangle the size of those combined frames, just click the Convert to Rectangle icon in the panel (Figure 12).
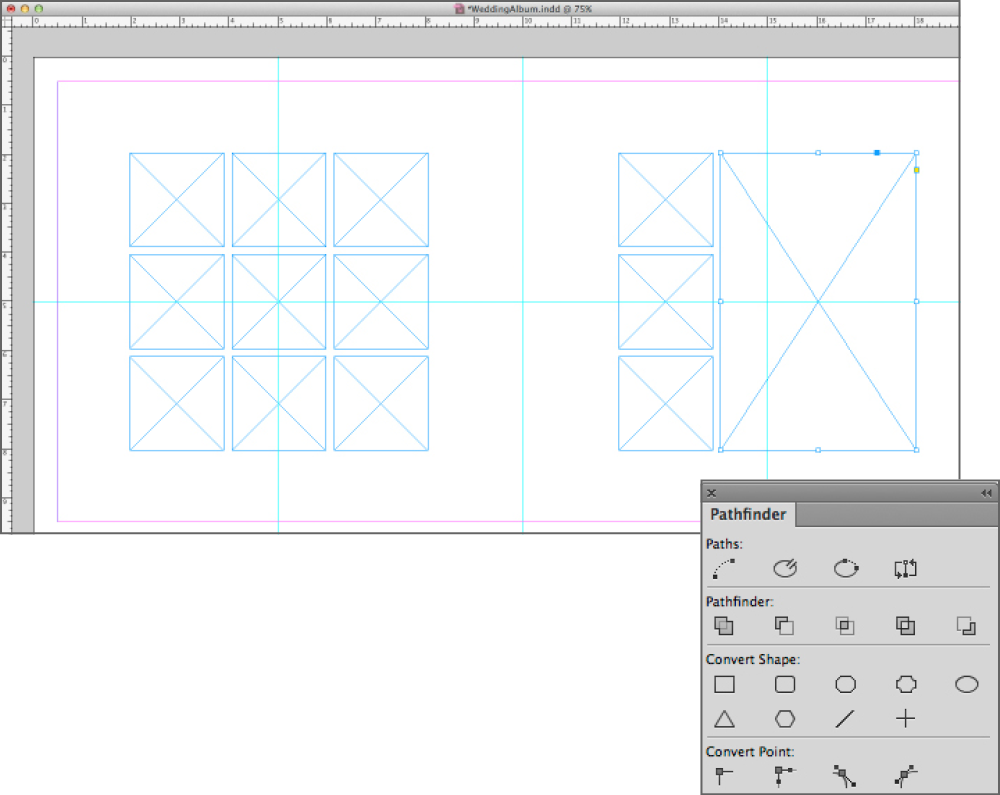
Figure 12?The often over-looked Pathfinder panel makes it easy to turn the simplest of grids into something completely customizable.

Figure 13?Adjust your gaps with the Gap tool!
Alignment and Spacing
When putting together a quick layout, I tend to do a lot of copying and pasting from earlier spreads and/or duplicating frames I’ve already drawn (by Option/Alt- dragging with the Selection tool) until I’m happy with the result. This means I often have a bit of random spacing and alignment on my hands (Figure 14). Thankfully, the Align panel makes it easy to whip a sloppy arrangement into shape with one or two clicks (Figure 15).

Figure 14?This random mess of images can (thankfully) be cleaned up in a flash using the Align panel.

Figure 15?With all the frames selected, it takes just one click in the Align panel to align all the top edges, and a second click to evenly distribute the spacing between frames.
Swapping Images
InDesign is an awesome program, but I wish some features were easier. For example, when laying out a page, I often want to swap two images—leave their frames, but exchange the photos. This should be easy, but it takes eight steps:
- Select the image inside the first frame (remember you can do that by double-clicking the image).
- Cut it to the clipboard (Edit > Cut).
- Paste it onto the page (InDesign creates a new frame for it).
- Select the image inside the second frame and cut it to the clipboard.
- Select the first frame, and choose Edit > Paste Into.
- Select the first image (the one in the new frame), and cut it to the clipboard.
- Delete the new frame that InDesign made when you pasted it.
- Select the second frame, and choose Edit > Paste Into.
There are scripts out there that can make this faster, but don’t you think Adobe should just find a way to simplify this?!
Object Styles
If you prefer to add a stroke (outline) to all your images, doing so via an object style allows you to create and apply a consistent “style” to all your images, with the power to globally update and edit the style on all images at once. To get started, select an image frame with the Selection tool (V), and apply the desired stroke (Figure 16) or effect (like a drop shadow).

Figure 16?A bright orange stroke (with a weight of 6 pts) has been applied to the selected image.
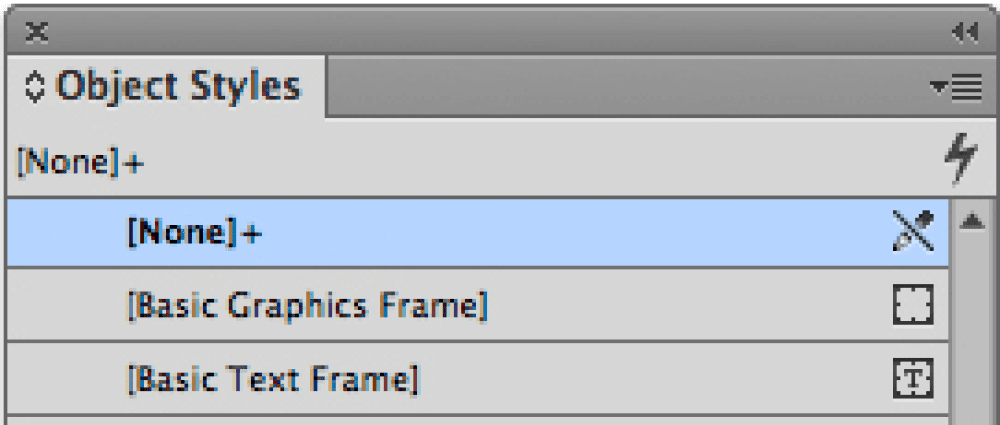
Figure 17?Pressing Option/Alt while clicking to create a new style gives you the opportunity to both name the style and apply it to the currently selected object.

Figure 18?Give the style a name, and be sure to
apply it to your current selection before clicking OK.
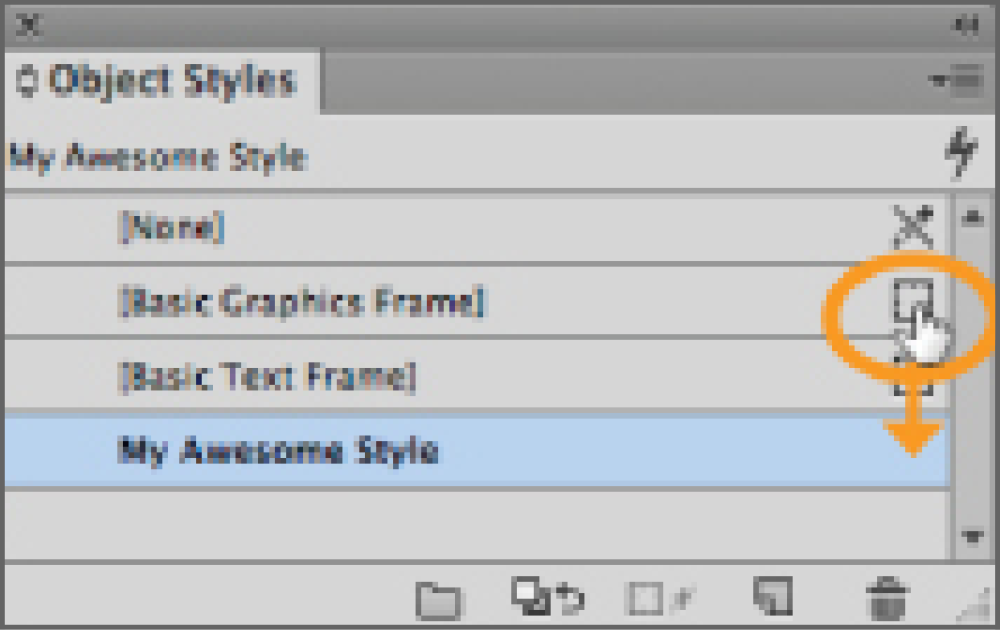
Figure 19 Designating a chosen default object style is as simple as dragging and dropping this simple icon.
Editing and Retouching
If you’ve ever created, edited, and retouched an album built in Photoshop, you’re probably cringing from the terrifying memories. Prepare to pick your jaw up off the floor when you see how painless it is in InDesign.
Replacing Images
When replacing images per a client’s request (or your own aesthetic judgment), use the keyboard shortcut we created earlier (Command+Right Arrow/Ctrl+Right Arrow) to locate the selected image in Bridge almost instantly; then navigate to a suitable replacement. (Remember that pressing the spacebar in Bridge will give you a closer look at any image.) For example, let’s say you finish a design and realize one of the images you already placed has someone with their eyes closed. (At least you caught it before going to print.) Rather than combing through your entire image folder to find similar images, this time-saving shortcut will allow you to cut right to the chase. Then—and here’s where it gets really good—you can select the new image in Bridge, and then choose File > Place > In InDesign. Because the frame was already selected in InDesign, the new image replaces it! If you’d rather drag the new image out instead of using the menu feature, you can drag the new image into InDesign. However, by default InDesign will place the new image into its own frame. To avoid this, hold down the Option/Alt key while dropping the replacement image on top of the frame (that forces the image to replace the one that’s there).

Figure 20 Save your retouched files wherever you want; as long as you save them with the same filenames, you can redirect InDesign’s Links panel to the new location for all the images in your document at once.
Retouching
InDesign manages placed images via a link to the file’s location on your hard drive (versus actually placing all the pixels inside the document, as Photoshop does). That means that when you retouch an image on disk, InDesign needs to update its link to the file. You can see all the linked images in the Links panel (Window > Links). If you see a yellow triangle, it means the file on disk has been modified (just double-click that icon to update it). If you see a red alert symbol, it means InDesign can’t find the original, so you’ll need to re-place it. But here’s a trick to speed up the editing process: Just select the image(s) you want to retouch, press Command+Down Arrow/Ctrl+Down Arrow (or, alternatively, Option/Alt-double-click on an image), and the image opens in Photoshop (assuming it’s a Photoshop image). Then you can edit the photo, and when you’re finished, save the file in the same location with the same name, and close it. When you return to InDesign, the image will automatically update!
Exporting
When it comes to photo albums, the most commonly exported file formats are PDF and JPEG. Each exported file is prepared somewhat differently, depending on whether it’s intended to be a proof or a production-ready file. Naturally, the format you choose (JPEG, PDF, or otherwise) will depend on several factors. In fact, it’s entirely possible that you might export to one format for proofing, and an entirely different format for production, depending on the needs and requests of your clients and vendors.
PDFs
To export to PDF, choose File > Export (or simply press Command+E/Ctrl+E). Select the desired name, location, and format, and then click Save (Figure 21).

Figure 21?In the Export dialog box, give the file a
name, choose a location, and select the desired
format from the drop-down menu.
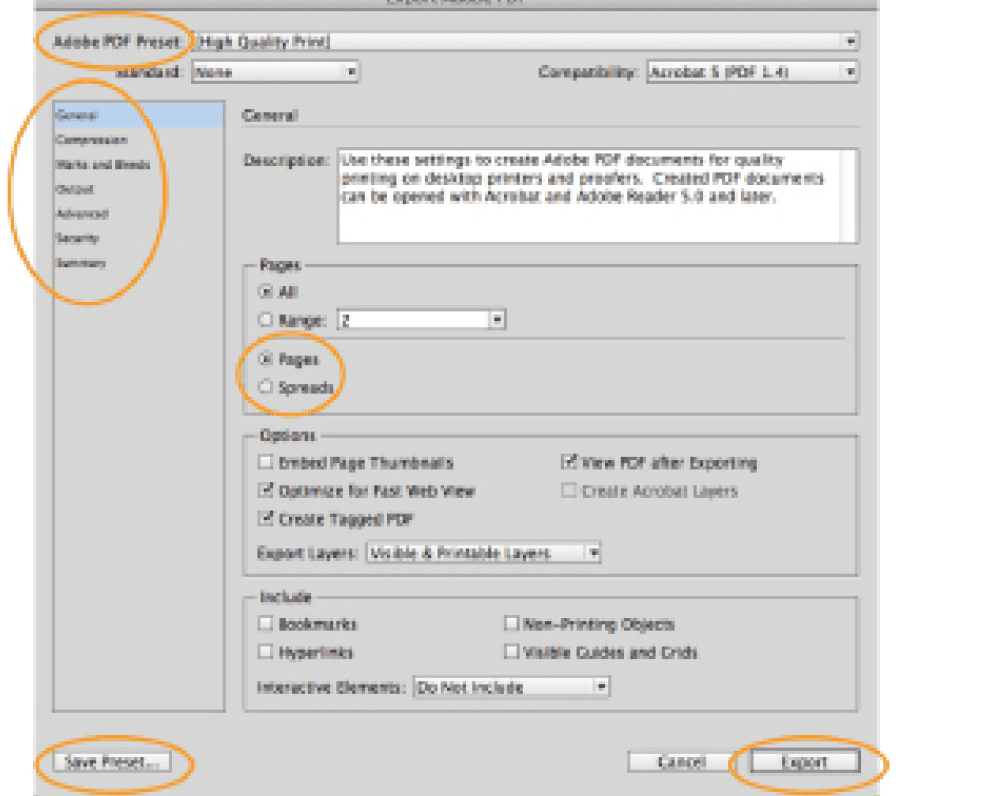
Figure 22?Don’t let all these options scare you;
presets make it easy.

Figure 23?Setting up a bleed won’t do you much good if you forget to include it in your export.
JPEGs
Most album vendors will want your finished design as a collection of JPEGs. Choose File > Export, and then choose JPEG for the format. Because there will be a JPEG created for each page or spread of your book, I recommend creating a folder to house them all, before you click Save. The export options for JPEG are far less overwhelming than for PDF (Figure 24). The biggie is resolution: 300 ppi is the standard recommendation for production-ready files, but always check with your vendor. You may be surprised—some vendors’ servers reject files that don’t have precisely 252 ppi!
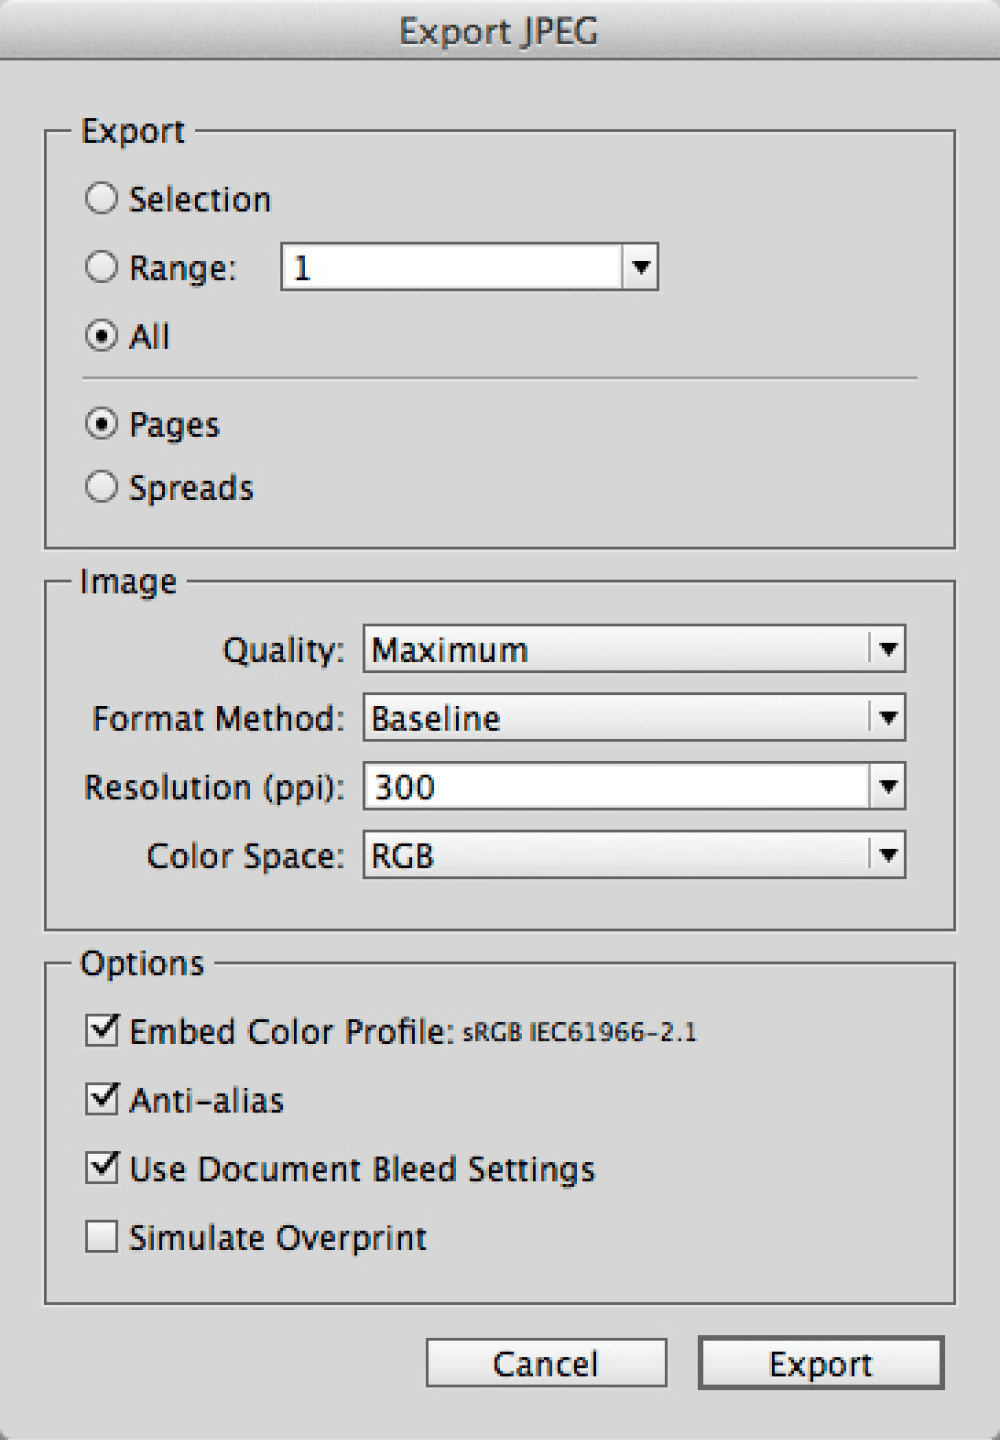
Figure 24?JPEG options are simple, but it’s still a good idea to check with your vendor for specifics.

Figure 25?Bridge has an easy fix for InDesign’s wonky JPEG file numbering.
Life Changing
Once you get the hang of building albums in InDesign, it’s pretty safe to say you’ll never go back. The freedom and flexibility you gain (not to mention the many hours saved) is undeniable. So help spread the word! Tell your friends, your colleagues, and your neighbor’s cousin’s pet groomer—everyone who will listen.
Commenting is easier and faster when you're logged in!

Recommended for you

Create Downward Compatibility in PDF files At the Touch of a Button
Up to now, PDF files you created could only be used by the same version of Adobe...
Tip of the Week: Viewing Color-blind Previews of Your Pages
How to view an InDesign layout as it would appear to someone with color blindnes...
Tip of the Week: Numbering Above a List
Ever need to set two or more tables side by side in your layout? Here are three...