

Photoshop’s Camera Raw filter includes a Haze control, which allows you to rescue images beset by fog and atmosphere. But it’s not enough to simply boost the Haze filter on its own; to make the image really look good there’s a couple of extra steps needed, which will really make your image sing.
Step 1: The starting image

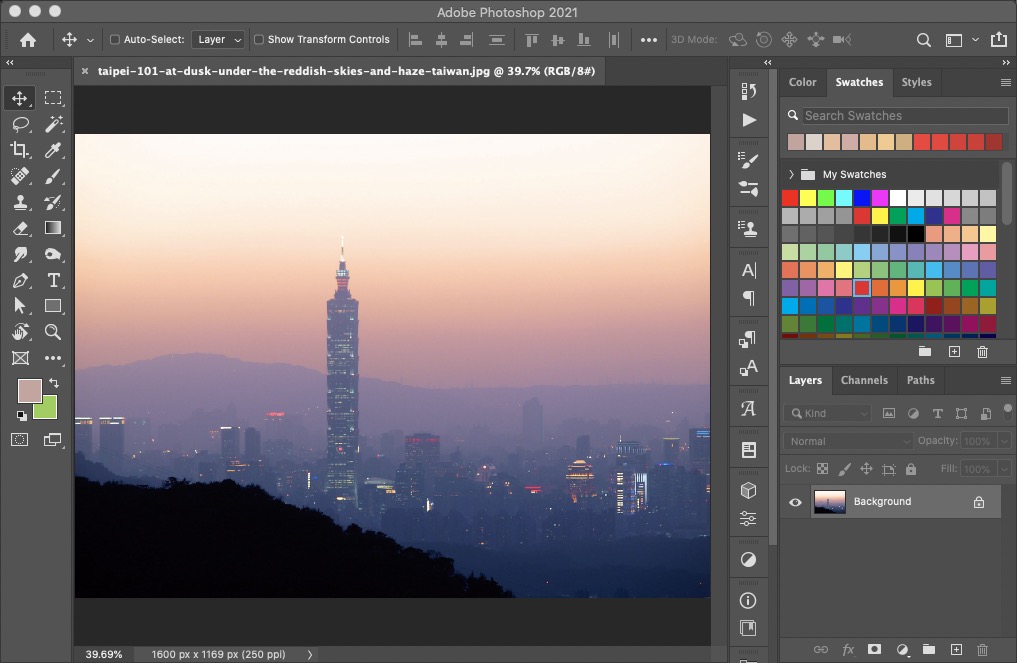
This city view, taken at dawn, shows a dense smog pollution that’s making it difficult to see the buildings clearly. You can download this image for free here. Choose Filter > Camera Raw.
Step 2: Try out Dehaze
You’ll find the Dehaze slider in the Basic section of the Raw controls, right beneath Texture and Clarity. If you drag it to the left, you can increase the amount of haze, producing a distinctly foggy appearance.

Step 3: Increase the Dehaze amount
Drag the slider all the way to the right, and you’ll remove almost all the fog – but at a cost. If you drag too far, the image will start to look very unnatural.
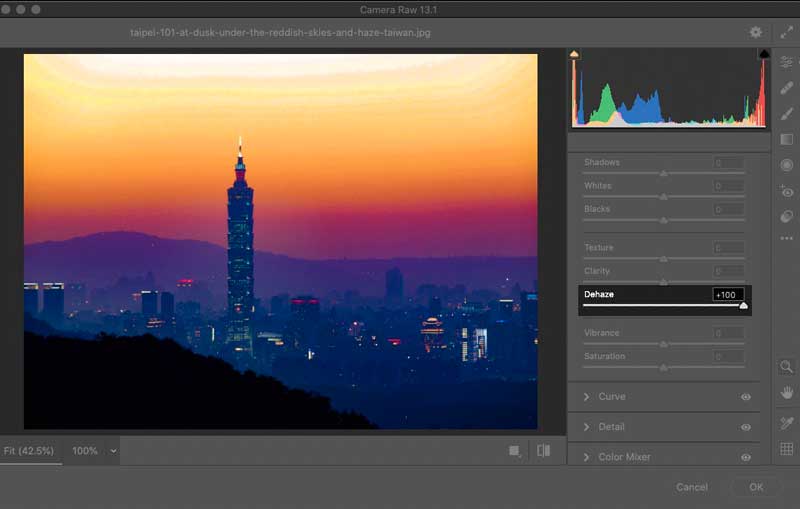
Step 4: Choose the right setting
You’re after a Dehaze amount that removes most of the haze without making the sky look like it has been painted by a Disney artist. In this case, a value of +68 produced the effect I wanted.

Step 5: Boost the Clarity
Right above the Dehaze slider is the Clarity slider. Drag this to the right to boost the contrast, bringing definition back into the soft image. This does, however, often produce an image that’s too dark.

Step 6: Brighten the Exposure
The darkness is easily fixed: scroll up to the Exposure slider and drag it to the right to brighten the whole image. This produces a much more appealing look, while retaining the clarity brought about in the previous step. Press OK to apply the Camera Raw filter.

Step 7: Lose the noise
One problem with the Clarity control is that it tends to accentuate any noise in the image. Rather than just using standard Gaussian Blur, instead choose Filter > Blur > Surface Blur. Here, you have to balance the Radius and the Threshold settings; too low a Threshold, and you’ll still see some noise in the full-size preview.

Step 8: Adjust the settings
By increasing the threshold to, in this case, a value of 6 levels, you can now raise the Radius control until all the blur disappears. The great bonus of the Surface Blur filter is that it blurs flat areas, while leaving hard-edged detail intact.

Step 9: The finished result
Here’s the image after applying all the steps. It’s far more appealing than the washed-out original; and while there’s still noticeable haze in the distant hills, the city itself has been brought sharply into focus.

This article was last modified on April 27, 2021
This article was first published on January 29, 2018
Commenting is easier and faster when you're logged in!

Recommended for you
Meet the Neo SmartPen: A New Way to Draw
As an artist who specializes in combining traditional and digital tools, I’m alw...

Photoshop CC 2015.5 New Features
Adobe has promised subscribers to its Creative Cloud plan that it will release m...

How to Permanently Delete Cropped Data in a PDF
Have you ever tried to crop a PDF file, cutting out part of a page? It’s pretty...