Creating Effects with Paste Into in InDesign
Paste Into creates a bounty of visual opportunities.

This article appears in Issue 2 of InDesign Magazine.
Like most basic layout ingredients, the Paste command is an essential workhorse, but it’s not particularly appetizing on its own. After all, Paste usually just places the contents of the clipboard in the center of your document window. However, InDesign offers some variations on the Paste command-Paste in Place and Paste Into—that yield a veritable feast of exciting visual possibilities. The Paste in Place command adds spice to Paste’s functionality in that it remembers the location of an object that’s copied (or cut) into the Clipboard, and pastes it in the exact same position, relative to the object’s location on the spread. The nice thing about Paste in Place is that it lets you paste the Clipboard contents on a different layer, on a different page in the same document, or on a page in a different document, while maintaining the position of the copied item. But it’s the Paste Into command that can be the most enticing for the visual gourmand.
Paste Into, as its name implies, lets you paste the Clipboard’s contents inside, or into, any frame or path, thus allowing the frame to act as a kind of mask for the pasted object. The command works with any item created in InDesign, including text, graphics, or grouped objects. In fact, using the Paste Into command is the only way to get multiple items into a frame, which can be done by simply grouping the items before copying them into the Clipboard (Figure 1).

Figure 1: Paste Into lets you position grouped objects inside a frame.
too, an effect that cannot be achieved by simply placing text in a frame (Figure 2).

Figure 2: You can mask text by using the Paste Into command. The text frame on the left was copied and pasted inside the circle on the right; the circle acts like a window, letting only a portion of the text frame show through.
Headline Noir et Blanc
Ingredients:
- 1 letterform in your favorite font (e.g., Berthold City)
- The Create Outlines command
- The Paste in Place command
- The Edit Paste Into command
- The Direct Selection tool, for stirring

Figure 3: The headline text is duplicated using the Paste in Place command. The copy has the color white applied and is positioned over the capital letter using the Paste Into command.
Text in Puzzle Blocks
Ingredients:
- Several letterforms
- The Create Outlines command
- The Paste Into command

Figure 4: Letter blocks are created by copying individual letters and using the Paste Into command to position them inside rectangular frames.
Commenting is easier and faster when you're logged in!
Recommended for you

How to Put a Stroke Around a Group of Objects in InDesign
You can make text wrap around a group, so why not a stroke?

How Frame Fitting Options Affect Paste Into
If you?ve ever been confused or frustrated with the results of pasting a graphic...

Photoshop Tip: Pasting into a Selection in Photoshop
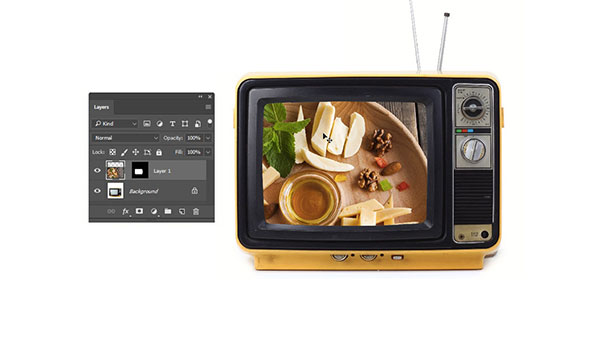
Learn how to create layers with layer masks with Photoshop's Paste Into command.


