

Extruded text is a popular effect, and it’s not difficult to create – without having to use any 3D tools. Best of all, with this method once you’ve created your text you can change it for any font, color or wording you want in an instant.
Step 1: Type your text
That’s it. Make some text. Doesn’t matter what it says. The important thing is to turn the text object into a Smart Object once you’ve made it, using Layer > Smart Objects > Convert to Smart Object.

Step 2: Duplicate the Smart Object
Hold Option/Alt and nudge the text object one pixel down, then release the keys and nudge it one pixel to the left or right. You’ll barely see any difference here – after all, it’s just one pixel bigger.

Step 3: Continue to duplicate
Repeat the above process, nudging repeated copies of the text down and to the side, until you have 19 layers in all. Or more, if you want a deeper extrusion.

Step 4: Group and Adjust
Select all the Smart Object layers except the original one, and choose Layer > Group Layers. Then make a Curves, Hue or Levels Adjustment Layer above this Group, using the Group as a Clipping Mask (Option-Command-G/Alt-Ctrl-G). Use this Adjustment Layer to darken the Group, or recolor it if you like, then bring the original Smart Object to the top of the layer stack.

Step 5: Special effects
Add any Layer Styles you want to the top object. I’ve added a yellow Inner Stroke, and an Inner Shadow to make the stroke stand out.

Step 6: Open the Smart Object
Double click the original Smart Object and it will open in a new window, with a transparent background. This is standard behavior for Smart Objects.
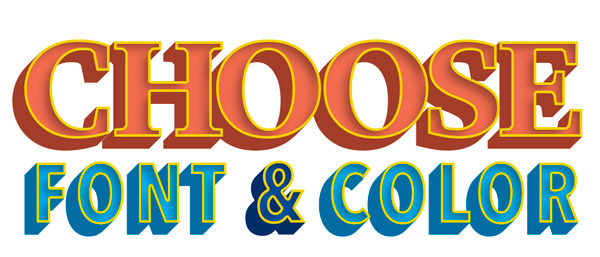
Step 7: Edit the text
You can now change the text to any font you like, and edit it as you wish. You can even create multiple text objects within the Smart Object. Be sure to make everything fit within the Smart Object bounds: if you need more space, use the Crop Tool to make it larger.

Step 8: Save the Smart Object
When you Save the Smart Object, or close its window (you’ll be prompted to save it), the changes will be made back in the original document. Because all the extruded layers are copies of the original Smart Object, any changes made to it will also be made to all of the copies – so you’ll still get a smooth extrusion, complete with the shading applied by the Adjustment Layer.
Step 9: It’s not just text
You can add shapes, or just about anything you want within the Smart Object. If you use negative tracking to overlap your text, the outline will be applied to the whole word, not individual characters, enabling you to create impressive cartoon effects.

Step 10: Choose your direction
Want to extrude in the opposite direction? No need to move all the layers – just take your top layer, and move it (in this case) 20 pixels down and 20 pixels to the left.

This article was last modified on May 6, 2020
This article was first published on June 17, 2019
Commenting is easier and faster when you're logged in!

Recommended for you

CreativePro Tip of the Week: Customizing the Photoshop Interface
This CreativePro Tip of the Week on customizing the Photoshop interface was sent...

10 Best Apps to Improve Your iPhone Photos
The cameras and processing power in today’s smartphones have come a long way sin...
CreativePro Tip of the Week: Decoding Illustrator’s Target Icons
This CreativePro Tip of the Week on deciding Adobe Illustrator’s Target Ic...