

If you’re like many InDesign users, you might not use the Gap tool very much. But here’s one very fun, creative way to make use of it: creating dynamic Auto-fit effects for photo grids. You can make creative collages with interesting and unexpected looks very quickly this way.
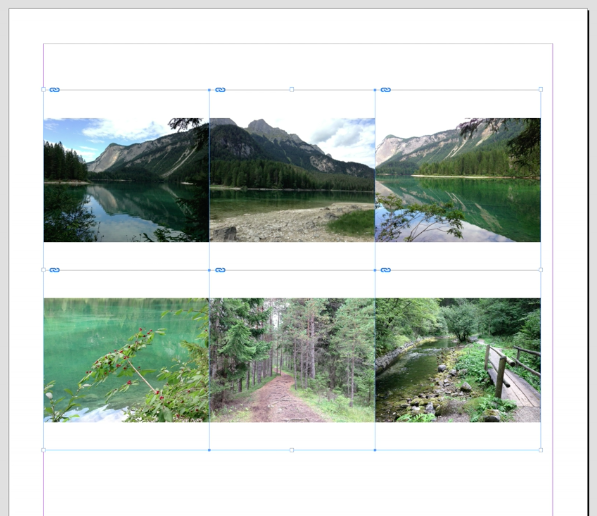
Placing your photos in a grid
Load multiple images with the Place command, then hold Command+Shift/Ctrl+Shift as you drag to place them all at once. Youe your keyboard arrow keys to change the number of rows and columns if needed.
To make the images butt up against each other, press Command+Left Arrow/Ctrl+Left Arrow and Command+Down Arrow/Ctrl+Down Arrow until the gap between the rows and columns of images is zero.
Alternatively, before you start dragging to place the images, you can set the gap between the rows and columns to zero, by choosing Layout > Margins and Columns, and setting the Gutter value to zero.

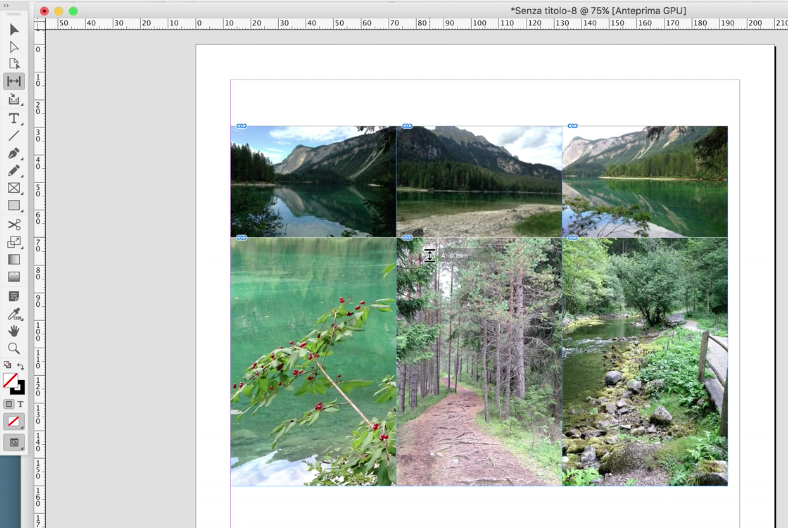
Turn on Frame Fitting and Auto-Fit
With the image frames touching, click the buttons in the Control panel to Fill Frame Proportionally and Auto-Fit.

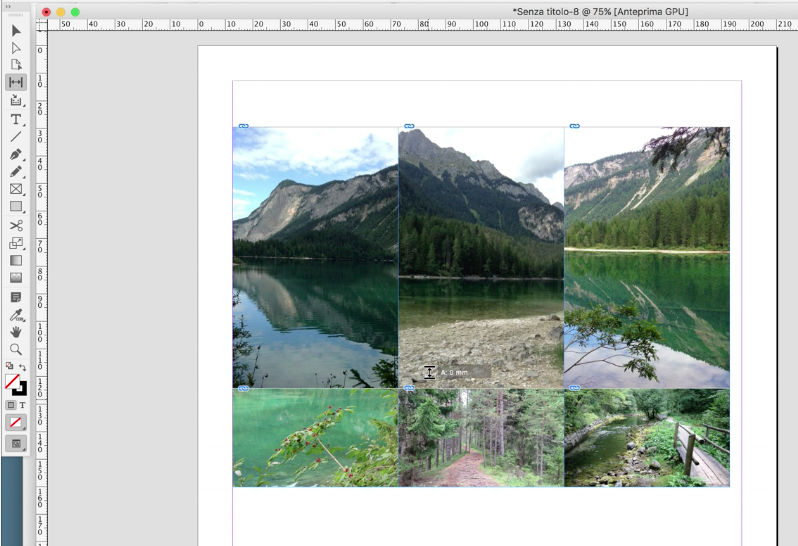
Adjust the grid with the Gap tool
Then, take the Gap tool and position it between any two images (make sure no image gets highlighted), and click and drag to resize the rows and/or columns.
Watch how it’s done
Want to see the technique in action? Watch the video below!
This article was last modified on July 20, 2021
This article was first published on January 11, 2018
Commenting is easier and faster when you're logged in!

Recommended for you

InDesign GREP of the Month: \x (Unicode)
Target any range of characters: Hebrew or Hirigana, Cherokee or currency, Devana...

Design + Marketing Summit 2023 Agenda Released
Join us online July 27–28 to learn practical techniques to boost your productivi...
Make It Look Like a Book in the Acrobat PDF
Laying out a document in facing pages isn't that hard. Displaying it as facing p...