
Creating Backward Bullets in InDesign
Did you ever wish you could put a bullet at the end of paragraph instead of at the start? Now you can!

This article appears in Issue 56 of InDesign Magazine.
Despite InDesign’s incredible range of formatting options when creating bullets, there seems to be one thing you cannot edit: the location of the bullet. Bullets (and numbered lists, too, for that matter) are always added at the left side of your text, at the start of the paragraph. But sometimes you might want a bullet or special character at the end of your paragraph (Figure 1).
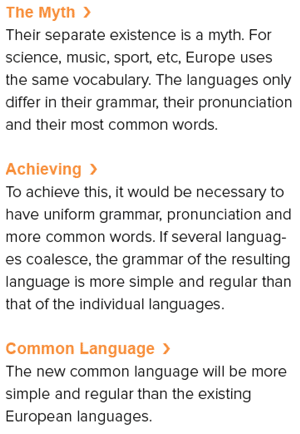
Figure 1. Bullets at the end of each heading

Figure 2. Whole paragraph flush right
Create Placeholder Text
To make this trick work, we have to tell InDesign to use the right side as the origin of the paragraph. This means that when a bullet is created at the
beginning of the paragraph, then that beginning must be at the right side. This might seem impossible, but actually this is exactly what we have when working with Middle Eastern texts. Unfortunately, there is no native right-to-left option in InDesign… or is there? You may know that in InDesign, you can customize the language of your placeholder text. Today many people are used to the classic Latinesque Lorem Ipsum text. But what if you’re working on a more international job that requires placeholder text of a different origin, such as Cyrillic, Greek, or Japanese? Well, for those cases, you can choose a different flavor of placeholder text. Use the following steps to achieve this:
- Create a text frame using the Type tool.
- Hold down the Command (Mac OS) or Ctrl (Windows) key and choose Type > Fill with Placeholder Text.
- Choose Arabic or Hebrew (Figure 3).
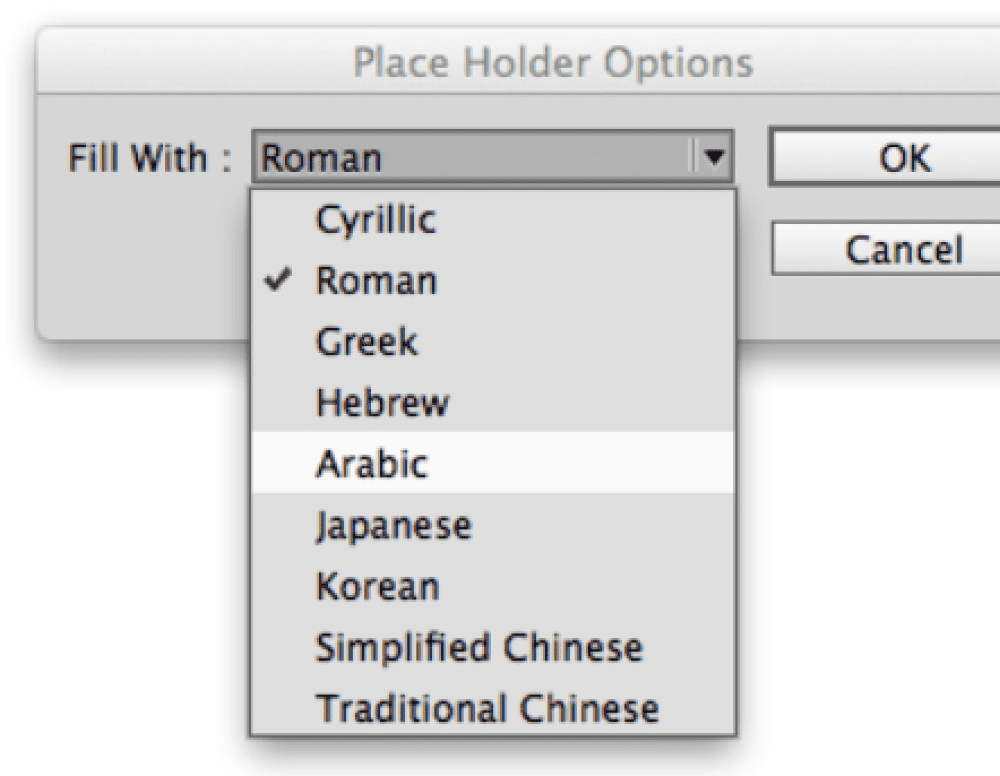
Figure 3. Choose Arabic or Hebrew

Figure 4. Arabic Placeholder text

Figure 5. Flush right icon in Application Bar
Convert the Text to Your Preferred Style
The reason you added Hebrew or Arabic text is because this is the only way (apart from a script or plug-in) to get one unique property: right-to-left text! Let’s take a closer look at what we have here: place your text cursor inside this new text, and open the Paragraph Styles panel by choosing Window > Styles > Paragraph Styles. Click the panel menu, and choose New Paragraph Style (Figure 6).
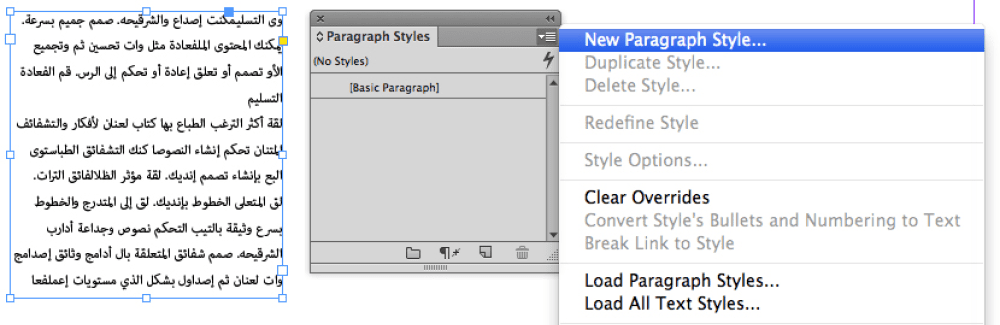
Figure 6. New Paragraph Style
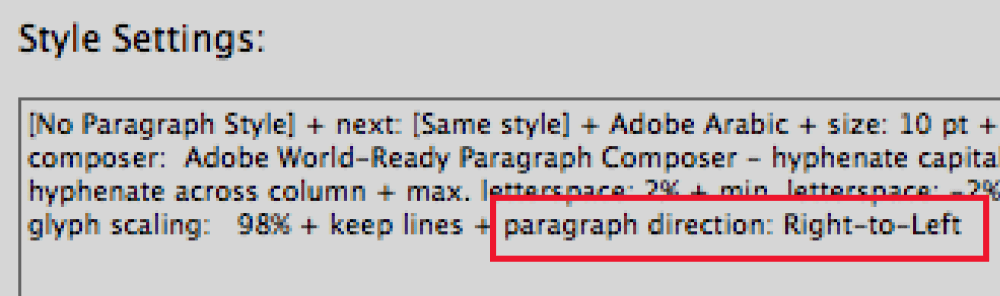
Figure 7. Paragraph direction Right-to-Left
- Name your new style, click the Apply Style to Selection checkbox at the bottom of the New Paragraph Style dialog box, and then click OK to save this new style.
- Delete most of the text, until you’re left with one line of text which will act as your title placeholder. Change the characters by typing some new text that you can actually read.
- Change the font, size, horizontal alignment, color, and any other formatting you want, until the text looks the way you want it.
Create the Bullet Character
Now it’s time to add the actual bullet character. While the text cursor is in the text, go to the Paragraph formatting options in the Control panel and click the Bulleted List button to add a bullet to your title. Notice anything? The bullet is added to the right side of the text instead of the left side (Figure 8).

Figure 8. Bullet added to right of text
Figure 9. Text changed to Alight Left
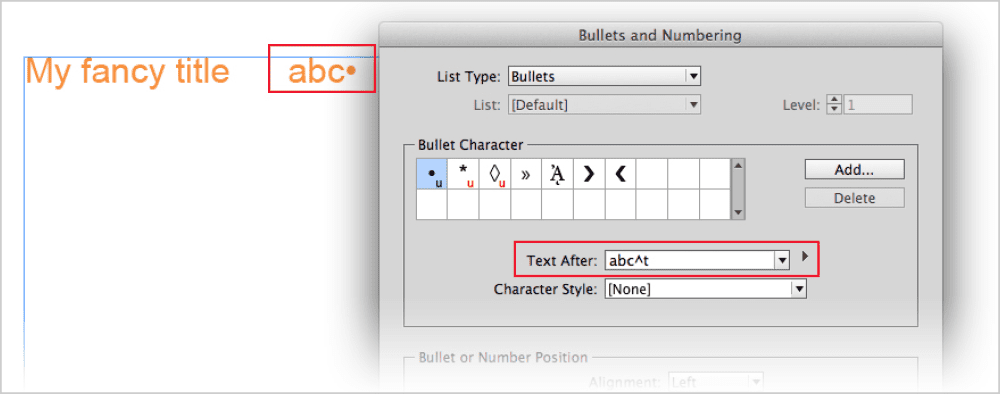
Figure 10. Text After shows up before bullet
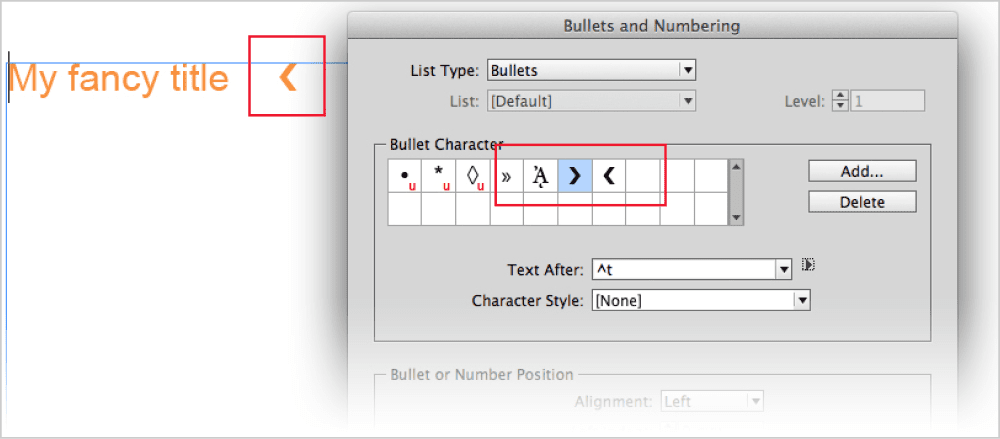
Figure 11. Choose opposite facing bullet
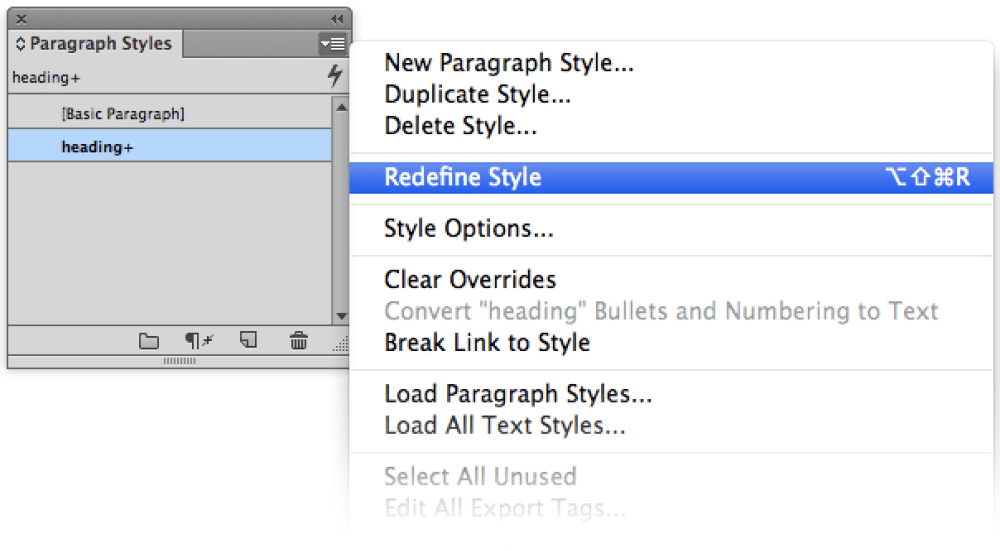
Figure 12. Redefine Style
Play Around!
This method also works with numbered lists. Figure 13 shows an example of the same technique, but this time I used a Numbered List instead of a bullet character, and I added both an em dash and a character style to the automatic numbering.
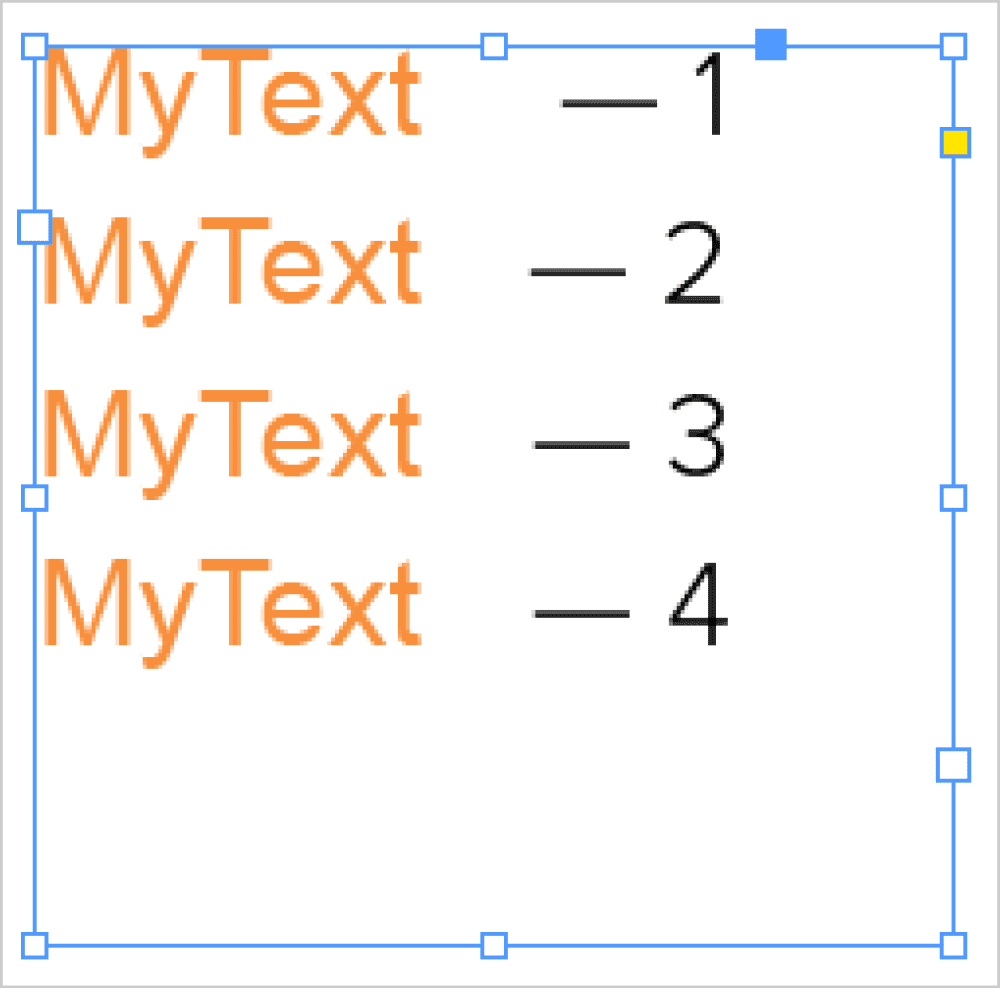
Figure 13. Numbered List
Tips: Any character you have selected when you run the script becomes the bullet character. You can run the script again to replace the current paragraph style with an updated one. You can edit this style to change the font, bullet style, and so on. And best of all, punctuation will appear correctly at the end of the paragraph!
You can download this script here.
Commenting is easier and faster when you're logged in!

Recommended for you

Numbering Paragraphs… on their right side!
You know that InDesign can automatically number paragraphs, but it always places...

How to Make Custom InDesign Bullets From a Photo
Learn how to make custom bullets from a photo in InDesign, with the help of the...
Create Space Around a List in InDesign
Add extra space around a list, without creating multiple paragraph styles!