

Using the Threshold command in Adobe Photoshop, you can create a neat one-color effect and turn a full-color photo into a black outline. The technique involves applying a different shade of color to four different layers, all increasing levels of threshold. The result is a “layered threshold” look.
Step 1
Open a photo in Photoshop. To use the photo that is Figure 1, just click on it, save it to your computer, and then open it in Photoshop.
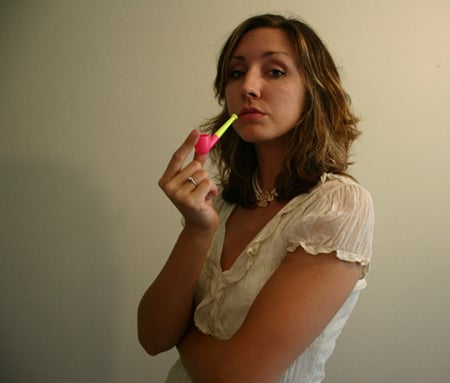
Figure 1
Step 2
With a simple background like the one in this image, use the Magic Wand tool to select just the background. In the Options Bar, turn on the Contiguous option and adjust the Tolerance level as needed. Shift-click to add additional areas to the selection. Once the background is selected, choose Select> Inverse to select the subject. Press Command-J (PC: Ctrl-J) to copy the selection to a new layer. Remove the visibility of the Background layer by clicking its Eye icon in the Layers panel (Figure 2).

Figure 2
Step 3
Press Command-J (PC: Ctrl-J) four times to create four copies of the transparent-background layer (Figure 3).

Figure 3
Step 4
In the Layers palette, click on the top layer. Go to Image> Adjustments> Threshold. In the Threshold dialog, drag the slider under the histogram to a Threshold Level of about 30, and click OK (Figure 4).

Figure 4
Step 5
Remove the visibility of the top layer by clicking its Eye icon in the Layers panel. Select the second-to-top layer, and go to Image> Adjustments> Threshold again. Move the slider to a higher amount than you used in the previous step (about 60 in Figure 5).
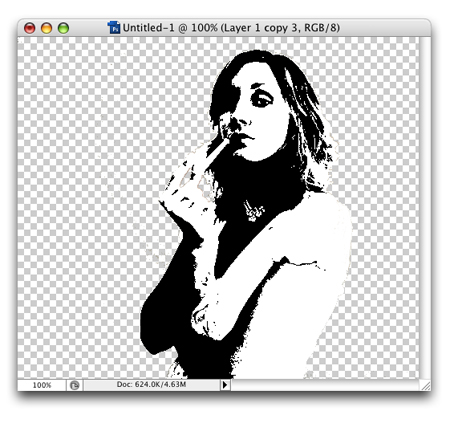
Figure 5
Step 6
Repeat this process for the third layer from the top and move the slider to an even higher Threshold Level (90 in Figure 6).

Figure 6
Step 7
Repeat this process one last time for the fourth layer from the top and move the slider even higher (195 in Figure 7).
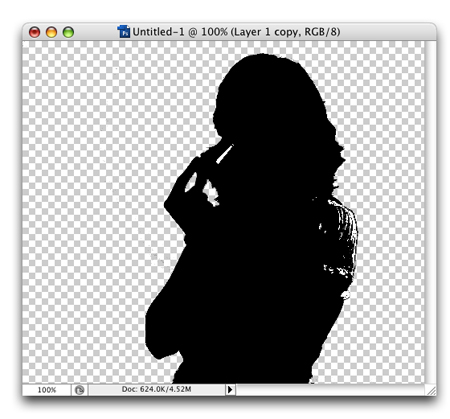
Figure 7
Step 8
Next, we’ll change the color of the black in each layer: The higher layers will have darker shades of the same color that we’re using. But first, we’ll need to remove the white from each layer. Make the top layer the only visible layer and make it active. Select the Magic Wand tool, change its Tolerance to 0, and turn off the Contiguous option. Click on a white area in the image to select all the white (Figure 8), then press Delete (PC: Backspace) to remove the white. Repeat this for each layer.
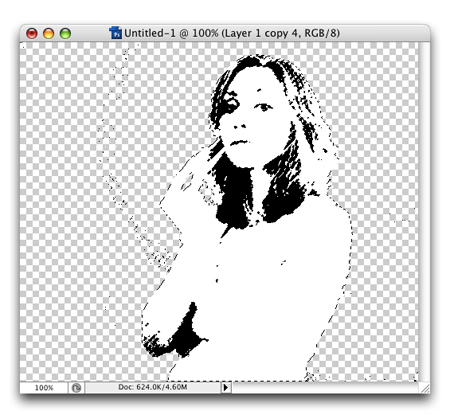
Figure 8
Step 9
Make the top layer visible and active. Command-click (PC: Ctrl-click) on the top layer’s thumbnail in the Layers panel to select all the pixels in the layer (Figure 9).

Figure 9
Change the Background color by clicking on its swatch in the Toolbox and selecting a dark orange in the Color Picker. Press Command-Delete (PC: Ctrl-Backspace) to fill the layer with the new Background color.
Step 10
Repeat the same process for the next layer, but with a slightly lighter orange color. Remove the visibility of the other layers except for the two layers already changed to see the effect so far (Figure 10).

Figure 10
Step 11
Use this technique for the last two layers so that the four layers are each a varying shade of orange. The darker the color, the higher up the layer should be in the Layer palette’s stacking order (Figure 11a).

Figure 11a
The effect should result in the darker colors showing the details and the background layers being lighter (Figure 11b). This image looks like vector art but it’s still technically a raster image.

Figure 11b
You can, of course, place it into Adobe Illustrator if you like and trace it. You can also merge all the colored layers and apply a Hue/Saturation adjustment layer to change the colors (Figure 11c).

Figure 11c
Layers Magazine © Copyright 2007 Layers Magazine.
This article was last modified on January 4, 2023
This article was first published on June 20, 2007
Commenting is easier and faster when you're logged in!

Recommended for you

What You'll Find in Lightroom 4
Photographers, take note! You can try out a major update to Adobe’s Lightr...

Illustrator CC 2018 New Features
Adobe Illustrator CC 2018 brings several exciting enhancements, including Variab...
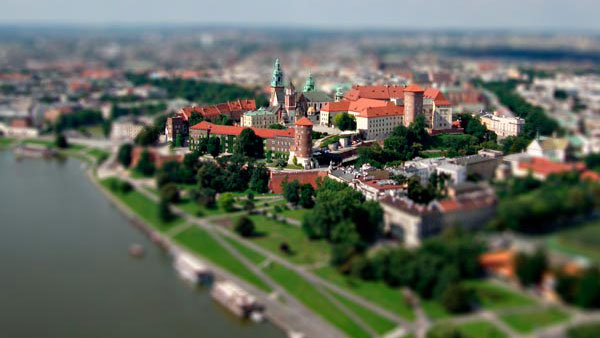
Creating Tilt-Shift Effects in Photoshop
The Tilt-Shift effect makes aerial views of landscapes look like model villages....