

However much you may toy with people’s expressions using the Liquify filter, it can be hard to express visually what someone’s thinking about. So here’s a different approach: depict their thoughts with an image inside (and perhaps outside) their head.
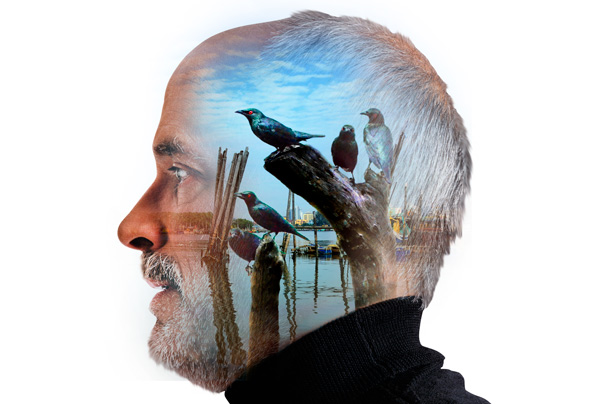
Step 1: Start with a head
Profiles work best with this technique, as we’re going to hide most of the features. A head-on face will end up just showing the ears, which won’t look so good.

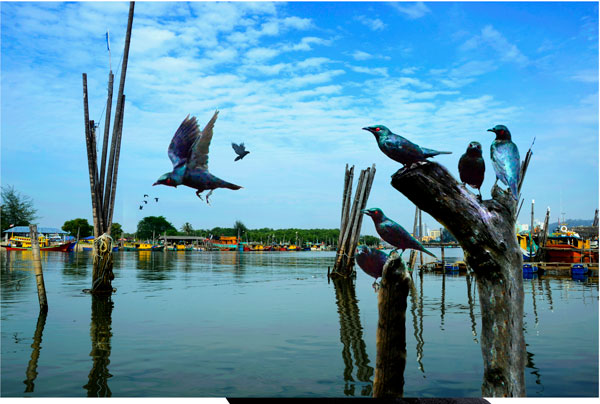
Step 2: Choose a landscape
This image of a river scene with birds will work well, and it will offer the chance to have some of the birds flying out of the head. You can download this image from here.
Step 3: Position the scene
The easiest way to position the scene as you want it is to change the opacity of the layer to around 50% (shortcut: press the 5 key on your keyboard with the Move or a selection tool active). Now you can scale and move it until the key elements are in the right position.

Step 4: Blend the edges
Make a new Layer Mask for the scene, using Layer > Layer Mask > Hide All. This will completely hide the scene. Then, with the Brush tool set to a large, soft brush, paint in white on the mask at a low opacity, building up the image in stages.
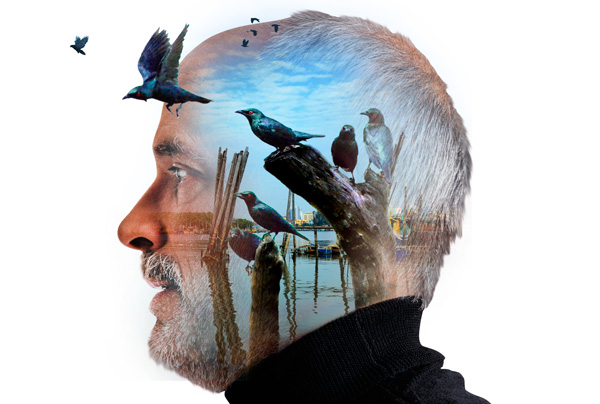
Step 5: Isolate the birds
Hide the Layer Mask on the river layer, and trace a rough selection with the Lasso tool around the flying birds. Then, with the Magic Wand tool, hold Option/Alt as you click on the sky inside this selection, and it will isolate just the birds. Use Command J/Ctrl J to make a new layer from these birds, then enable the Layer Mask again.

Step 6: Position the birds
The effect will look best if some of the birds are flying partly over the head, to link them together. It can help to cut the birds into three separate layers so they can be positioned individually.
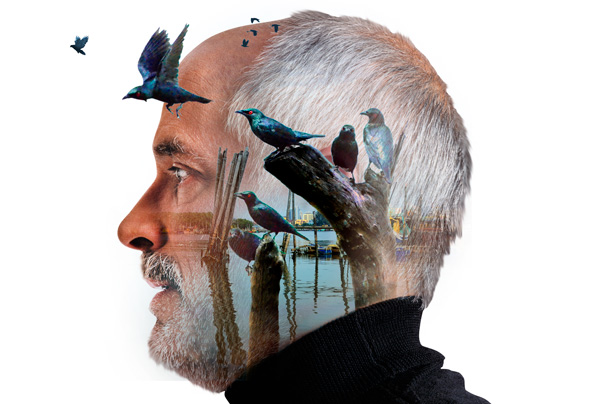
Step 7: Hide the sky
For added drama, double-click the river layer so the Layer Style dialog appears. At the bottom, change the Blend If pop-up to Blue. Then hold Option/Alt as you drag the right hand triangle in the This Layer slider to the left. Holding this key will split the slider in two, producing a smooth fade between what’s visible and what’s hidden.

Step 8: The end result
Here’s the image after the Layer Style operation. Note that the sky is hidden, rather than deleted; if you don’t like this effect, you can always undo it by dragging that slider all the way back to the right.
This article was last modified on May 16, 2018
This article was first published on May 16, 2018
Commenting is easier and faster when you're logged in!

Recommended for you

The Pop-Up Pinhole Project
They say necessity is the mother of invention, but it’s clear nowadays that Kick...
Using Perspective Warp in Photoshop CC
The big news in the latest Photoshop CC update is 3D printing—at least, that’s t...
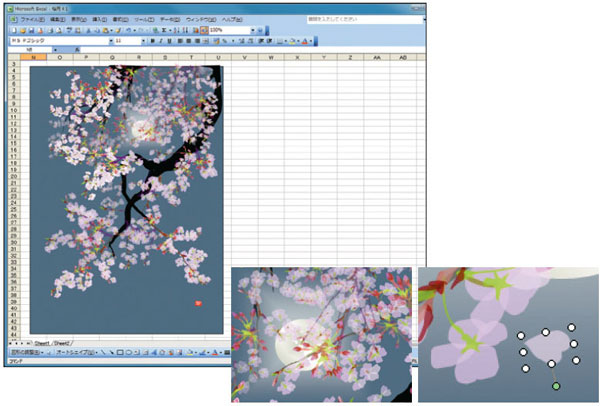
Painting with…Excel?
Probably not too many folks are familiar with the term “golden hammer,...