

One issue that has plagued Data Merge users since the feature first appeared in InDesign is the inability to colorize variable grayscale or line art images during a merge.
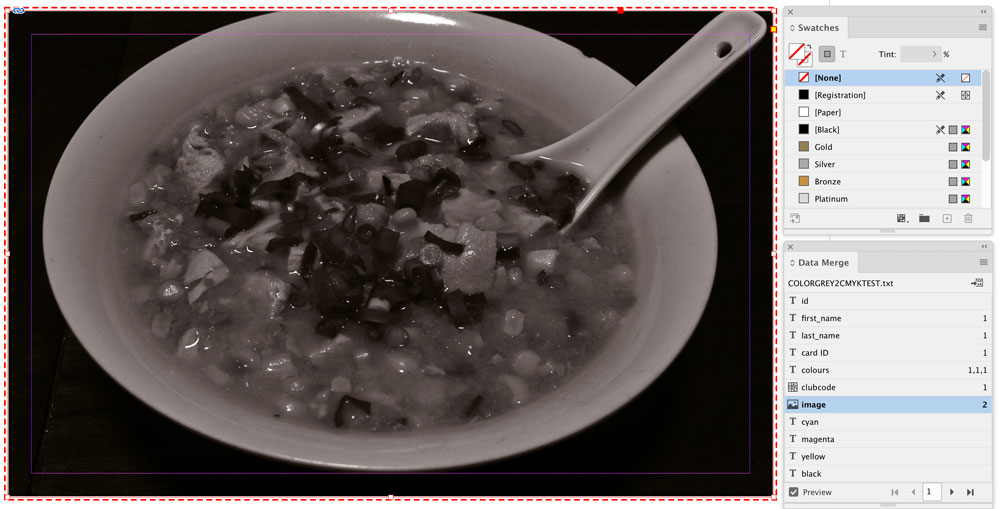
For example, look at this image field in a data merge. This record has a grayscale image.
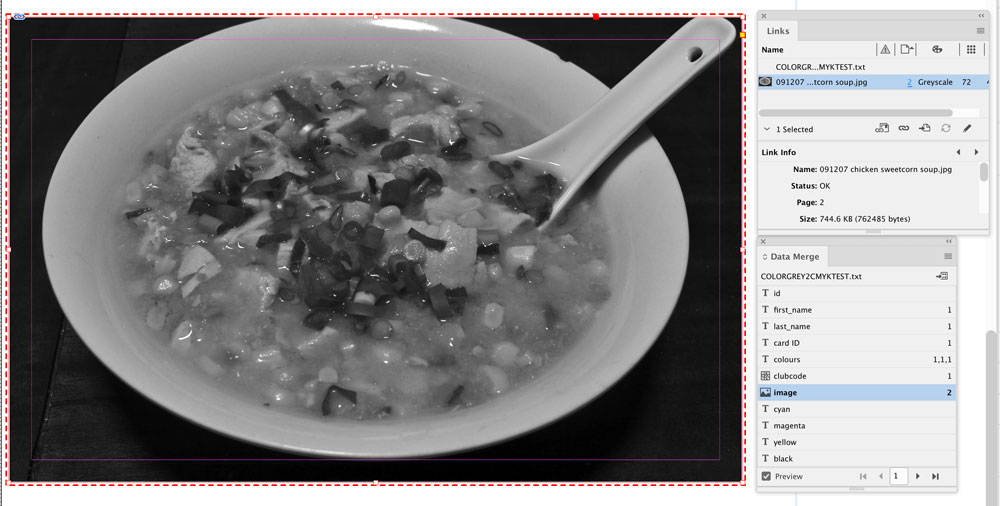
I’d like to colorize it with a particular swatch, and it is possible to change this single image by going to the Swatches panel and changing the fill to the appropriate swatch.
At this point, it looks like the swatch is applied, but if I navigate to the next record, the next image is still grayscale.

Worse, if I navigate back to the previous record, the colorization is lost and the image has returned to grayscale.
However, I’ve discovered some new methods to apply colorization to variable grayscale images. These methods will require adjustments to the images using Photoshop. In this article, I’ll outline what I call the “Process Method.”
The Process Method
To illustrate the technique, let’s start by changing this JPG picture of a pizza by opening it in Photoshop and selecting the entire image in the gray channel.
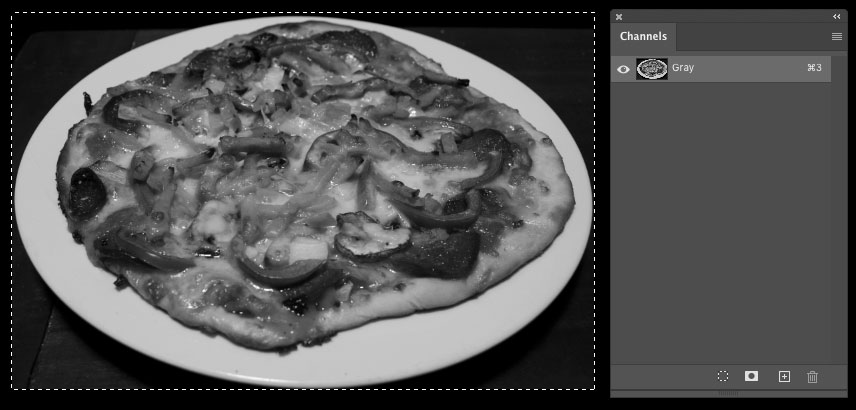
Once selected, cut the image so that the canvas becomes white.

From the Image menu, select Mode > CMYK.

Once the mode is changed, go to the Channels panel and click on the Cyan channel. Then use Photoshop’s Paste in Place (Cmd+Shift+V/Ctrl+Shift+V) to paste the image into the Cyan channel.

Click on the word Magenta in the Magenta channel and then once again use Paste in Place to paste the image into the Magenta channel.

Repeat this for Yellow and Black so that all channels now have the same image in each channel.

Save the file and close it.
You’ll have to repeat this process for each image in the database that needs to be swapped. Luckily, these tasks can be saved as an action, and then run from Adobe Bridge on all files that require the change.


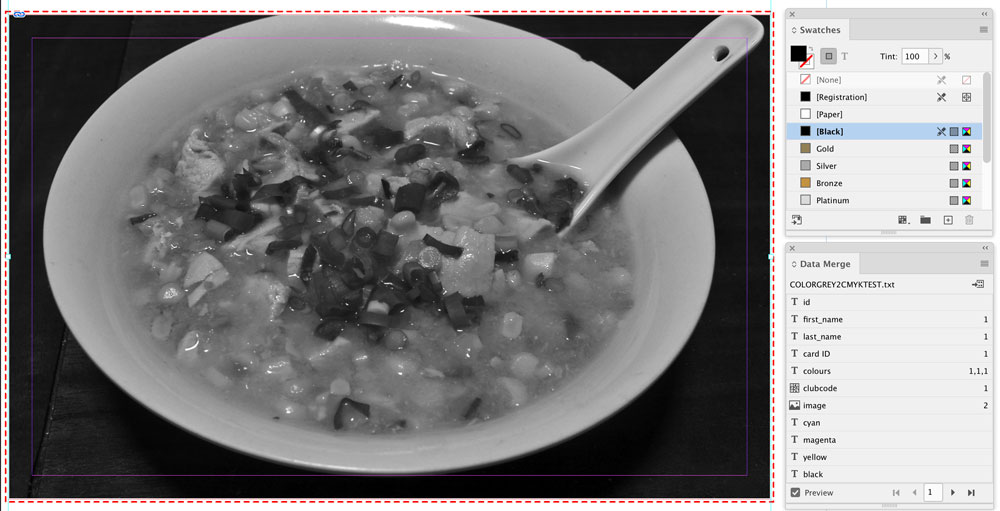
Back in InDesign, go to the Data Merge panel and update the source file.

Note that the updated grayscale image is now quite dark.
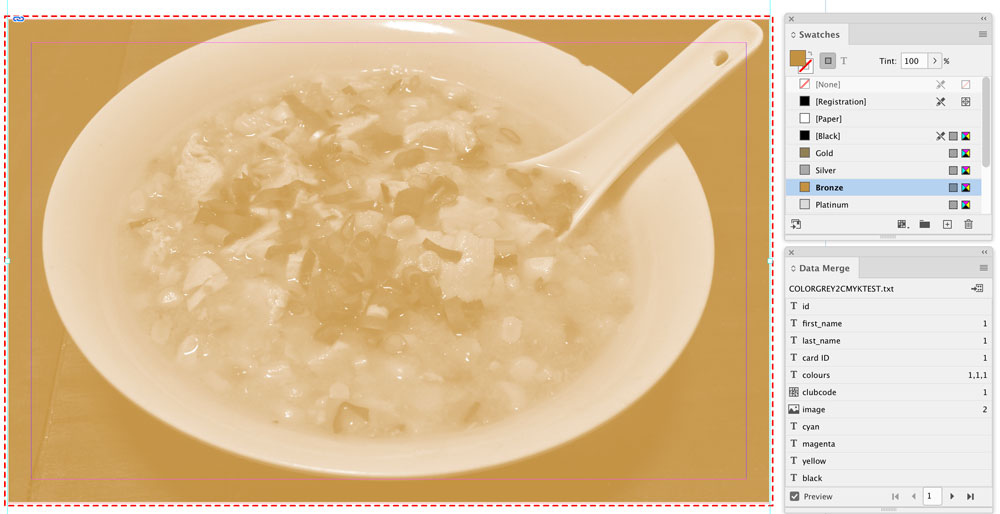
Draw a new frame over the image with the desired color swatch.

With the frame selected, go to the Effects panel and assign the Screen blend mode.

The image underneath the frame will now adopt the process color of the desired swatch.

From here, the colored frame can be extended to the same size as the image frame to complete the effect.
If I navigate to the fourth record, I can see that all images that had the channels applied to them from the Bridge action will behave in the same way.

It is also possible to incorporate the technique outlined in my earlier article on using GREP styles to change the color of a background. With this method, you can colorize images according to specific words in the database.

It is also possible to incorporate a technique outlined in another article that uses GREP styles to change the color of a background to CMYK values that were entered into the data file. The only difference is that instead of the desired color being set to Screen in the foreground, the variable image frame is now set to Screen in the foreground, with the frame containing the desired color in the fill.

This article was last modified on June 12, 2021
This article was first published on June 12, 2021
Commenting is easier and faster when you're logged in!

Recommended for you

Use Bridge to Find and View All Linked Assets in an InDesign File
Quickly find and collect every linked asset in your InDesign project using this...

Data Merge Magic
Easily transform your plain spreadsheet data—and lots of it—into an InDesign mas...

How to Improve Data Merge with Scripts in InDesign
Learn how to harness more power from InDesign's data merge feature by using scri...