

Gearing up to create panoramic photographs can be costly or inexpensive. At the costly end of the spectrum, conventional film and digital solutions by companies such as Charles Hulcher Co., Panoscan, and Seitz Phototechnik AG rotate under the power of a motor to capture panoramas, but costs begin at a few thousand for film models and about $12,000 for digital offerings. Fortunately, you can get results just as good with inexpensive camera equipment and with software that intelligently “stitches” multiple images into one continuous panorama.
In my previous column on panoramic photography, I wrote about the hardware required for producing high-quality panoramas with inexpensive cameras — most notably, a panoramic camera mount that you can make yourself. This time around I’ll focus on the stitching software used to create panoramas, and I’ll share some tips that should help you move relatively smoothly into panoramic photography.
Cut-and-Paste Panoramas
Stitched QuickTime panoramas are made with conventional cameras, conventional tripods, and special panoramic camera mounts that hold the camera vertically during a series of stepped exposures. You make a series of exposures, turning the camera a prescribed amount between frames. There must always be an overlap between the images, as the software that puts images together into a complete panorama needs two ends to compare before building the blended image of any two frames.
Many people have tried to paste photos together manually to make panoramas. In some circles it’s considered an art form. But the problems of distortion and image perspective pose terrific challenges with this approach to panoramic imaging. Images pasted side-by-side will never line-up perfectly, and even minor differences in exposure will create visible seams.

Cut-and-paste panoramas suffer from problems of fit, exposure, and distortion.
Much of the blame for why manual stitching doesn’t work rests with the optical capabilities of camera lenses. Normal-to-wide-angle lenses all have a certain amount of distortion. This distortion is a part of the optical properties of the lens, and is considered normal. When we look at an individual photo, we are usually unaware of the distortion, but it is there.

Barrel distortion in a wide angle lens causes the image to be distorted approximately along the lines in this grid.
Typical distortion in a wide angle photo is called barrel distortion. It tends to make an image shaped like an inverse barrel. When we try pasting individual images together, this distortion is the single greatest cause of trouble. Images spread away from the center, and this makes the edges difficult or impossible to join together. Cut-and-paste works much better with photos taken with telephoto lenses, but long lenses don’t gather the up-close subject matter we usually want to record in a panoramic image.
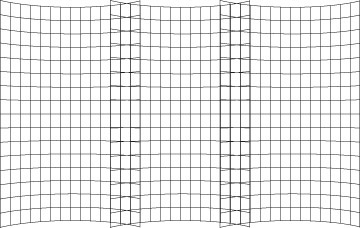
When several images are pasted next to one another, the effect of barrel distortion becomes noticeable. The images won’t fit next to one another. Panoramic stitching software removes the barrel distortion prior to stitching pairs of images together.
Panoramic stitching programs reverse the barrel-distortion effect, then assemble pairs of images by finding common points in adjacent images. It then blends the edges together to remove any visible seams, thus creating a cohesive panoramic photo.
From an end-user standpoint, the process is a breeze with just about any present-day stitching solution: You line up the images you have taken in order — left to right or right to left — and then you either let the software stitch automatically, or you give it a hint here and there about the association of adjacent frames. Different solutions yield different results, however, and some offerings place artificial limits on image size, which can be a real problem if you’re creating panoramas for print.

Stitching software overlaps the images, finds common points, and then aligns the image pairs together.
This article was last modified on December 13, 2022
This article was first published on May 22, 2001
Commenting is easier and faster when you're logged in!

Recommended for you
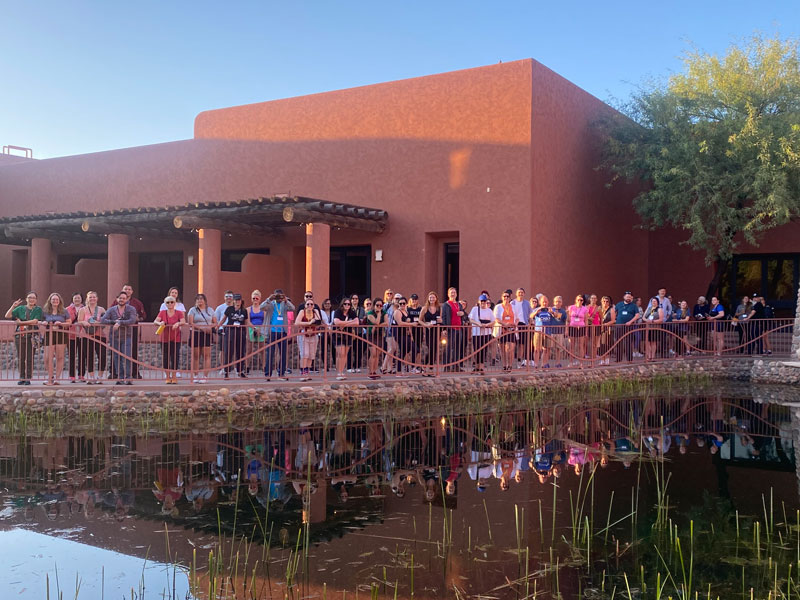
Scenes from the Desert: The CreativePro Week Photo 2025 Walks
CreativePro Week is about more than just learning and connecting, it's also abou...
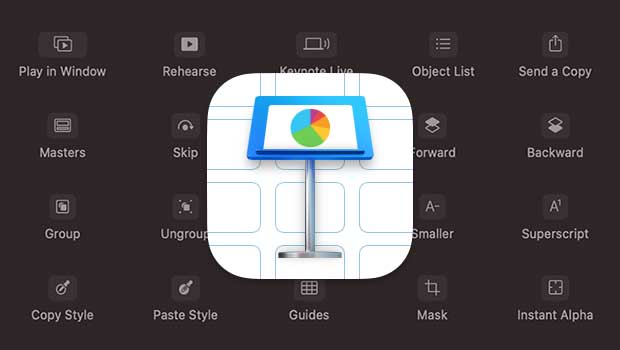
Customizing Keynote’s Toolbar
Spending a few minutes to customize the Keynote interface to your liking can sav...

Force Color Images to CMYK with a 240% Ink Limit
So your printer our output provider (such as Lightning Source) says you have a 2...