
Beyond the Bullet: PowerPoint Tips
Employ these six essential tips to design engaging presentations with any software.


This article appears in Issue 15 of CreativePro Magazine.
Like me, you’ve sat through bad presentations filled with uninspired, unprofessional slides—and you promised not to make the same mistakes when designing your own. Unfortunately, any of us can fall prey to the same traps and create yet another unremarkable presentation due to short deadlines, client demands, or many other creative obstacles.
So, what can we do to create and deliver better slides and stories?
Whether you’re using PowerPoint, Google Slides, Keynote, or Prezi—or any other program, for that matter—you can start with these six tips as a foundation to design more engaging, inspiring, and better presentations.
Like me, you’ve sat through bad presentations filled with uninspired, unprofessional slides—and you promised not to make the same mistakes when designing your own. Unfortunately, any of us can fall prey to the same traps and create yet another unremarkable presentation due to short deadlines, client demands, or many other creative obstacles
So, what can we do to create and deliver better slides and stories?
Whether you’re using PowerPoint, Google Slides, Keynote, or Prezi—or any other program, for that matter—you can start with these six tips as a foundation to design more engaging, inspiring, and better presentations.
Think and Plan Before You Design
Before you even start up your program to begin designing your slides, you should have your plan.
TIP 1: Never start with presentation software.
First, define your goal(s): What do you want to happen after the audience leaves your presentation? Then, write your takeaway: the benefit(s) your audience will get after they apply the information you share in your presentation or why they should care about your content. Think of your takeaway as your elevator pitch.
Let’s say your goal is to improve the adoption rate of a new tool. Your takeaway might be “Make your job easier with our new tool.” The rest of your presentation must explain and support this takeaway. It must address audience questions like “What is the new tool, and how does it make my job easier?”
Let these answers guide what you include in your presentation. Does the history of your new tool tell your audience why it will make their job easier? If not, leave it out.
Let your goal(s) and takeaway be your North Star, the foundation of powerful presentations. You’ll design your slides right the first time.
TIP 2: Be different.
You might have heard the saying, “Content is king.” That’s true. But audiences now expect valuable, insightful content in your presentation, or they will dismiss it as a waste of time.
Instead, consider this alternative: “Contrast is king.”
Why? In a world where our attention spans are fractured by exposure to competing content, our brains pay more attention to things that are different. Graphics, images, videos, and layouts that stand out earn more of our attention.
That means you need to avoid overused elements like standard slide templates, images, icons, symbols, graphics, and bulleted text.
Look at Figure 1. Which slide is likely to stand out?

Slide A uses conventional features—like bullets—that are easy to implement, especially if you aren’t a graphic designer and you’re under a tight deadline. But someone seeing this slide might think, “Here we go again with another boring presentation. I could’ve made that slide in a few minutes. I wonder if the presenter spent much effort on any of this? Is this presentation even worth my time?”
Alternatively, a participant seeing slide B might think, “That’s unique. The presenter must have spent a lot of time making the graphic on this slide. This must be important to them. Maybe I should pay attention.”
Be different. Stand out. You will increase the likelihood that your audience will assign more value to you and your presentation.
Be Creative and Effective—and Stay on Brand
You can stand out and still stay on brand. The following tips provide ideas for how to create different layouts while staying within your company’s branding guide.
TIP 3: Put your text inside bullets.
An easy way to make your bulleted slides more interesting—and different—is to put your text inside of the bullet (Figure 2).

Notice how the simple treatment in the bottom image highlights each point and communicates the relationship between the tiers more strongly than the standard list in the example on the top.
The idea is to organize your information by placing what might be bulleted text inside of whatever shapes make sense for your content and brand.
In this example, I drew three circles and placed the appropriate content in each. To avoid bullet overuse, your goal is to assemble (“chunk”) your text in a way that visually conveys distinct themes.
For inspiration, I recommend Nolan Haims’s The Better Deck Deck (see sidebar “From Words to Images”).
TIP 4: Ditch standard titles—or make sure they communicate.
When you eliminate slide titles (Figure 3), your audience will focus on the presenter to learn and understand the point. In my experience as a facilitator, I have seen how presenting untitled slides increases audience engagement and encourages cognitive curiosity, which, in turn, improves understanding, recollection, and adoption.

However, most corporate templates require titles, and for good reason. Titles help focus everyone’s attention on one topic at a time.
So if you must use titles, make sure you give participants a reason to care about the content on your slide. For example, when presenting your company’s organizational structure, don’t simply title it “Our Organizational Structure.” That will be obvious from graphic on the slide or the layout. Instead, consider titling the slide more engagingly, in a way that might address why you are even discussing the org chart.
A title like “Get Answers Quickly” creates a jumping off point for the presenter to explain how knowing the company’s organizational structure can help the audience save their time by contacting the appropriate person. This title gives people a reason to care and pay attention to the slide’s content.
Nolan Haims’s The Better Deck Deck is a deck of cards (print, PDF, or PowerPoint files, $14.95–$45) that promises “52 proven design alternatives to the dreaded bullet point layout and over 150 professionally designed examples of slides using these techniques to spark your creativity and improve your next presentation.” In fact, the CreativePro Resource of the Month is a sample from The Better Deck Deck, which may whet your appetite for the whole enchilada.
When designing my content, I often use Pexels.com, Pixabay.com, and Unsplash.com for graphics, icons, symbols, photographs, and inspiration (Figure 4).
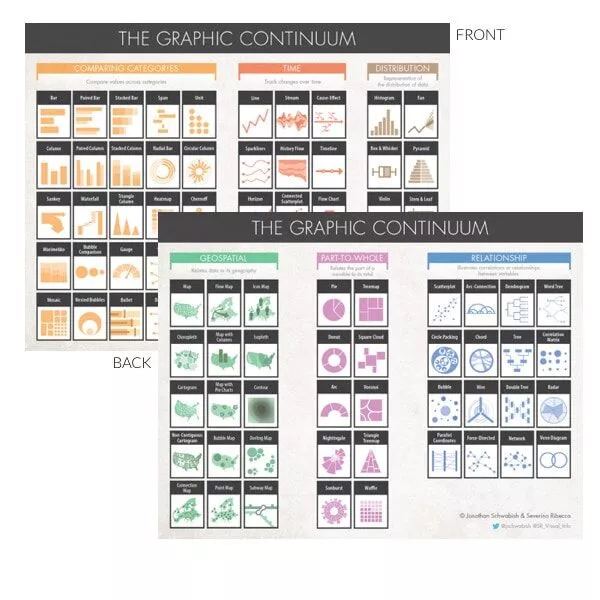
If you are primarily working with quantitative content, I recommend Jonathan Schwabish’s “Graphic Continuum” (poster, $3, or PDF, $25; policyviz.com) for inspiration and design ideas (Figure 5).
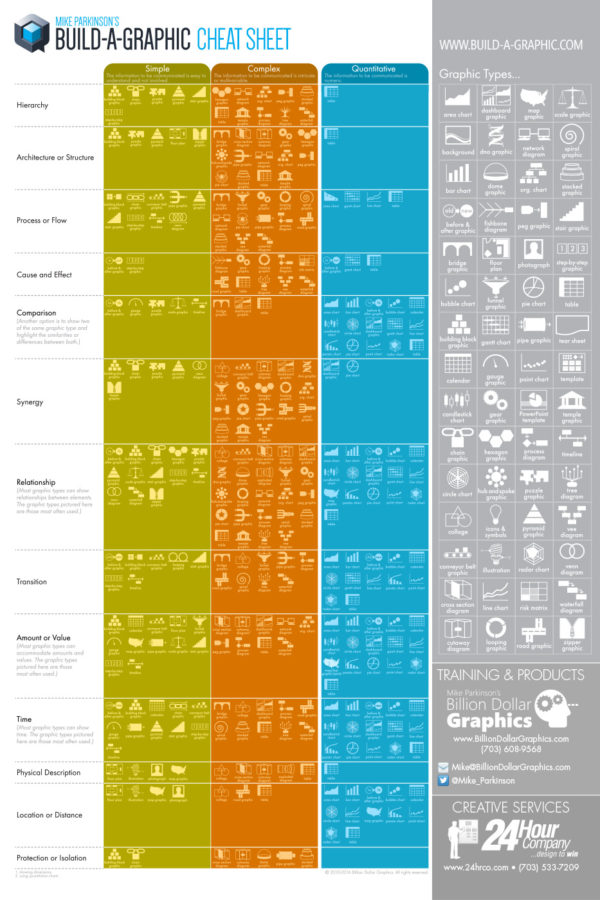
Look to icons and resources found at TheNounProject.com, Build-a-Graphic.com, and Canva.com to help you quickly make professional graphics.
You can also use built-in tools in most presentation software like PowerPoint’s, but avoid overused features such as SmartArt. Beware of using the same graphics your audience has seen before.
TIP 5: Visualize, visualize, visualize!
Slides are a visual medium, so you need professional designs and graphics in your presentations. Using imagery has become standard practice. However, many presenters continue to deliver text-heavy slides that are better suited as a Word document than a presentation.
If other presenters use overly verbose slides but you take the extra time to visually represent your content, your presentations will be better, stand out, and be more engaging.
At a minimum, augment your slides with pictures or videos (see the sidebar). This technique is an entry-level approach to slide design, but it’s better than using only text. Photo sites provide a great starting point for you to practice replacing text with related visuals and contrasting elements.
The aesthetic quality of your slides is indicative of the quality of your content. The pros know this, and they use it to their advantage.
TIP 6: Treat slides as slides and handouts as handouts.
Presentation pros have a saying about handouts: “Great slides make terrible handouts, and great handouts make terrible slides.” If you need both handouts and slides for your workshop, webinar, or presentation, then make and deliver both.
That task doesn’t have to be difficult and time consuming. If you are using PowerPoint, you can create text from your slides in the PowerPoint Notes section and make an amazing deck and handout with both notes and slides built in.
- Go to the View tab, and click Notes Master, which creates the visual underpinnings for the format of your handouts. (Think about it like a parent page in InDesign, a Word template, or the like.)
- Format your Notes Master page with structure and design elements. You can add headers and footers like a copyright notice or a page number. You can keep the image of each slide, or you can omit the presentation and make your handout its own written resource to correspond with the presentation (Figure 6).
- On each slide’s corresponding Notes page, create text and format it as you choose. You can add additional graphic elements.
- With this technique, you can present your slides and also supply a text-heavy Notes pages as a PDF. For instructions on how to do it yourself, click here.

Celebrate Your Creativity!
When you use these tips, I know you’ll make a difference with your next presentation. I know you’ll improve your success rate. And I know you will exceed everyone’s expectations—and, most importantly, your own.
Commenting is easier and faster when you're logged in!

Recommended for you

How To Animate Hand-drawn Text in PowerPoint
Learn how to make an animation follow the path of a line with the Ink Replay fea...

Streamline Your PowerPoint Workflow with Picture Placeholders
This technique can save you a lot of time when making a presentation in PowerPoi...

Super Simple Slide Design: A CreativePro Event Sneak Peek
Learn several easy to implement techniques for punching up the visual interest i...