

Have you ever yearned to apply multiple strokes to on object in InDesign? Have you wanted more flexibility with your strokes than just a stroke and a gap color? For years now, I have wanted InDesign to be able to have the equivalent of the Illustrator’s Appearance panel, where I can apply multiple strokes and fills to a single object.
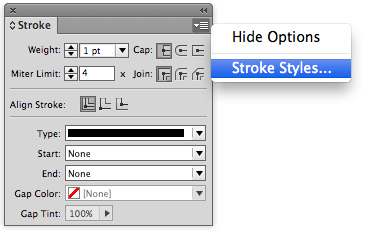
We can achieve a similar effect by stacking multiple strokes on top of one another. To do this, I’ll be using some custom stroke styles. To get the the Stroke Styles dialog box, open the flyout menu on the Stroke panel, and then choose Stroke Styles.
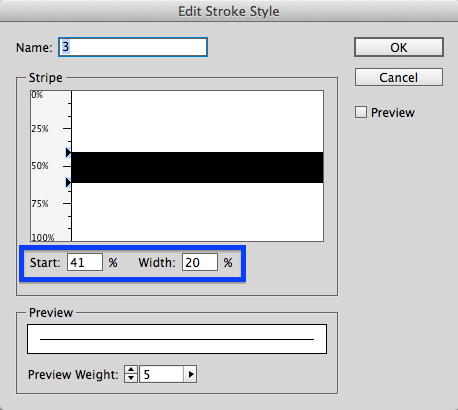
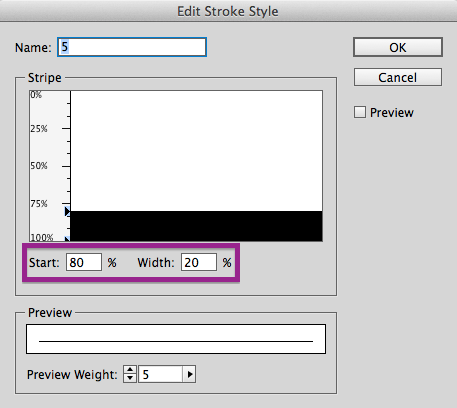
Setting Up the Stroke Styles
Here’s how I set up the five stroke styles I’ll be using. Each stroke will occupy 20% of the stroke width. To make it easier to see how each stroke style will correspond to the final design, I’ve color coded them.


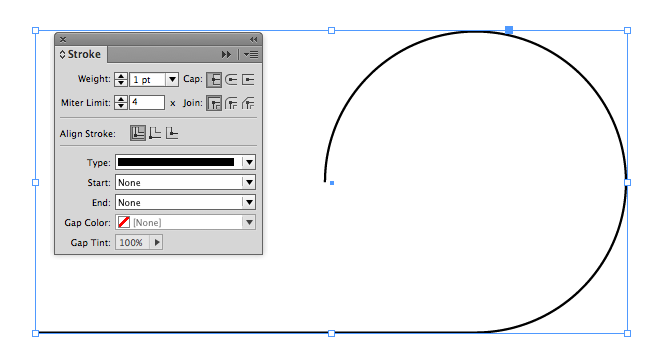
Set up your Stack of Objects
Next, I’ve created a simple object that I’ll be applying these strokes to. This is a 1 point black stroke with no fill.
 Basic Stroke
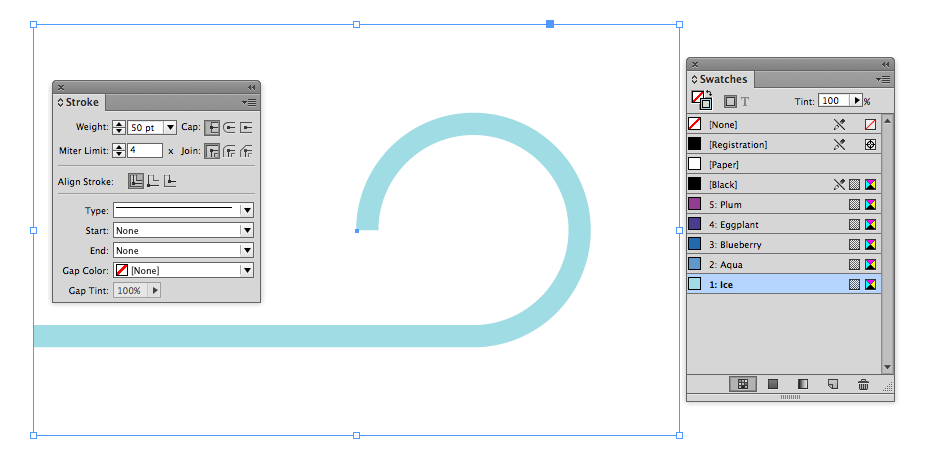
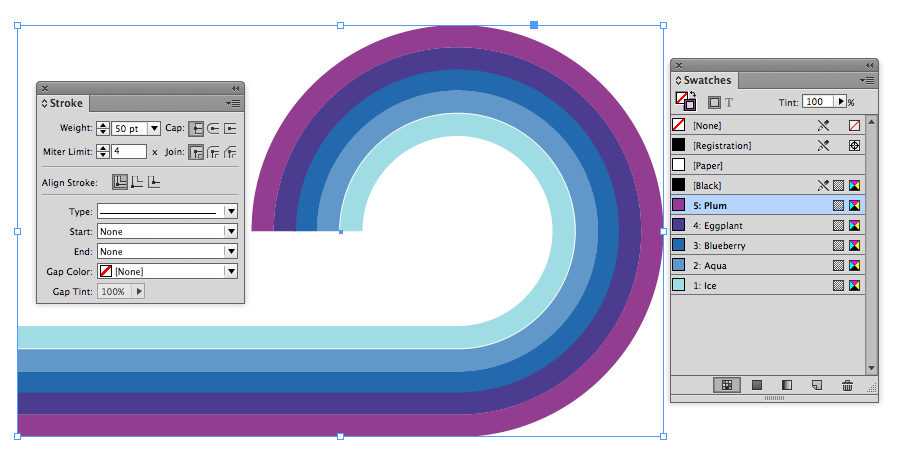
Next, I thicken and colorize the stroke. I increased the weight to 50 points, applied stroke style #1, and chose the Ice color.
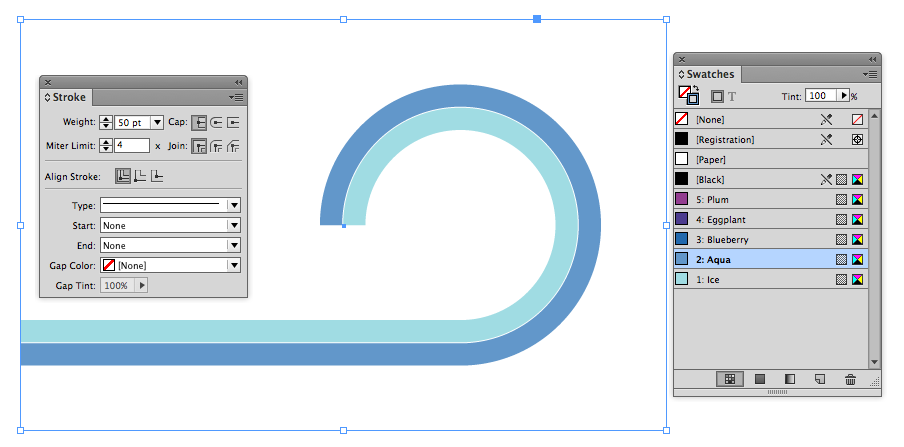
Then I copy it, choose Edit > Paste in Place, and apply the Second stroke style and then Aqua color.
Repeat with stroke styles 3, 4, and 5.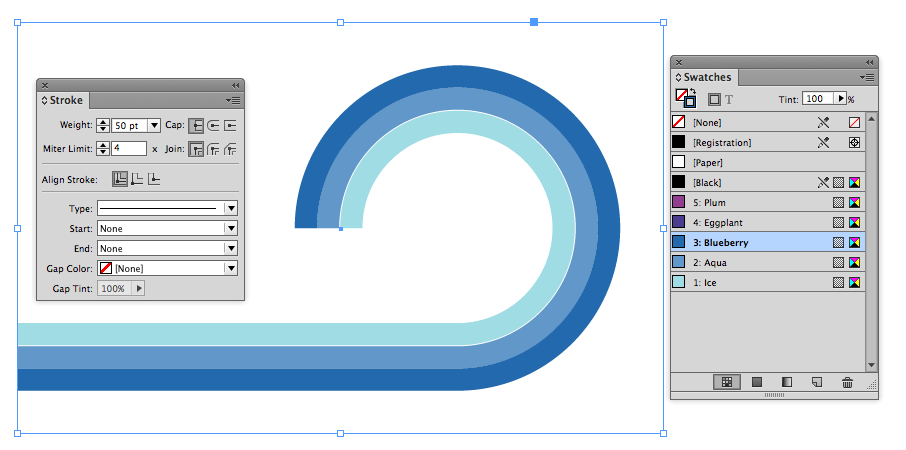
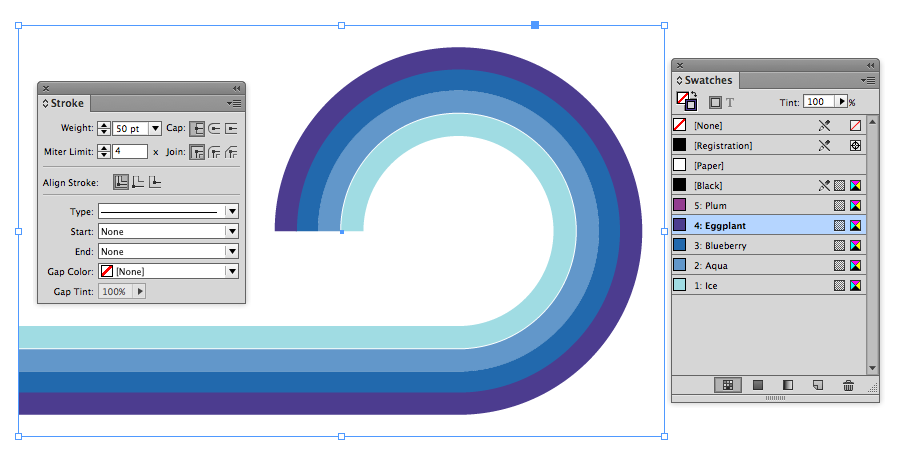
Because the stokes all have the same geometry, if you resize them together, the effect will stay intact.

Stretch the path!
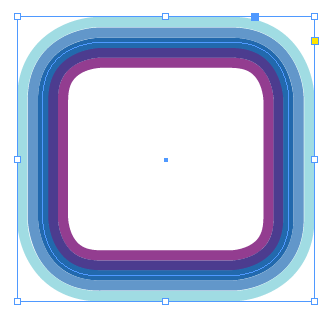
Convert the Shape!
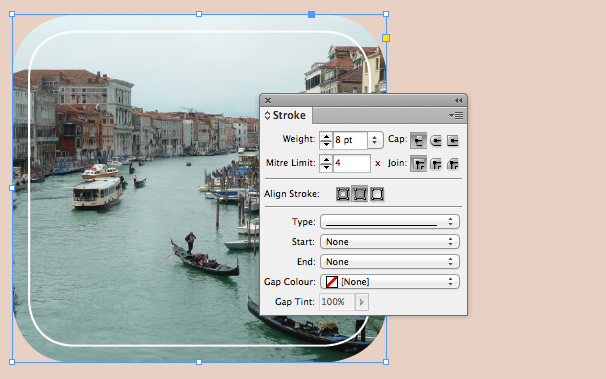
You can use other types of strokes styles for interesting effects.

Use 3 different stroke styles, with a blending mode and some corner effects

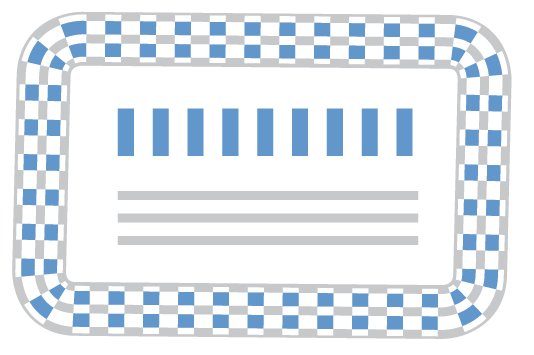
Use hash stroke styles for an argyle effect
Cool effects can be made with just two strokes and a blending mode
In part two of this series, I’ll show you a new plugin that will supercharge your ability to edit stacked objects.
This article was last modified on December 30, 2021
This article was first published on September 30, 2013
Commenting is easier and faster when you're logged in!

Recommended for you
Creating Inset Stroke Effects with Custom Stroke Styles
InDesign allows us to design our own stroke styles for dashes, stripes and dots....

Pointer Lines for Technical Writers: Part 2
Several years ago, I wrote a blog post called Pointer Lines for Technical Writer...

Spaced out dots…
I love my dots, but want more from InDesign when it comes to dots. Let's space o...