

Back in June, Adobe launched a new service for Creative Cloud users, Adobe Stock. It gives members access to over 45 million images and videos, mainly from Fotolia.
And now, with InDesign CC 2015.2 and enhancements to CC Libraries, the Adobe Stock workflow in InDesign is really slick. From the CC Libraries panel you can search the stock photo library, find the asset you want, save it to any of your custom-named libraries in the panel, and from there drag and drop it into your layout. If you use a pre-CC version of InDesign, you can still subscribe to the Adobe Stock service and use it like a regular online stock photo agency, but its integration with the CC Libraries panels in the CC apps is only available if you’re a CC user.
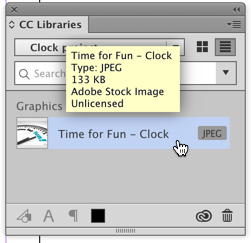
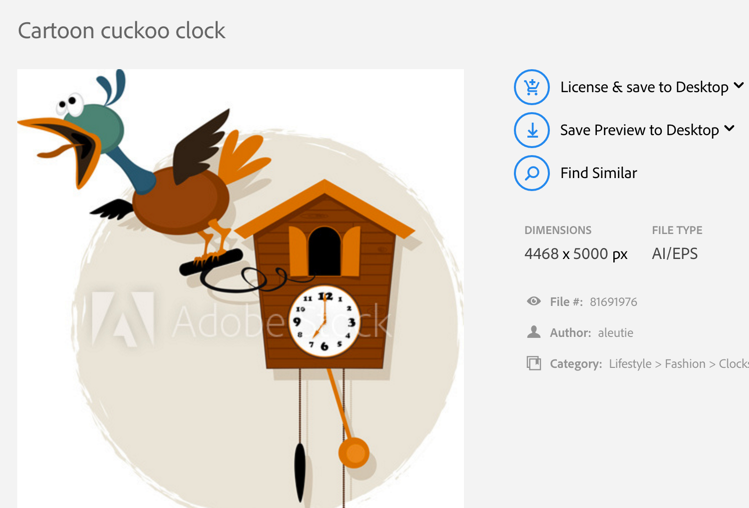
For example, in an article about a time-limited offer, I want to find a fun picture of a clock. So I open the CC Libraries panel in InDesign (Window > CC Libraries) and enter “clock” or “time” in the search field. The Search field here is a welcome new feature in CC 2015. You can also search for assets you’ve saved in the current library, or all of them — use the dropdown menu at the far right of the field to select a search scope other than the default Adobe Stock service.
When I hit Return/Enter, the number of results is so big that it helps to make the panel really large.

Scrolling through here, I select a fun clock image for my article. To use it in my layout, I click the Cloud icon that appears when I hover over the thumbnail, which saves it as a low-res preview to my CC Library. So far it’s the only image in my custom Clock Project library.
From there, I drag and drop the thumbnail into my layout, where it reconstitutes itself as a full-size, albeit low-res image. Once I’ve placed it, I can manipulate it as much as I want (crop, add effects, add a stroke and so on), print it, export it to PDF, upload it to Publish Online — you know, the usual. Any effects I apply in InDesign will be maintained should I decide to purchase the image in the future. That’s one of the beauties of using this CC Libraries integrated workflow.

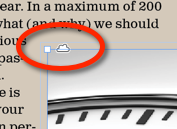
The cloud icon on the frame edge and in the Links panel are reminders that I’m working with a linked CC Libraries asset. Cute icon!
Another interesting factoid: Unlike, say, a synced Typekit font, this linked stock photo preview image is a tangible thing that you can possess. As a test, you could choose File > Package, and the low-res (and watermarked) image would be added to the package’s Links folder. Of course you’d need to license it first in order to use it in your publications, legally-speaking (and you’d want to get rid of the watermark too!). Still, I’m a fan of tangible things. They make me feel secure.
Buying the Image
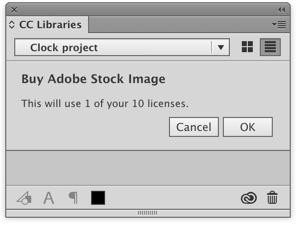
The Adobe Stock watermark will stay on the image until you or your client decide it’s the one to buy. You can do that right from the CC Libraries panel too. Just right-click and choose Buy Image. (Yes, I know we’re not buying it, we’re licensing it — but that’s the language Adobe uses.) I’ve already subscribed to the 10 images per month plan — the one that CC subscribers get a 40% discount on — so no money or credit card numbers exchange hands, it’s all done nice and neat in the panel.
After I click OK, I wait a few seconds, and then all placed instances of the image in the layout refresh to show a high-res, watermark-clear preview. If I had earlier dragged the same image into a Photoshop or Illustrator file from their respective Libraries (remember, all your CC Libraries are synced with each other, so stock photo previews you download in one app are immediately available in other CC apps), then those images too would lose their watermarks and refresh with high-res previews.

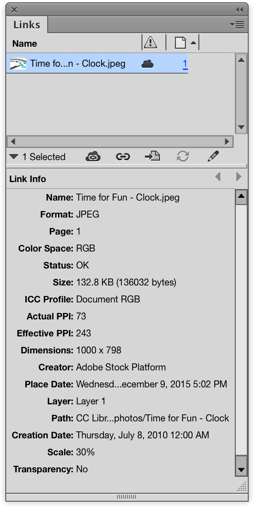
To see the exact specs for the full-res image in InDesign, open the Links panel again. (Compare it against the earlier screen shot above.) It’s now a 300ppi image, the author’s name was iQoncept, and I can see he/she/it used Photoshop CS3 for Windows to create it.

By the way, you don’t have to do all your Adobe stock photo searching and downloading from the panel. Go ahead and jump over to the actual Stock.Adobe.com web site in your browser. As long as you’re logged in with your CC account, you can search and select images to download to your CC Libraries as previews, or purchase them there. Using the web site, I do like being able to quickly see the details of an image (file size, format, etc.) when I double-click it, before deciding to download it. (I should mention you can always right-click on a CC Library stock photo thumbnail and choose View Details on the Web… to get to this same Details screen.)
What’s nice about the web interface is that if you did your searching here, instead of saving a preview or licensed image to the Desktop, you can choose to save it right to your CC Libraries. Just open the dropdown menu next to the Desktop choices, and you’ll see the names of all your libraries. Hop on back to InDesign (or Photoshop, etc.) and the image will be there in the CC Library waiting for you.
I think it’s pretty fun! If you want to learn more about using Adobe Stock photos in InDesign, please comment below. And in the meantime you might find this well-done Adobe support page useful.
This article was last modified on July 25, 2019
This article was first published on December 10, 2015
Commenting is easier and faster when you're logged in!

Recommended for you

Holiday FX: Animated Snow
In the comments for Holiday FX: Let It Snow! James Fritz mentioned that it would...

InDesign Eye Candy, part 5: Blending a la Mode
What's black and white or red all over? Your document in a blender (mode).
HELP! New Ways to Find It in CS3
Everyone needs help sometimes. InDesign CS3 and the CS3 applications now give yo...