Back

If your email is not recognized and you believe it should be, please contact us.

  • You must be logged in to reply to this topic.Login

How in the dickens do I make this logo on a die-cut bleed?

Return to Member Forum

  • Author
    Posts
    • #54388
      krysteena
      Member

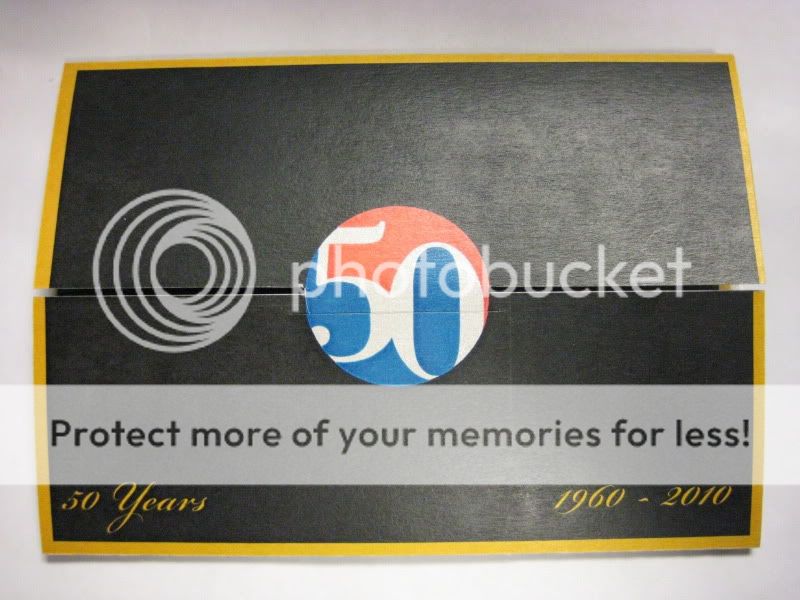
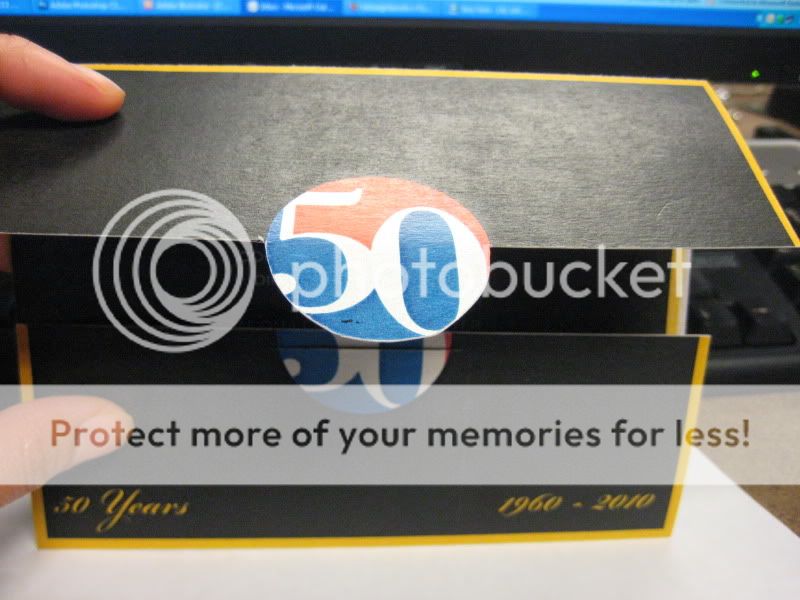
      Please help – I have designed an invitation with a circular tab that is inserted into a slit for closure. I need to make half of the circular logo bleed, but cannot for the life of me figure out how to make this happen with this sort of logo.

      Any ideas?

    • #54409
      Eelco
      Participant

      You could make a “cut” using -for instance- illustrator. Make sure you select a spot color and name it like “CUT color, don't print”, set to “overprint”. Just make sure you have also bleed applied to that figure.

      The problem with these cut's are the area where the blue/red comes together with the Black. Maybe some one else does have a solution for this.

    • #54449
      fanthony
      Member

      Hi Krysteena.

      Could you please let know how you did create the logo. InDesign, or Photoshop, or Illustrator, etc.

      Either software gives you the option to add to the blue and red colours a border(stoke) large enough for the bleed: say at least a couple of mm/points (make sure the sits behind the red and white colours. Also, don't forget to create a keyline to the size of the circle and of a colour that will not be printed and make it to overprint; at output print it as a separate plate.

      Let us know.

      Bye

    • #54452

      There are two parts to this question. First is making the dieline in Indesign, second is adding the bleed in Illustrator.

      To make the dieline draw a circle in InDesign exactly where the outer circle for the logo is. Give the circle a 0.5 point overprinted stroke using a spot colour called “Dieline”. Draw rectangles and polygons (with the pen tool) to create the dieline for the entire piece. Don't worry that you are making several shapes, so long as the edges line up (guides help) and that they overlap where they meet. Select all the dieline shapes and combine them with the Pathfinder panel. Put the dieline on its own layer and lock that layer.

      The bleed is a little trickier. Draw another circle with a radius equal to the dieline plus the required bleed. Extend the red and blue parts of the logo to at least the edge of the outer circle. For the type, use the pen tool to extrapolate the paths of the text out to either the apparent edges of the text or the outer circle, whichever comes first. You now have a version of the logo that bleeds beyond the dieline.

Viewing 3 reply threads
  • The forum ‘General InDesign Topics (CLOSED)’ is closed to new topics and replies.
Forum Ads