

Back in the day, Web pages were like billboards: static, with information that flowed in one direction only. If you want to capture eyes today, you’ve got to move beyond and elicit a response from site visitors. Two ways to do so are blogs and podcasts.
Such conversational content can benefit many kinds of sites and address many needs. For example, you can drum up more work for yourself by not only displaying your work, but by talking about it. Presenting a more personal presence via a blog or podcast gives people a chance to get to know you. There’s nothing wrong with building brand loyalty not only on the quality of your work, but also on the strength of your personality. A personal soapbox also gives you the opportunity to highlight what you do (and establish yourself as an authority) and why it’s worth someone’s attention.
Blogs and podcasts can give a client’s Web presence greater immediacy and more personal customer interaction. And that can help keep visitors coming back.
The tools necessary to create and host blogs and podcasts are free to inexpensive and, because they’re Web-based, they’re available to any computer with an Internet connection. In this two-part series, I’ll look at creating and publishing compelling blogs and podcasts. Let’s begin with blogs.
Entering the Blogosphere
Blogging involves creating the blog’s content and then posting that blog to a host where others can view it. In many cases, you can do both in a single step.
Many sites provide tools for creating your blog entries and hosting them. Among the most popular are Google’s Blogger, Six Apart’s TypePad, Apple’s iWeb, UserLand’s Radio UserLand, Blogsome, and WordPress. (See below for prices and links to each service.) Companies such as AOL, MSN, and Yahoo! offer members blogging services as well, though features are more limited.
Popular Blogging Services
- Blogger: Free. Example site created with Blogger: Unclaimed Territory
- Blogsome: Free. Example site created with Blogsome: Paint the Tiger * Carve the Swan
- iWeb, $99/year as part of the .Mac Macintosh-only online service, www.mac.com
- Radio UserLand: $39.85/year. Example site created with Radio UserLand: Crooks and Liars
- TypePad: $49.50/year and up. Example site created with TypePad: Comedy Central Insider
- WordPress: Free. Example site created with WordPress: Fanatical Apathy
Using these services offers distinct rewards. You can spend time blogging instead of learning how to set up and maintain a server to host your blog. And you needn’t worry about HTML coding. Although these sites — to a greater or lesser degree — allow you to do your own HTML encoding, they all offer tools for formatting text and creating links. Many automatically generate RSS or Atom news feeds for your blog, saving you the trouble of doing it yourself. Most also let you post pictures in the blog via a Picture tool. Because the tools are Web-based, you can update your blog from anywhere, on any computer with Internet access. And finally, most of these sites offer a variety of templates, and some let you customize templates or use templates of your own design, so your blog won’t look like everyone else’s.
Creating a Blog
Launching a blog on one of these services is simple, and nearly all of them are set up in a similar fashion. As Blogger is one of the more flexible sites, with a variety of templates and the ability to customize templates, I’ll use it as an example of a typical blog-creation process.
To create a blog on Blogger (and all of these services) you must sign up, creating a username and password when you do. Once you have a username, you’re asked to name your site and customize its URL. With Blogger, you fill in a name between https:// and .blogspot.com; for example, https://designsponge.blogspot.com (Figure 1).
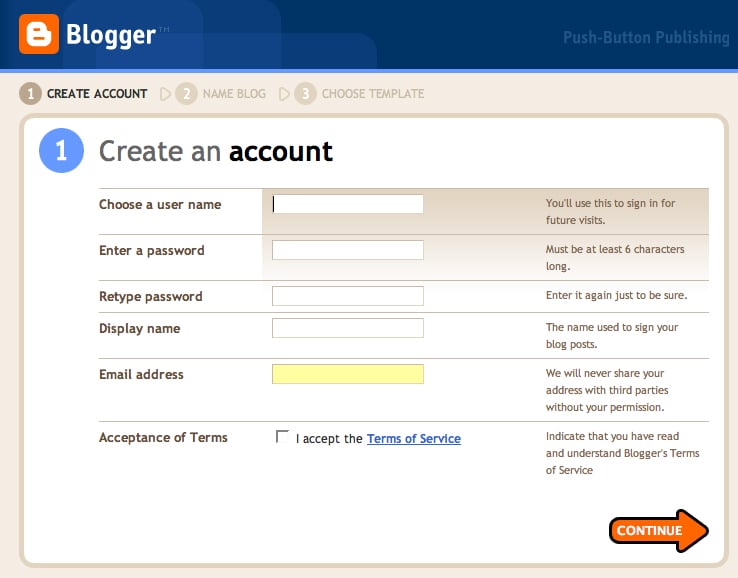
Figure 1. Your blogging journey begins here. Click on the image for a larger version.
When you’ve decided on a unique site name (not always easy to do because so many names have already been used), you’re asked to choose from among 12 themes (Figure 2). You can choose a different theme later.
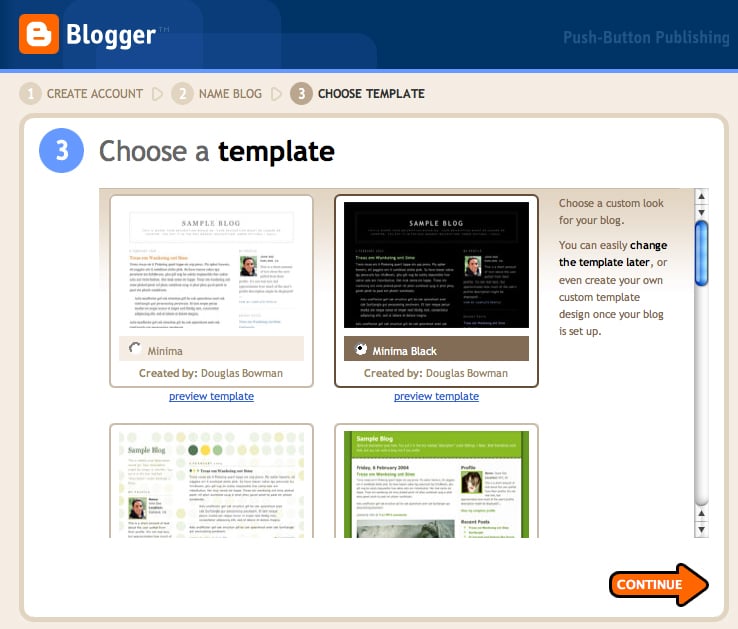
Figure 2. Start with one of Blogger’s themes. You can change it later if you’d like. Click on the image for a larger version.
Now you’re ready to begin writing and posting your blog. On Blogger’s Create Post page, you’re presented with an empty field for an entry’s title and another field for its contents. The body field includes basic formatting tools for choosing fonts and their sizes, aligning text, creating bold, italic, and colored text; inserting hyperlinks and pictures; and adding blockquotes. Click Preview at any time to see how your formatted text will look on the page. Click the Edit HTML tab to edit Blogger’s HTML tags.

Figure 3. Now it’s time to compose and format your text. Click on the image for a larger version.
You don’t need to use the HTML controls that are part of Blogger and the other services. Feel free to create your own HTML-formatted entries in your favorite text editor and paste that text into a blogging tool’s content area. It correctly interprets standard tags for HTML, XHTML, and CSS.
When you’re ready to make your blog entry public, click the Publish Post button. Blogger takes a couple of moments to upload the entry and, when it’s finished, you’re told your blog has been successfully published. To view it, click the page’s View Blog link.
Customizing Your Blog
With the millions of blogs available today — and a large percentage of bloggers using a service’s small collection of templates — you’ll see a lot of duplication in blog designs. The more work you put in, the more your site will stand out.
Some blogging services offer greater customization options than others. For example, although WordPress has more polished templates than Blogger, you can’t edit those templates if you publish to WordPress’ servers. (Though you can edit WordPress templates if you operate your own WordPress server or publish to Blogsome, a free blogging service that uses WordPress’ publishing tools.) You can edit Blogger’s templates in the site’s Template controls (Figure 4). These controls are flexible enough that you can build a template from scratch using HTML code you’ve generated with a professional tool, such as BareBones’ BBEdit and Adobe’s Dreamweaver or GoLive.
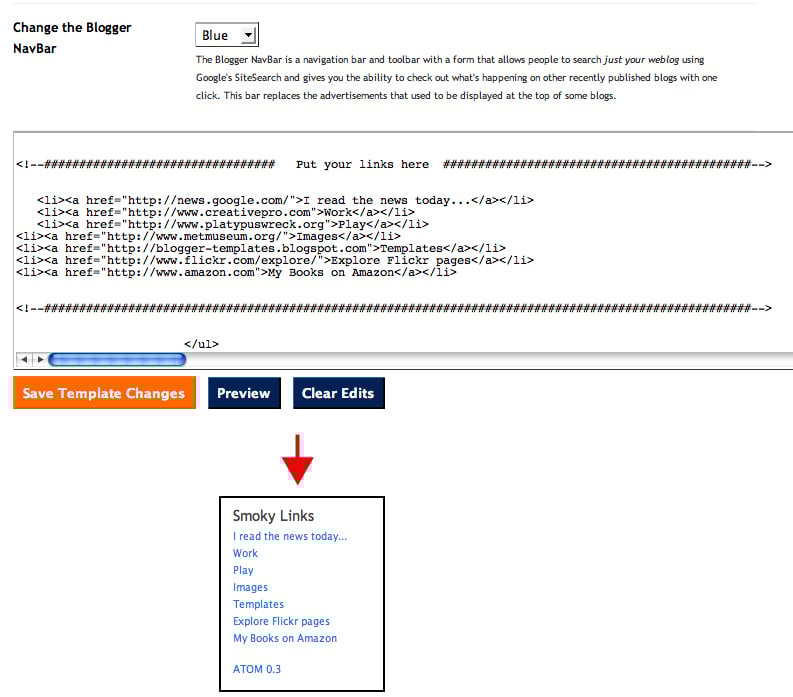
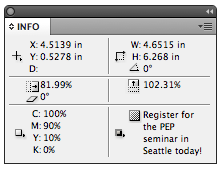
Figure 4. While this is a basic example, you can make your code as complex as you wish. Click on the image for a larger version.
And if you’re not a coder, there are plenty of sites with free Blogger templates, including the aptly-named Blogger Templates. A Google search will turn up plenty more. With such a template at your disposal you can tweak the code within Blogger’s Template controls to change sidebar headings — from Links to Dig These Smoky Links, for example — and footers (inserting copyright information, for instance). With some templates you can also easily replace banner graphics by modifying the header’s background image URL (Figure 5).
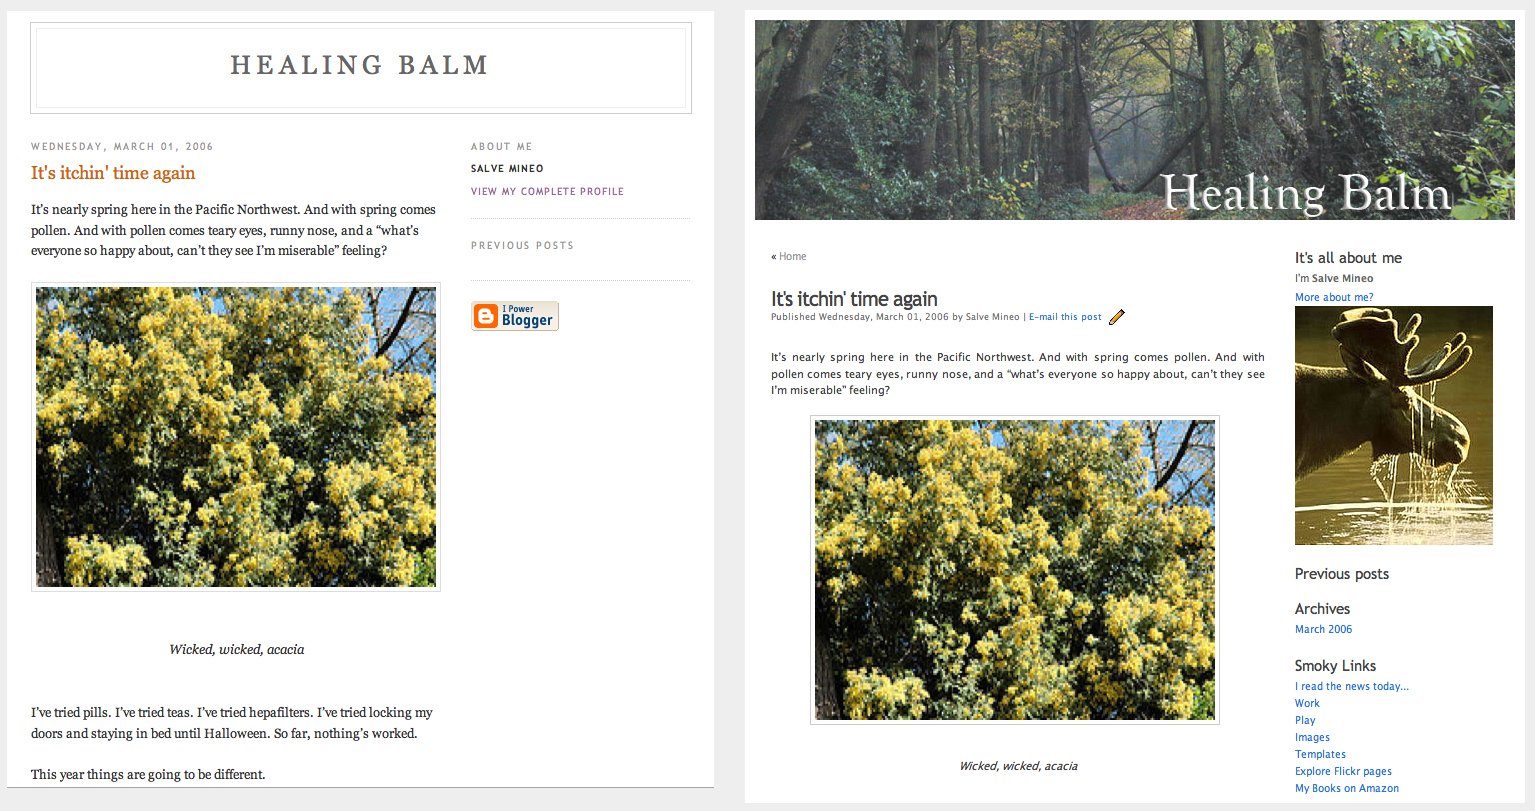
Figure 5. At left, an unmodified template. At right, a template that’s on its way to a more pleasing appearance. Click on the image for a larger version.
Although these blogging services don’t provide tools for embedding video clips into a blog, adding video is simply a matter of placing the correct tags in the body of the blog and finding a place to host your clip. For example, if you want a QuickTime movie in a blog entry, place this tag in the template or page:
<embed src=”URL of your movie” height=”180″ width=”240″></embed>
“URL of your movie” is the address where your clip is stored, and the height and width numbers reflect the frame size of your movie.
Note that adding video to a blog may make the page slower to load and scroll. Particularly if it’s a large video, consider providing a link to the clip in your blog and direct the link to another page that contains only the video.
Other Services, Other Options
These are the basics of Web-hosted blogging, but there’s more if you want it. If you choose to host your blog on your own server or on a server that supports specific blogging tools such as WordPress or Six Apart’s Moveable Type, you’ll have far greater control over the look and content of your blogs. Those tuning into Radio UserLand have the power to add categories to their blog sites, include a news aggregator, create multi-author community Web logs, and update blogs via email. And if you’re a .Mac member with a copy of Apple’s iWeb, you’ll find it easy to create an attractive site that features not only a blog, but photo albums, movie page, and podcast as well.
Speaking of podcasts, that’s what I’ll turn to next.
This article was last modified on December 17, 2022
This article was first published on March 8, 2006
Commenting is easier and faster when you're logged in!

Recommended for you

How to Make and Use Patterns in Photoshop
Learn how to create a seamless repeating pattern in Photoshop and then save it t...

An Introduction to Actions in Illustrator
Learn how to automate repetitive tasks to save your time for being creative.

Chalk Lettering, a Return to Low Tech
One of the most charming trends to hit graphic design and typographic solutions...