

People swim in swimming pools. Or in the sea. But why limit ourselves to the obvious? In this tutorial we’ll see how to cut out a swimmer and place him so he’s swimming down the middle of a country lane.
Step 1: The starting image
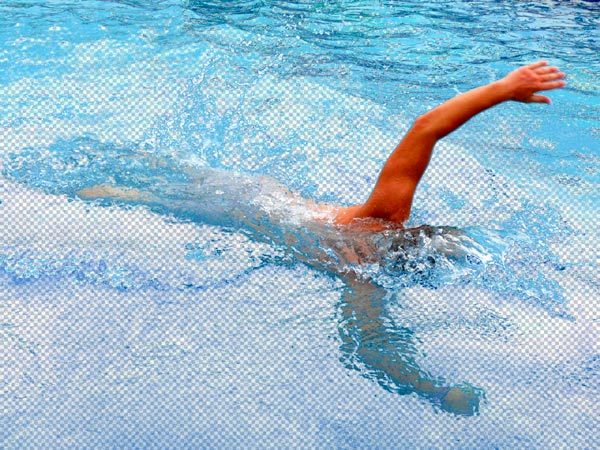
You’ll need a clean shot of your swimmer, without any awkward background interruptions. This one, from the free photo library publicdomainpictures.net, is ideal for our purposes.

Step 2: Set up the Background Eraser Tool
You’ll find the Background Eraser Tool nested behind the standard Eraser Tool. Before you start using it, set it up on the Options Bar so it samples colors beneath the cursor only once (the middle of the three icons). Set the Limits to Discontiguous, so you can erase within the white spray, and the Tolerance to a relatively low 30% so you don’t erase too much with each pass. Make the brush size large – around 170px for this image.
![]()
Step 3: Start erasing
Hold Option/Alt to get the Eyedropper Tool, and click on the arm to make that the Foreground Color (which is protected from erasure). Click in the blue water in the foreground, and drag to erase similar colors throughout the whole image. There will still be a lot of blue background left, but you can take that out with subsequent passes.
Step 4: Keep on erasing
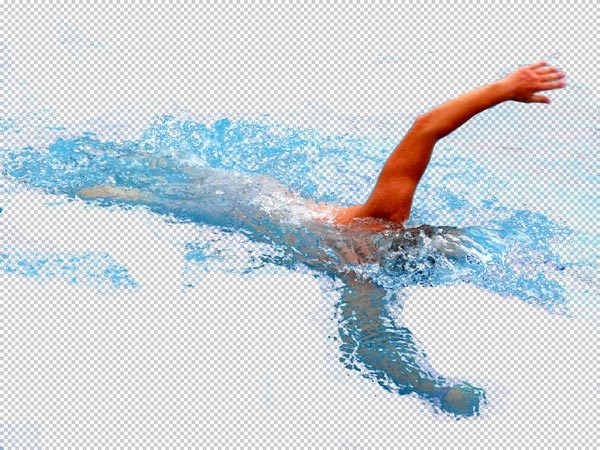
To delete the rest of the water, just click in another unerased blue area, and drag around the whole image. Repeat this process until most of the water has been erased. There will probably still be some stray half-erased blue pixels left, as seen here.
Step 5: Clean up the water
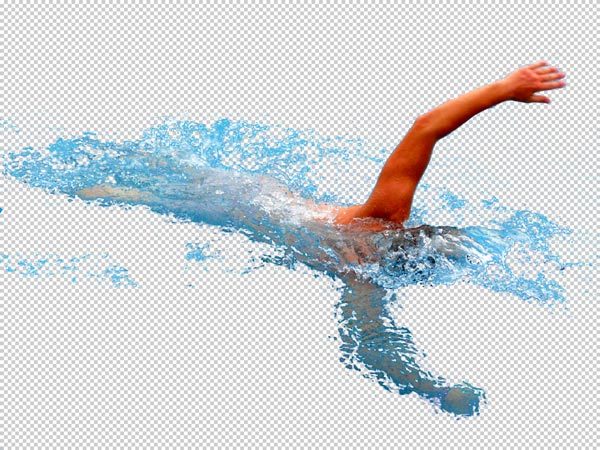
Hold Command/Ctrl and click on the swimmer’s thumbnail in the Layers Panel to load the pixels as a selection. Then Inverse that selection (Command Shift I/Ctrl Shift I), and press Delete: this will clear all the part-transparent pixels, leaving a much cleaner image.
Step 6: Add a background
Choose a background for your swimmer. It helps if the angle of the background matches the angle of the swimmer: this road, also from publicdomainpictures.net, is at the perfect angle.
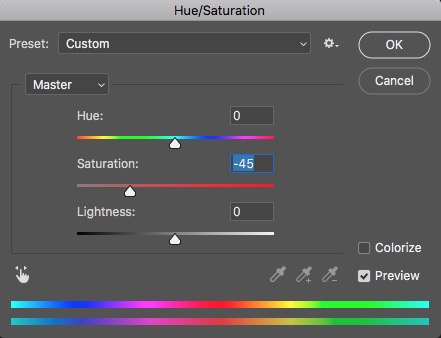
Step 7: Desaturate the swimmer
In this example, the swimmer is much too highly saturated for the muted tones of the background. Open Adjustments > Hue/Saturation and reduce the Saturation amount until you get a better balance between the two.
Step 8: The desaturated swimmer
Here’s the swimmer after desaturating – the arm now looks a much better match for the background. But the blue water is somehow at odds with the road down which he’s supposed to be swimming.

Step 9: Hue/Saturation again
Open the Hue/Saturation dialog again, and this time click the little scrubber icon in the bottom left of the dialog. Then click in the image on the blue water to select that color range. You may need to drag the color sliders a little wider to take in the full range of blues and cyans. Drag the Hue slider to the right, to tint the water the same color as the road; and lower the Saturation so it’s not too strong.

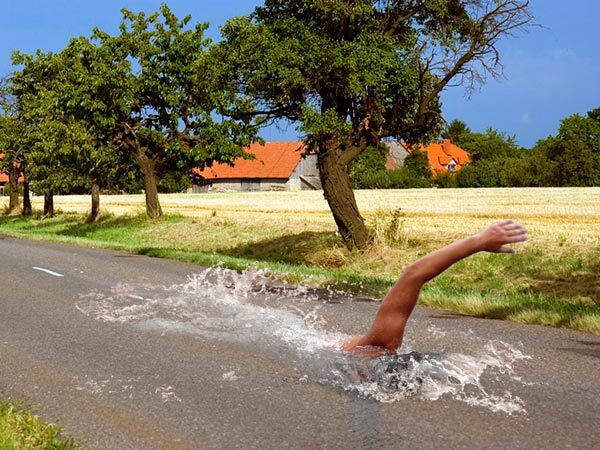
Step 10: The end result
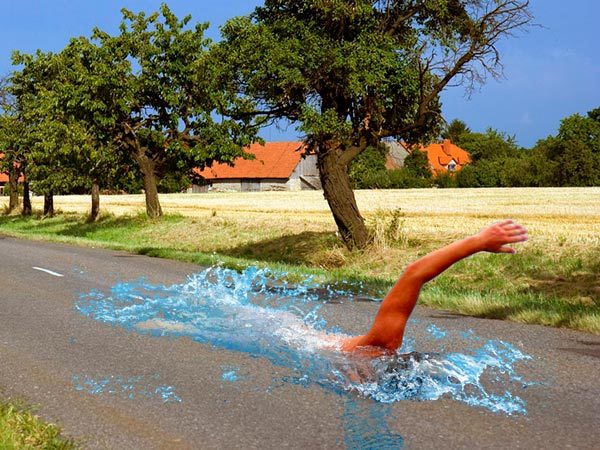
Here’s the result of that last operation: the water is now a much better match for the road, looking suitably muddy as the swimmer plows through it. It’s almost realistic… except for the fact that, you know, it’s a swimmer in the middle of a road.
This article was last modified on June 18, 2018
This article was first published on June 18, 2018
Commenting is easier and faster when you're logged in!

Recommended for you

How Resolution Affects Image Proxy Quality
When working with images into your InDesign layouts, did you ever notice how som...

Adobe Introduces the Photoshop Photography Program
In a move that acknowledged the need for a cheaper, focused alternative to its e...

Special Offer on JixiPix Photoshop Plug-ins
Press release JixiPix Software has released the availability of a whole new powe...