
How to Import Images Efficiently in InDesign
Need to quickly add lots of photos to an InDesign layout? Here are three ways.


This article appears in Issue 57 of InDesign Magazine.
If you create photo-intensive publications like catalogs or yearbooks, you already know that it takes too long to import images one at a time using the Place command. But what are the faster alternatives? InDesign gives you several ways to import and place multiple images in a single pass. Depending on the kind of publication you’re creating, one of the three solutions in this article may be just what you need. And while some methods use the trusty Place command to import photos, you’ll see that there are faster ways to get photos into InDesign.
Semiautomatic: Creating a Photo Grid As You Import Photos
If you need to lay out just a few pages of photos as a grid, use this process (often called Gridify) to interactively create a photo grid as you place multiple images. You’ll customize the grid as you first create it, so remember that you’ll need to keep the mouse button held down until the photo grid is the way you want it. Got it? Then let’s go. Choose File > Place and select multiple images in the Place dialog box. (You can do this by clicking one and then Shift-clicking to select contiguous files in the list. Or Command/Ctrl-click on images to select them.) Now click the Open or Place button to get the loaded graphics icon, and then drag diagonally—?but now, before you release the mouse button, use the arrow keys to customize the grid. Adjust the number of rows by pressing the Up Arrow or Down Arrow key, or adjust the number of columns by pressing the Left Arrow or Right Arrow key (Figure 1). You can also adjust the space between photos vertically by pressing Command/Ctrl+Up Arrow or Command/Ctrl+Down Arrow, or adjust horizontal spacing
by pressing Command/Ctrl+Left Arrow or Command/Ctrl+Right Arrow.

Figure 1: As you drag, press arrow keys to adjust columns and rows.
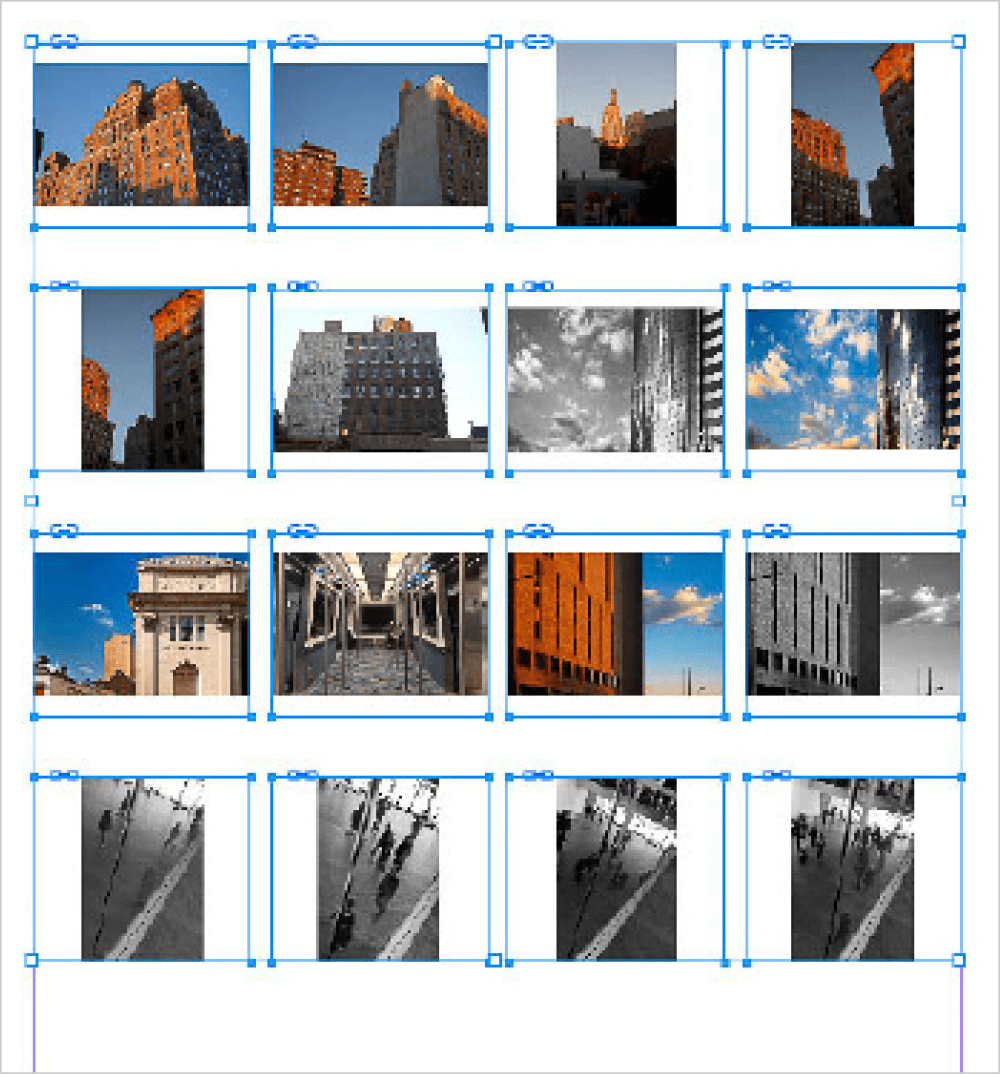
Figure 2: Completed photo grid
Automatic: Flowing Photo Grids with a Script
Wouldn’t it be nice to flow photos into InDesign as easily as text, where one click fills lots of pages with formatted content? If you need to create so many pages of photographs that the previous tip would be too much manual labor, you can use a script to create a grid of photos consistently on many pages in a single import operation. This method uses the Image Catalog script included with InDesign. First create a folder in the desktop or in Adobe Bridge, and add to it all of the images you want to use. In InDesign, open the Scripts panel (Window > Utilities > Scripts). In the Scripts panel, open the Application folder, the Samples folder, and then the JavaScript folder. Scroll down until you see ImageCatalog.jsx (Figure 3), and double-click that script. When asked, select the folder of images, and click OK. You’ll then see options for the script (Figure 4). Here are the main things you should consider:
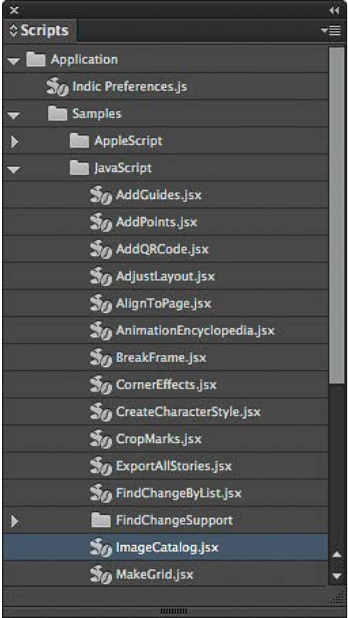
Figure 3: Double-click ImageCatalog.jsx
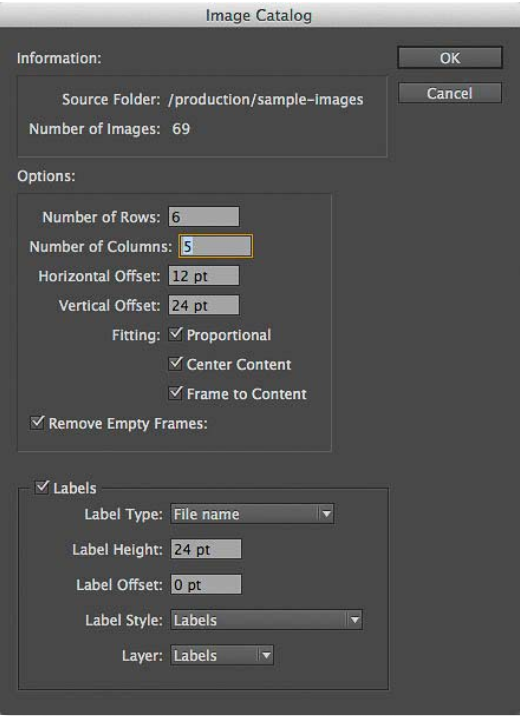
Figure 4: Image Catalog script options

Figure 5: New multi-page document laid out by Image Catalog
Merging ImageCatalog.jsx Pages With Your Document
It’s important to note that the ImageCatalog.jsx script does not place images into an existing InDesign document. Instead, it creates a new document using the default settings for new InDesign documents, which means the page margins might not match up with the document where you want to use these photo grids. For example, imagine that you’re designing a document that uses a 12-pica top margin for a header, a 6-pica bottom margin for a footer, and 3-pica margins on the sides. The default InDesign page settings (which the ImageCatalog.jsx script will use) create 3-pica margins on all sides of a new document, so that’s not going to work. You can resolve this by changing the default settings for new documents by setting InDesign options when no document is open: Close any documents that are open in InDesign, choose Layout > Margins and Columns, set the margins you want, and click OK. The next time you run the ImageCatalog.jsx script, the pages it creates will use your new default margin settings. Now that the margin settings of the script-generated document match your template, you can copy all of the pages from the script-generated document into your template without having to reposition any of the frames. After you add the new script-generated pages to your working document, you can then go on to assigning appropriate master pages to them.
More Scripts: Using Data Merge for Bulk Image Imports
There are scripts available that tap into the Data Merge capabilities of InDesign, not only flowing images and text into a single story, but allowing them to reflow when you edit or delete content in the story. The details are a bit involved for this article, but two of our articles by David Blatner lay it all out for you: Creating a Contact Sheet or Yearbook Page in InDesign and Data Merge Into Inline Anchored Objects So They Flow in a Story.
Manual: Clicking to Fill Placeholder Frames
When you have a page or master page that includes placeholders for photos or other graphics, it’s easy to quickly drop a bunch of photos into the layout—?but you you need to do just a little bit of setup in advance. Unlike the previous examples, this method does not create totally new photo grids, so it’s better for freeform page designs and for pages that are already laid out. A graphics placeholder can be as simple as any empty non-text frame. For this setup to work, the Content type for the frame must be either Graphics or Unassigned. (Choose Object > Content to verify the type of frame.) Set Frame Fitting Options. Select a placeholder frame, and choose Object > Fitting > Frame Fitting Options (Figure 6). Set the Content Fitting options (I chose Fill Frame Proportionally for this layout, although Fit Content Proportionally may work better for others), and click OK. You can now duplicate this frame for use elsewhere in the layout, or use its attributes as the basis for an object style. This feature ensures that any image you place in the frame will shrink or expand to fill the frame.

Figure 6: Setting Frame Fitting Options for placeholder graphics frames
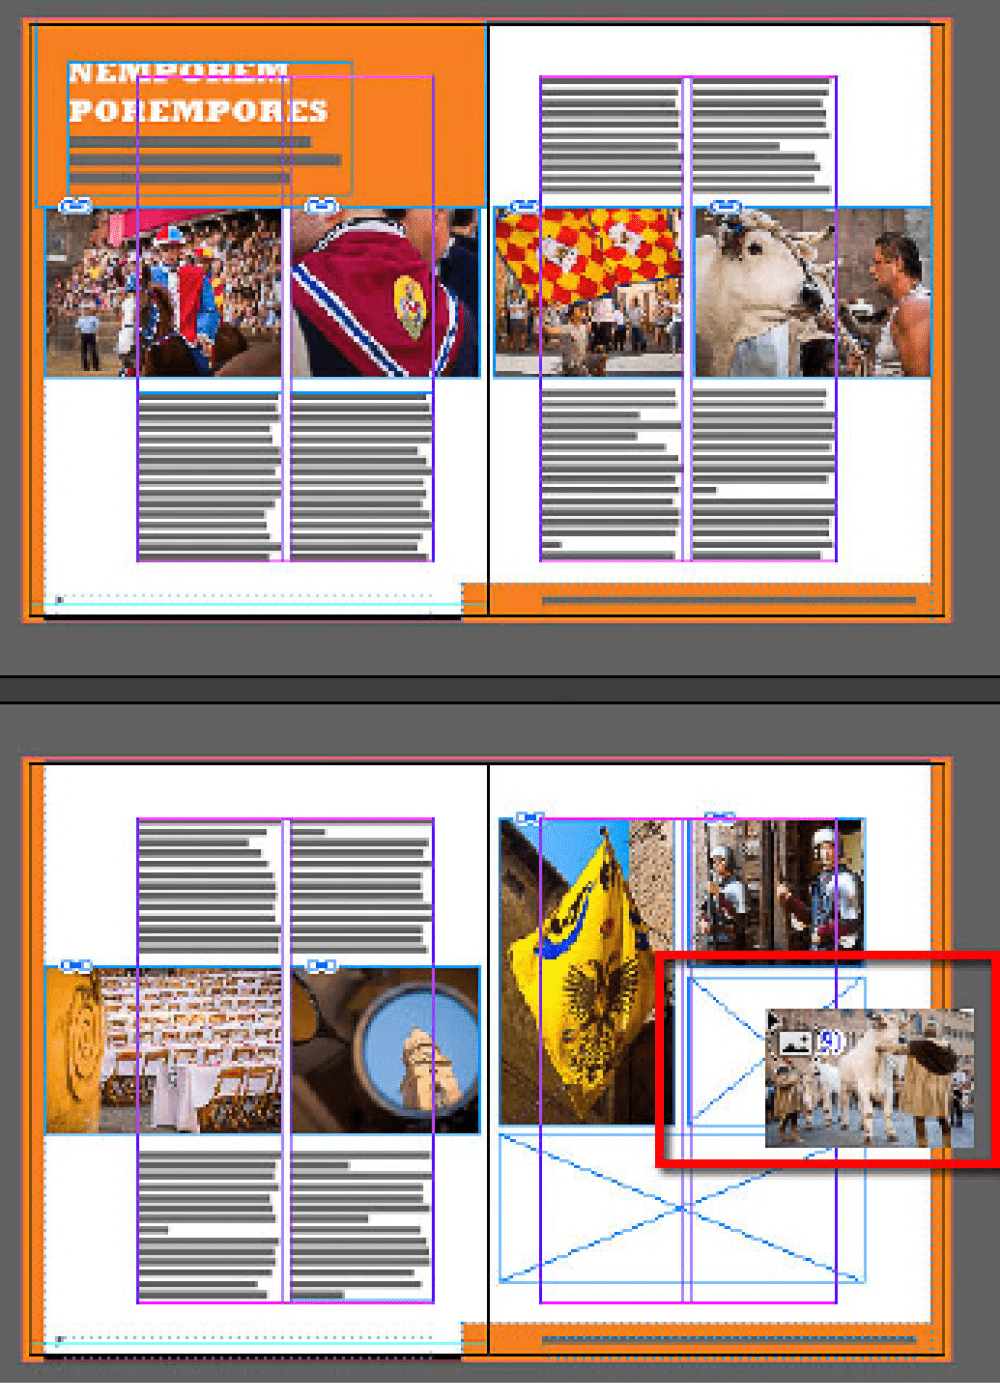
Figure 7: Click frames with the loaded graphics icon to insert photos.
Adding Captions
Of course, images only go so far—?what about adding captions? Don’t feel too bad that the Image Catalog script is the only one of our three methods that generates text labels—?you can easily add descriptive text to any layout using InDesign’s two powerful captions features. Set up the captions. Before you use InDesign’s Static Caption or Live Caption features, you have to specify what the caption should look like by choosing Object > Captions > Caption Setup (Figure 8). In the Metadata Caption section, you can set up a caption to display as little information as just the Name (filename). But you don’t have to be that minimal—?you’ll also see that the choices in the Metadata menu are far more extensive than those provided by the Image Catalog script. You can add more lines of metadata by clicking the + button.
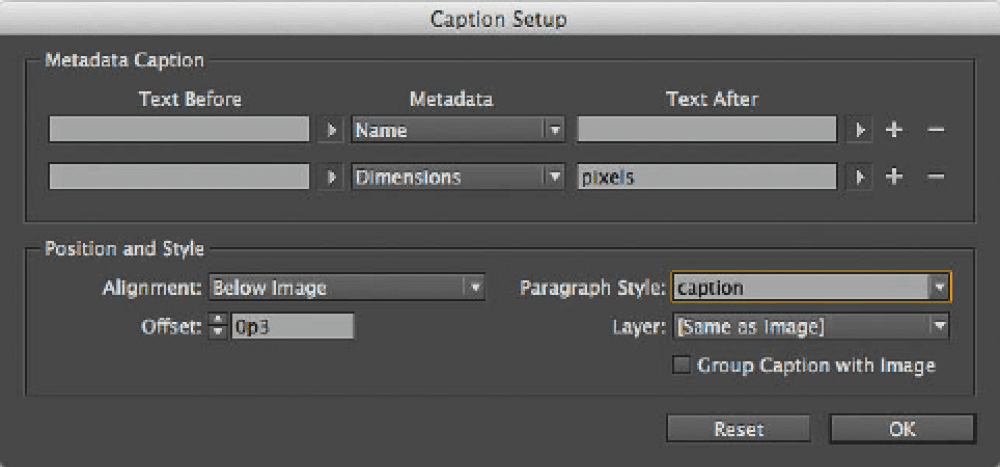
Figure 8: Specify caption content.

Figure 9: Generated captions
Commenting is easier and faster when you're logged in!

Recommended for you

Endnote and Footnote Improvements in InDesign CC 2019
InDesign CC 2018 introduced a new endnotes feature to go along with its long-sta...

Using Automatic Placeholder Text in PowerPoint
How to add dummy text on a slide to test a layout or to “scrub” it of client con...

How to Convert InDesign Layers to Photoshop Layers
Myra Ferguson shows you how to turn your multi-layered InDesign document into Ph...