Add Calendar Dates to Each Page in an InDesign Document
How to quickly add all the days and dates on a calendar you're making in InDesign, with a little help from Excel.

If you’ve ever had to make a daily calendar in InDesign you might have wondered what’s the fastest way to get each day and date on a page. The good news is, it’s quite easy—if you have Excel around.
The Excel Part
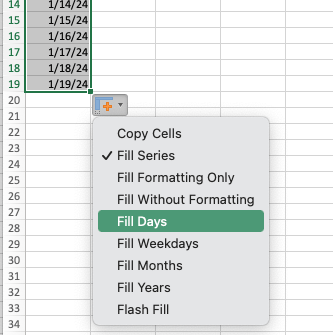
First, in a new Excel document, type the beginning date in the first cell. 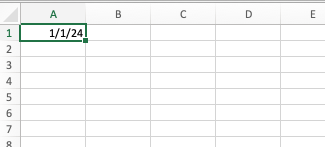 Drag the little dot in the lower-right corner of the cell down as many rows as you want (to row 365 for a full year). Excel should notice that it’s a date and update each day for you; but if that does not work, then click the little menu icon that appears and choose Fill Days.
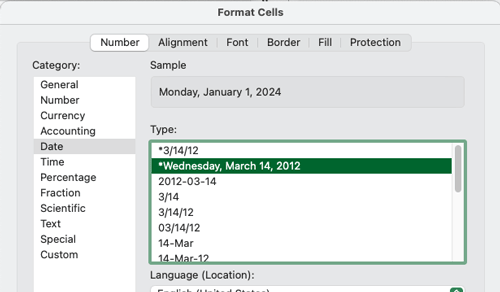
  Now select all those cells and choose Format > Cells. Choose Date, and apply the date style you want (or customize it).
  Save the file as a .txt file.
The InDesign Part
Now, back in InDesign, add a text frame on your parent (master) pages. If you’re using facing pages, be sure to thread the left-hand text frame to the right-hand text frame. You can even set up more than one day per page if you want. 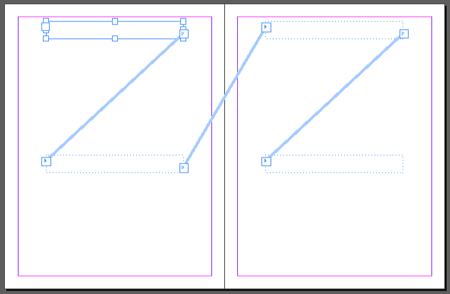 You’ll also want to create a paragraph style in this document for your dates. In that style, set the Keep Options to Start Paragraph in Next Column.
 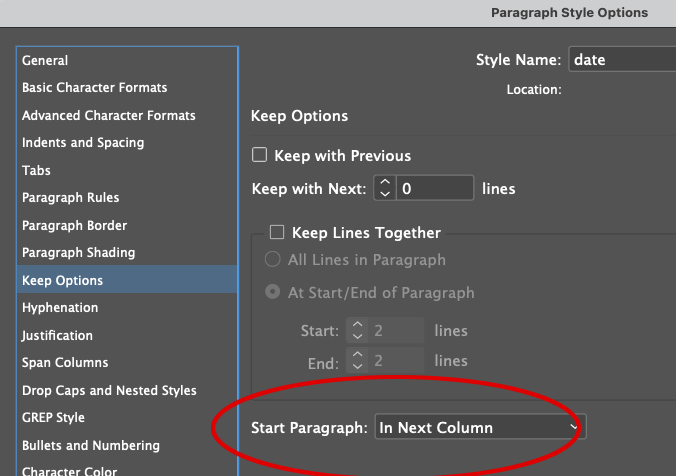 OK, once you have your parent page and styles set up, jump to page 1 of your document, choose File > Place, and choose the text file you created from Excel. Hold down the Shift key when you click on the blank text
frame on page 1. (The Shift key auto-flows the whole story in, adding pages and threading them as necessary.) 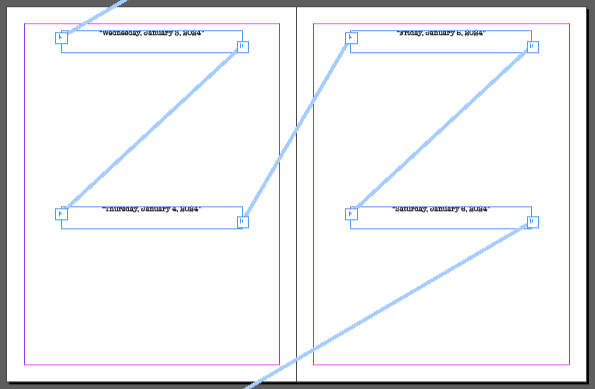 Even better, the following year, you can create a new text file in Excel and just replace the current story in InDesign with the new one.
Bonus Excel Tip
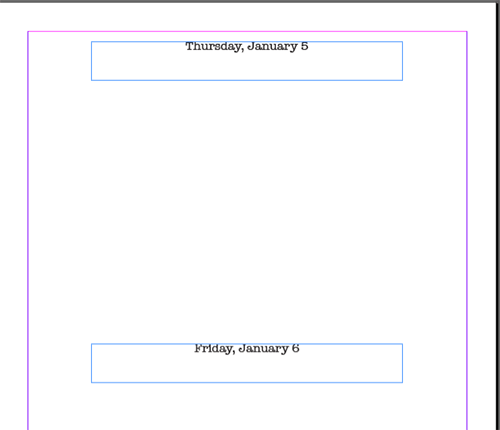
Instead of the full date, maybe you only want the day and date. Just tell Excel to format it differently! In the Format Cells dialog box, choose the date format that is closest to what you want. In this case, I’m going to use the one from the example above. Then, choose Custom. The Type popup menu shows the code for that formatting. You can edit that code (there are lots of how-to tutorials on the web), to get something like the day of the week, month, and day, as shown below. 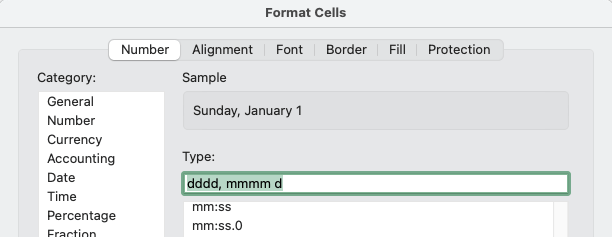 Now you can re-place the story in your InDesign document to get all the dates in the new format.
Commenting is easier and faster when you're logged in!
Recommended for you
How to Make Accessible Tables
Make tabular data accessible using InDesign, Word, PowerPoint, or Excel


