




When you export a Print PDF from InDesign and choose to include Printer’s Marks, the program generates 4-color (CMYK) marks (Crop, Bleed, Registration) and page information. Naturally, this is not a problem when you’re exporting a CMYK PDF. However, when you’re exporting for a different kind of print output (i.e. black + one or more spot colors), those printer’s marks will create unnecessary printing plates. Here’s how you can use Adobe Acrobat Pro DC to convert CMYK marks to pure black.
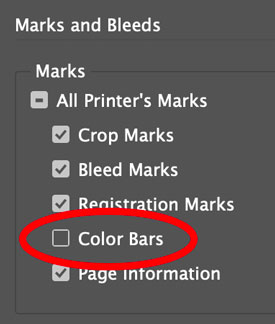
Note: When exporting to PDF from InDesign, be sure the option for Color Bars is turned off in PDF Export dialog box.
Open Adobe Acrobat Pro, open to the Print Production tools.

Choose Preflight.

Click the Single Fixups button.

In the Convert Colors fixups, choose Convert Registration Color to CMYK Black Only.

Click Analyze and Fix. You’ll be prompted to Save the PDF.
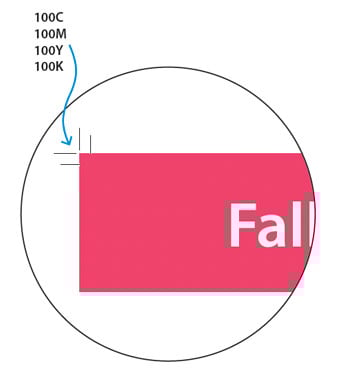
Before applying the fixup, printer’s marks are 4-color.

After applying the fixup, printer’s marks are pure black.
This article was last modified on March 7, 2022
This article was first published on March 7, 2022
Commenting is easier and faster when you're logged in!

Recommended for you

How to Create PDF Bookmarks with a Table of Contents in InDesign and Acrobat
See pro tips for creating a table of contents and PDF bookmarks from that TOC.
How to Avoid Print Problems with MathML in InDesign
How to use Adobe Acrobat to make sure math equations created in InDesign print i...

Preflighting in InDesign and Adobe Acrobat
Creating documents that print smoothly and that look as good in print as they do...