


This tip was sent to Tip of the Week email subscribers on April 14, 2016.

Sign up now and every week you’ll get a new InDesign Tip of the Week and Keyboard Shortcut of the Week, along with roundups of new articles at InDesignSecrets, plus exclusive deals sent right to your Inbox!
Just scroll all the way down to the bottom of this page, enter your email address, and click Go! We’ll take care of the rest. Now, on with the tip!
Need an accented character that doesn’t exist in the font you’re using? You might be able to create your own custom accented character if the font has the floating accent. Use the Glyph panel (Type > Glyphs) to browse the font for the accent.

Add the accent after the character in the text, by double-clicking the accent in the Glyphs panel. Then use baseline shift and kerning to center the accent over the character.
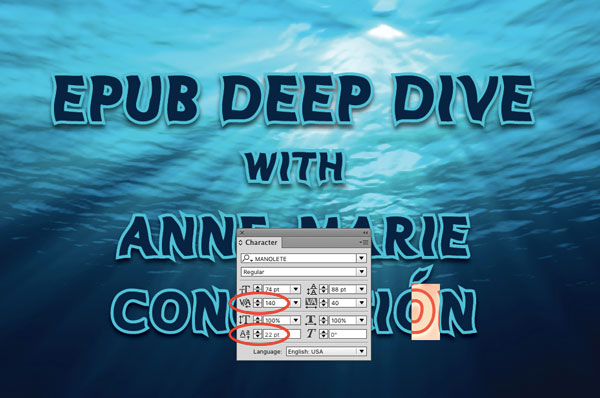
You might also need to increase the kerning between the accent and the following character to compensate.

This article was last modified on July 25, 2019
This article was first published on April 19, 2016
Commenting is easier and faster when you're logged in!

Recommended for you

The Year's Best Magazine Covers
Jaap Biemans is an Amsterdam-based art director. He’s the also the blogger...

Mergenthaler Edition Presents Typographical Expedition: A Word is Worth a Thousand Pictures
The latest book in Linotype’s Mergenthaler Edition, “A Word is Worth...
FSI FontShop International Announces the Release of the Long-awaited Fourth Edition of FontBook
FontBook is the largest type reference in the world. Since 1991, “the big...