

Return to page 1.
Step 14
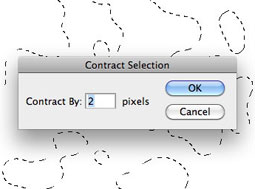
Make a new layer and fill it with white. Then hold Ctrl (Windows)/Command (Mac) and click on the thumbnail of the Water layer in the Layers Panel to load it as a selection. Use Select > Modify > Contract to reduce the size of the selection by 2 pixels.
Step 15
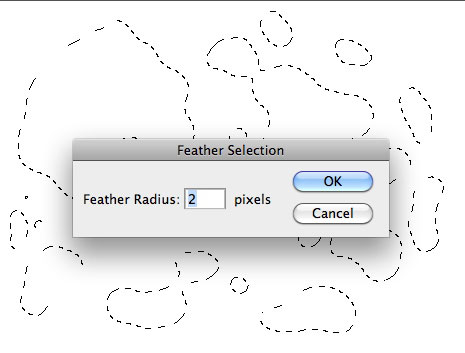
Now choose Select > Modify > Feather and enter a Feather radius of 2 pixels. You must soften the edges or the Displacement Map will produce an ugly step rather than a smooth movement. But if you were to simply Feather the selection, the background would start to distort outside the water area. By reducing the selection first, you make sure all the distortion takes place within the water itself.
Step 16
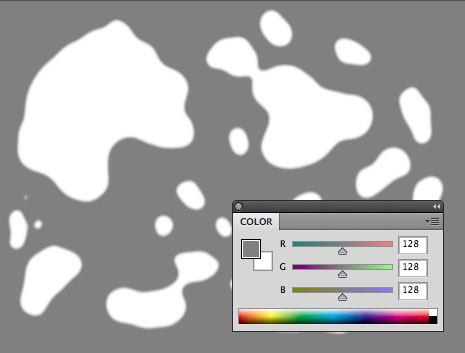
Here’s the way this Displacement Map will work: White areas will move the image up and to the left, and any black areas will move the image down and to the right. You want most of the image to remain exactly where it is, with only the view through the water moving.
On the white layer you created in Step 14, inverse the selection (Select > Inverse) so everything except the water is selected. Now choose 50% gray as the foreground color. If you usually set your Color Panel to show CMYK colors, choose 50% black. If you prefer to work with it in RGB, choose 128 Red, 128 Green and 128 Blue. Now, with the area outside the water selected, use Alt/Option-backspace to fill the selected area with the foreground color.
Step 17
Make sure the layer just created is at the top of the layer stack, so it’s the only one visible, and save a copy of your document as a Photoshop file called “map.psd”. Now switch to the background layer in your original document.
Choose Filter > Distort > Displace, and you’ll see this dialog:

Since the Displacement Map you’ll use is exactly the same size as the image you’re applying it to, you don’t need to worry about the Stretch To Fit/Tile or Undefined Areas settings. The only consideration is the horizontal and vertical scale: the higher the values, the greater the distortion. I chose values of 5 for each, but experiment and see what works best. When you click OK, you’ll be prompted to find the Displacement Map itself: This is the “map.psd” file you just saved. Navigate to it, and click OK.
Step 18
Here’s the result of that displacement operation.
You can see how the background has been shifted up and to the right, following the shapes in the Displacement Map.
Step 19
When you view the background with the water layer visible on top, the effect is complete. The background is correctly refracted through the water, making the whole image appear that much more realistic.
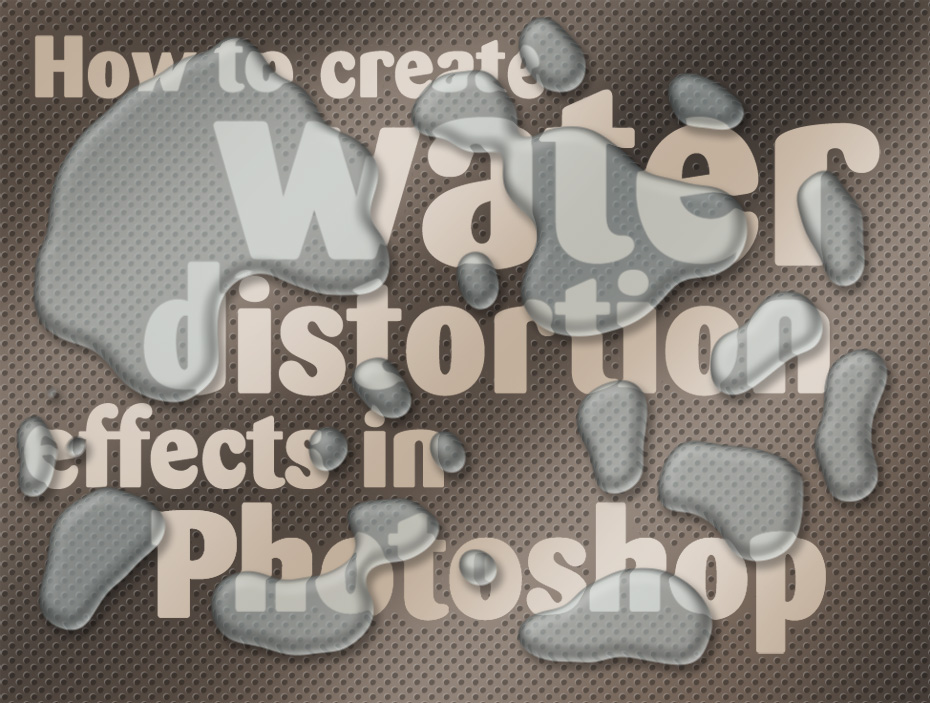
Click the image above to see a larger version.
Step 20
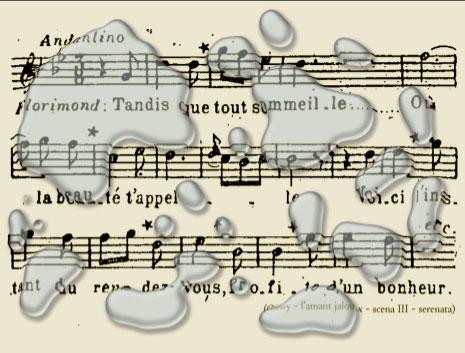
Now that you’ve created the water and the Displacement Map, you can swap out the background and replace it with anything you like. Just press Ctrl/Command-F to repeat the filter. Below, I applied it to an ancient music manuscript. See how the stave lines and the notes themselves bend to refract through the water?
This article was last modified on January 6, 2023
This article was first published on May 23, 2011
Commenting is easier and faster when you're logged in!

Recommended for you

How to Create Lithopanes in Photoshop
The introduction of 3D printing direct from Photoshop opened new gateways for ma...

Creating Custom Shadows in Photoshop
Learn how to create shadows that add a whole new layer of meaning to a photo.
How to Move Photos Between Lightroom and Photoshop
When it comes to working with photos, Adobe gives you two powerhouse pro tools,...