Setting a Dash Stroke with Exact Gap and Dash Values in InDesign

So you want to use a dashed line, and you want to specify exactly how long the dash should be and how long the gap should be. On the one hand, this is easy, but on the other hand, it can be maddeningly difficult in InDesign.
Here’s a quick rundown of the problem and solutions.
Setting a Fixed Dash
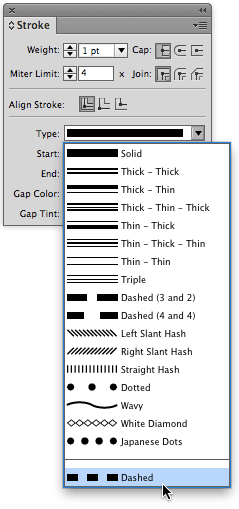
Once you select a frame or path and give it a stroke, you can set its Stroke Type (in the Type pop-up menu, in the Stroke panel) to Dashed — not one of the dashed line stroke styles in the middle of the menu, but Dashed, all the way at the bottom:
When you do that, the Stroke panel expands with some extra options, allowing you to type specific gap and dash values.
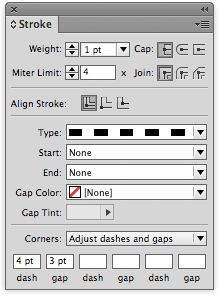
But there are two main problems with setting dashes and gaps like this. First, if you apply the same settings to two different lines, you may get two different dashes. For example, look at these two dashed lines:

See how the lines both start at exactly the same place, but the dashes and gaps don’t match? That’s because the Corners pop-up menu in the Stroke panel is set to Adjust Dashes and Gaps. So if there is any corner on the path, InDesign changes the values so that the corner looks good. (And “any corner” really means “any additional point on the path.”)
However, if you set the Corner pop-up menu to None, you can override that behavior. The corners don’t look as good, but the dashes line up.

The Problem with Object Styles
Unfortunately, as one furry member pointed out, when you use this Dashes feature (the ability to specify your own dash and gap value), you cannot save it in an object style! InDesign just ignores it entirely — perhaps a bug, or an oversight on Adobe’s part.
Fortunately, there’s a solution: Make your own stroke style. It’s easy and fast, and works in object styles. Here’s how.
First, choose Stroke Styles from the Stroke panel menu. Then, click the New button in the Stroke Styles dialog box and set the Type pop-up menu to Dash:
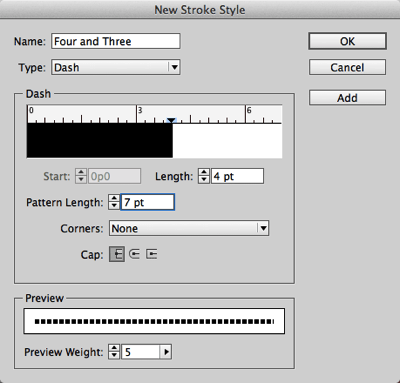
Here’s the trick to the whole thing: Add up all the dashes and strokes you’re going to have, and put that in the Pattern Length field. For example, I want a 4 pt dash and a 3 pt gap, so I set the Pattern Length to 7 pt.
Next, set the Length field to the length of your first dash.
(If you want more than one dash in the pattern — like long dash-gap-short dash-gap — you’ll need to do more work by clicking in the ruler above the pattern and then tweaking the Start fields.)
Finally, if you always want the dashes and gaps to be the same length, even if it means your corners will look a bit odd, set the Corners pop-up menu to None.
Now click OK to leave this dialog box, and then OK again to leave the Stroke Styles dialog box. Your dash is ready to apply! Even better, it’s ready to be added to any object style.
Remember that when you create a dash like this, the effect may surprise you if you make a really thick line:
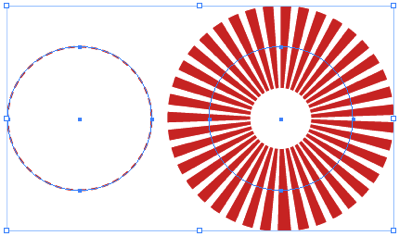
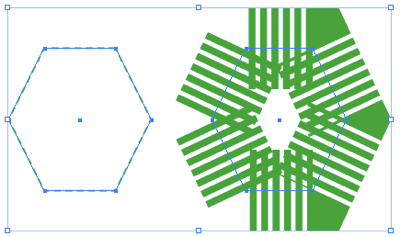
(The four paths above have the same stroke type but different stroke weights and colors. Hey, that green octagon would make a cool logo!)
By the way, here are a couple of other stroke style tricks to chew on:
This article was last modified on December 30, 2021
This article was first published on October 1, 2013
Commenting is easier and faster when you're logged in!
Recommended for you

More Fun with Custom Stroke Styles
Another fun stroke style example, that sets a black keyline with a white gap.
How to Make a Dotted Line in Illustrator
Learn how to apply dotted strokes to paths using options in the Stroke panel and...

Tip of the Week: Color Shortcuts
This tip was sent to Tip of the Week email subscribers on September 18, 2014. Si...


