
Photoshop How-To: Aging Metal Textures
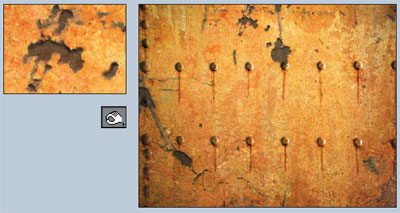
If, like me, you like the patina of aged, rusty metal, then this Photoshop trick is for you.
Start with a gray background and add layers of age in succession — mottling, corrosion, scarring, flaking, chipping — until you have just the distressed look you desire.
You’ll employ a variety of techniques, too: layers, blend modes, Gaussian blurs, saturation controls, the burn tool, and so on.

In this excerpt from “Design Graphics Photoshop Studio Skills,” you’ll see for yourself that (in the words of Neil Young) rust never sleeps.
We’ve posted this excerpt as a PDF file. All you do is click the link “Aging Metal Textures” to open the PDF file in your Web browser. You can also download the PDF to your machine for later viewing.
Excerpted from “Design Graphics Photoshop Studio Skills” by Colin Wood. Copyright © 2003 Wiley Publishing. All rights reserved. Reproduced here by permission of the publisher.
This article was last modified on July 18, 2023
This article was first published on November 24, 2004
Commenting is easier and faster when you're logged in!

Recommended for you
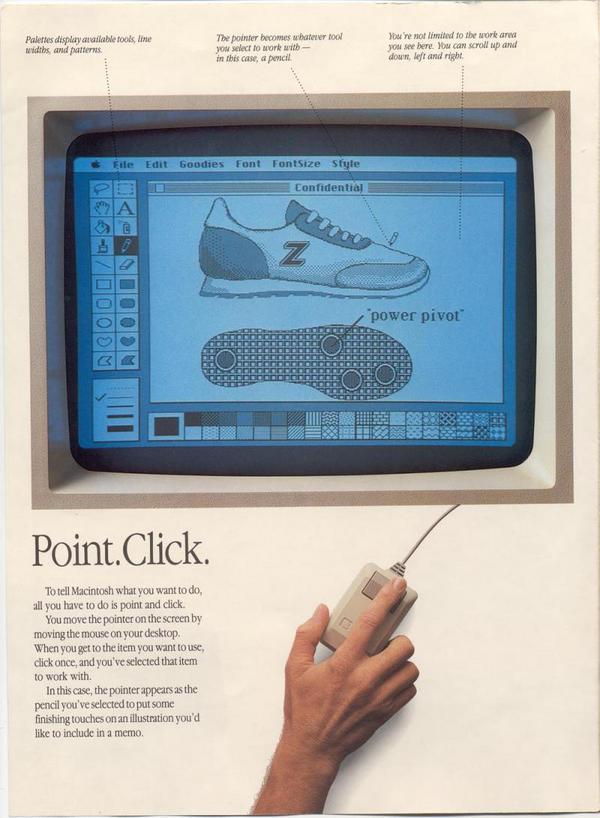
MacPaint in the Cloud
If you were around for the debut of the Macintosh in the 1980s, you might have a...

Adobe Releases Free Photoshop Extension for Blending Colors
Adobe has released a new free extension for Photoshop CS6 that provides two new...
Modeling a 3D Bracelet with Photoshop
Photoshop’s 3D modelling environment has matured to the stage that with CS6 Exte...