


Shades of Gray
Simply choosing Grayscale from Photoshop’s Mode menu doesn’t always produce the optimal conversion from color to black-and-white. To create grayscale images, serious Photoshop users employ a number of different techniques ranging from blending different color channels to deleting some channels completely.
Color Efex Pro simplifies grayscale conversion with its B/W Conversion filter, which provides simple sliders for balancing the different red, green, and blue channels in an image when converting to black-and-white. Though this filter does nothing you can’t do with Photoshop’s built-in commands, its simple-to-use front end can save you a lot of time.

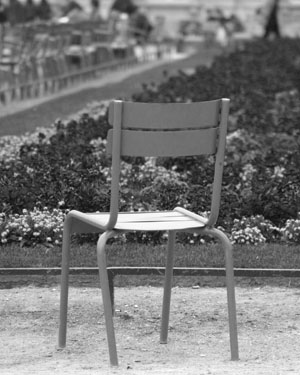
This black and white conversion was carried out with Photoshop’s conversion filter.
Color Efex Pro’s black-and-white conversion filter makes it easy to customize conversion results.
Many camera lenses — telephoto lenses, in particular — suffer from a problem called “vignetting,” a darkening of the corners and margins of an image. You usually need to create some custom masks and Levels adjustments to correct bad vignetting, but Color Efex Pro’s Darken Center filter can automatically balance the center of an image with its corners and margins. Lighten Center, meanwhile, actually lets you increase vignetting, whether for effect, to bring focus to the center of your image, or to create an image with a more profound sense of depth. Both filters include control over the size of the effect, though not over the effect’s origin.
Finally, Color Efex also includes a set of Abstract filters that include such effects as Solarizing, Weird Dreams, Pastel, and Infrared. These filters create weird psychadelic color effects and are kept in their own Abstract Effects submenu.
Interface
Color Efex Pro’s filters share a similar interface: a single dialog box with a preview window and a number of sliders. Though the dialog box looks like a modal box, you can actually move it around simply by dragging its edges. The preview thumbnail is a little small, but the filters do provide zoom control for enlarging the contents of the thumbnail. We’d prefer a larger preview, and would like to see the addition of keyboard commands for zooming, or viewing the thumbnail at 100 percent. Ideally, we’d like to see Color Efex Pro generate a preview within the document window, à la Photoshop’s built-in filters.

The dialog box for each filter looks much the same, with sliders on the left and an image-preview window on the right.
Some of Color Efex Pro’s filters can be processor intensive, but in general we had no complaints with performance and found the filters to be speedy enough on our 400MHz G3.
Note that Nik Multimedia also sells a “non-Pro” version of Color Efex, which lacks the ability to filter CMYK images, has no numeric control over filter parameters, and includes 34 filters instead of the Pro version’s 55. For a list of what’s included, click here. The advantage is a lower price of $139.95. Demo versions of both packages are available for download on Nik Multimedia’s Web site.
Investment Opportunity
Like Sharpener Pro, Color Efex Pro delivers. Much more than another “cool” set of filters, Nik Multimedia’s collection includes practical, everyday filters wrapped up in a streamlined, easy-to-use interface. Even if you consider yourself a power user and can reason your way through manually pulling off every effect we discussed in this review, Color Efex Pro can still be worth the investment simply for the amount of time it will save you. Whether you’re a Photoshop novice or veteran, give this plug-in a serious look if you’re serious about making your digital images look just right.
This article was last modified on December 14, 2022
This article was first published on September 4, 2001
Commenting is easier and faster when you're logged in!

Recommended for you

Photoshop How-To: Distorting Text
This story is taken from “Photoshop Studio Skills: For Photoshop 7 and Pho...

Capture the Look of Classic Analog Photography With VSCO Film Emulations
If you were an avid photographer in the analog days, you probably had a few favo...

Basic Tips for Color Management
In early December, a community of conference-goers explored best practices and n...