
Photography How-To: Add Painterly Effects to iPhone Images

Excerpted from iPhone Obsessed: Photo editing experiments with Apps by Dan Marcolina. Copyright © 2011. Used with permission of Pearson Education, Inc. and Peachpit Press.
In addition to the HTML version of the excerpt below, you can also download the excerpt as a PDF that retains the full design of the printed book. The PDF also includes tags that that you can click or scan to see a short video from the author explaining each app’s key concepts. In addition, you will have access to the iTunes download link and developer’s Web site.
To some purists, converting a photo into what looks like a painting is considered cheating or tacky. I prefer to think of the process as photo illustration. Taking the energy of a photo and minimizing its reality sometimes maximizes its symbolic or emotional qualities. The low-res qualities of mobile photos can give just enough detail to render an effective painted look. By blending and layering different app effects you can come up with a unique hybrid of an image that feels honest and less like cheating.
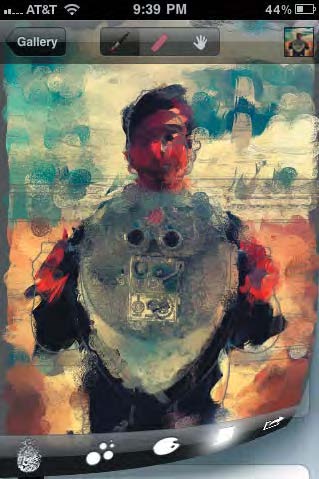
Artist’sTouch allows you to selectively clone-paint an existing image. There is no other app I know like it. You start by importing a photo; the app then creates a ghosted line-drawing version. After choosing a brush type and size you paint back in the image color and detail. Change the size of the brush to get more detail in certain areas.
Fill in the details The secret is to work with broad strokes first for background elements, then change to a smaller brush with short strokes for the detailed areas.
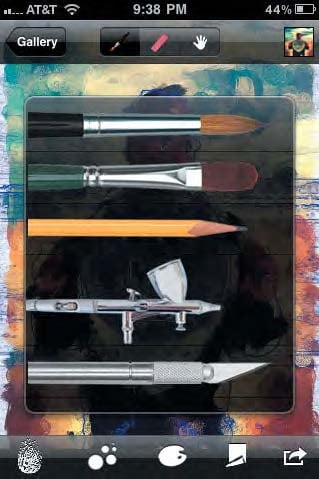
Multimedia Select different paint modes like watercolor, oil, chalk, airbrush, or pencil to get different painting styles.
Paper choices You also have access to the paper texture and color. Choose textures like canvas, rough paper, or my favorite, cracked paint.
ArtistaOil translates your image into an oil painting. Generally I do not like this kind of cheap trick on images, but this app really does generate a pleasing result. I like to start with an image that I have already manipulated in some way, either with a slight distortion, blur, or color change. This helps push it into a believable painting.

Step by step Just follow the buttons on the bottom. Start by choosing one of many presets, and check details along the way by zooming in.
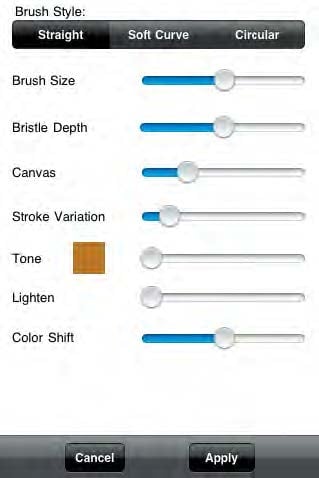
Slide the paint around Once you have a preset you like, you can then tweak the sliders to get something unique and appropriate for your subject matter.

Finishing touch The last step is to choose the kind of painted edge you want, and there is a wide selection available. Then save your image and custom preset.
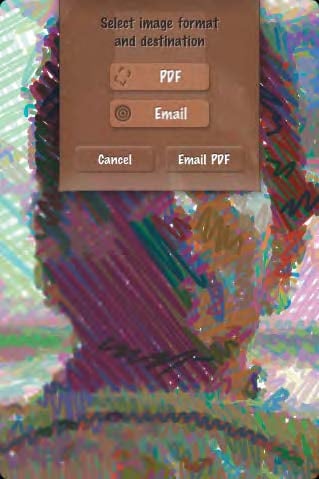
SketchMee turns your photo into a vector line drawing. The results are really remarkable—there is no desktop app that can do this as well. The best part is you can e-mail a full vector version to yourself that is editable in Adobe Illustrator. I sometimes restroke the lines with one of the art brushes in Illustrator to give it a softer look.
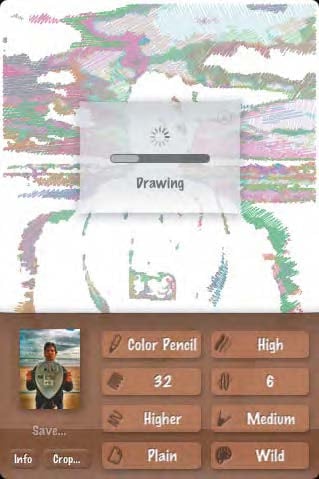
Convincing results The image is redrawn in front of your eyes. The line work follows the contour lines of the original and gives it a convincing hand-drawn look.

Tweak your results Try various techniques like colored pencil or chalk. Change seven settings to affect the final output. I like the new combo setting best.
Unlimited size output Input images can be of any size. Tiny Web images are easily transformed into works of high-resolution sketch art. Zoom in to see the detail.
Endless Summer / Process
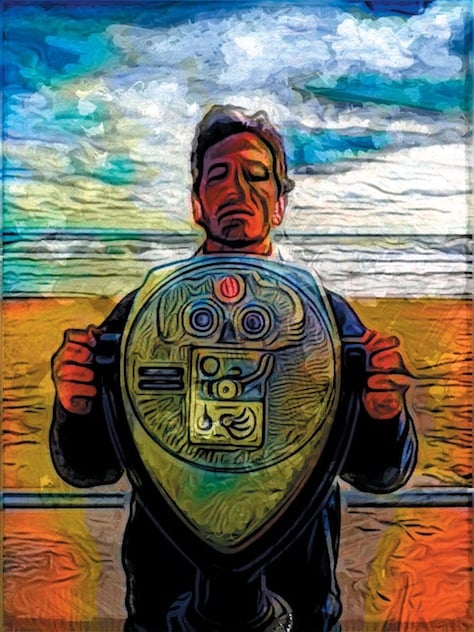
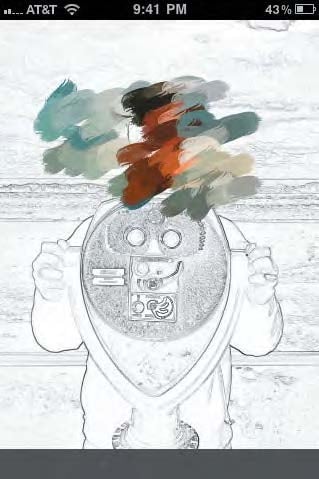
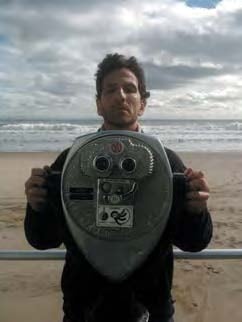
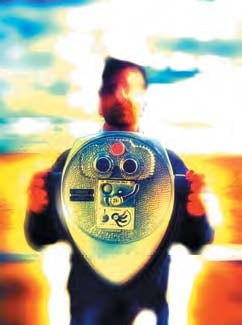
The Moment When my editor nixed my original cover image, I needed to find new subject matter. I found this picture while obsessing about which surf break to paddle out in. The waves and sky were great and along with this quirky, nostalgic vacation viewer I had the makings of an interesting cover. I took many shots, but it wasn’t until Paul closed his eyes that the picture came together.
The Processing I wanted the style of the processing to capture a whimsical, dreamy quality. Also, since this was going to be the cover I wanted to use multiple apps. Ideas from the chapters “Straightforward,” “Blurs and Vignettes,” “Toon Looks,” “Film Looks,” “High Dynamic Range,” and this chapter are all used.
ProHDR I captured a dark exposure and a light exposure and combined them. Using the levels, contrast, and saturation sliders I gave it a dramatic look.

FilmLab To bring out the nostalgic warm qualities of the image, I chose the setting called Pharlap. With the other tools I tweaked the color and sharpened the image.
TiltShift I then used TiltShift to dramatically blur the image with the lens setting. Extreme saturation, contrast, and aperture highlights helped make the image even wilder.

ToonPaint
I processed the original photo into a toon variation with the soft slider setting. A balanced amount of gray and black edges were generated.

SketchMee I used the color chalk setting. Then I opened the exported PDF in Adobe Illustrator and retraced the line work with the artistic charcoal pencil
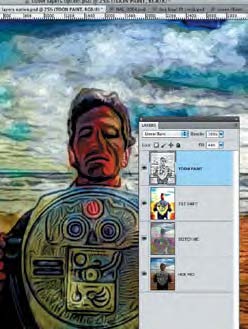
Photoshop I layered the four resulting files into Photoshop: HDR image on the bottom, Illustrator strokes next, set to 90 percent luminosity, TiltShift image next at 40 percent color, and ToonPaint on top, set to 45 percent linear burn. PDF in Adobe Illustrator and retraced the line work with the artistic charcoal pencil.
Download the excerpt as a PDF to see more examples and to access tags that that you can click or scan to see a short video from the author explaining each app’s key concepts. In addition, you will have access to the iTunes download link and developer’s Web site.
This article was last modified on January 6, 2023
This article was first published on February 20, 2012
Commenting is easier and faster when you're logged in!

Recommended for you

CreativePro Video: How to Use Camera Raw in Photoshop
In the following CreativePro video, Michael Ninness shows us how to use Camera R...

Adobe Introduces the Photoshop Photography Program
In a move that acknowledged the need for a cheaper, focused alternative to its e...

Scanning Around with Gene: When Sparks Fly
I suspect every American kid, especially every boy, has vivid memories of Fourth...