


In this age of blogs, Twitter, Facebook, DVDs, etc, we’ve grown accustomed to always having comments added to our media. It can also be useful to allow for commentary, questions, and other information to travel along with an InDesign page during its construction. InDesign’s Notes feature is OK, but some folks would prefer a simpler solution, like a big, fat text frame on the pasteboard. For convenience and consistency, you can surround a master page or spread with pasteboard text frames to create a space for notes.

Just remember that they have to be at least partly inside the bleed or slug area to appear alongside document pages.

Anne Marie wrote about this kind of thing, over at InCopySecrets.com.
Pasteboard notes are great if you have the document open, but how do you get those notes to appear in print or PDF output? One method is to increase the bleed or slug area until it encompasses the entire notes frame(s) and include that area in the output.

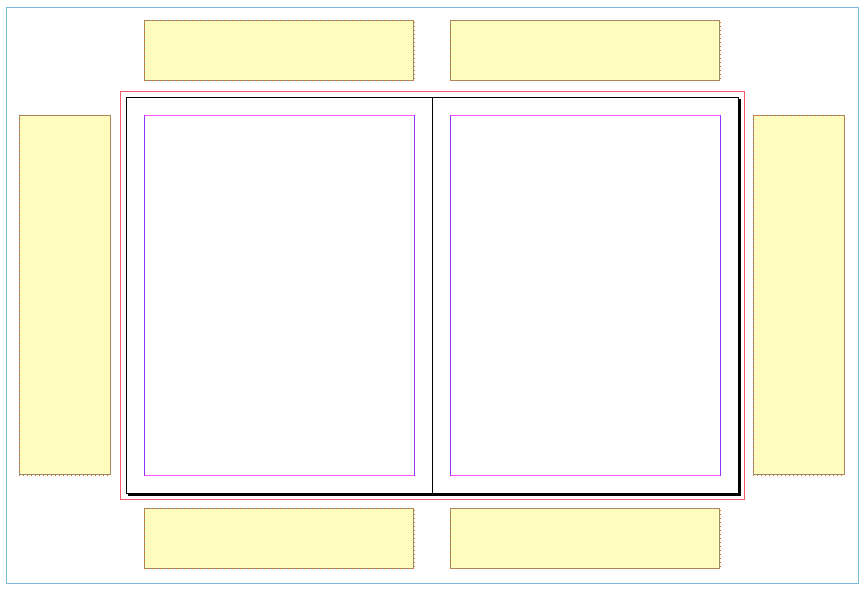
![]()
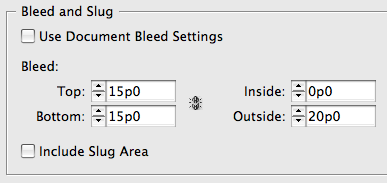
There’s one potential snag with this method. If your project is going to be printed, you probably already have specific requirements for the bleed and slug. Changing them back and forth to fit your notes is a hassle and it may lead to errors. Fortunately, a solution awaits in the Print and Export Adobe PDF dialog boxes, just above that Include Slug Area checkbox. You can uncheck Use Document Bleed Settings and set a custom bleed size big enough to show your notes in output.
So a PDF proof would look something like this.

This is a nice solution because you’re only changing output settings. You’re not altering the document itself. Furthermore, you can make your notes appear on PDF proofs automatically by making an ‘in progress’ PDF Preset that includes the bleed override.
To suppress the notes in the final PDF you deliver to your printer, you have a few choices. You can either keep them on their own layer and hide that layer before you export the PDF, or you could be radical and make the document bleed large enough to hold the notes all along,

and then override it with a standard bleed for final output.

The latter method can be automated with a PDF Preset, and it doesn’t require you to put notes on their own layer, but it may freak people out to see a huge bleed in their InDesign files. If you try it, you may want to place guides at the standard bleed locations. Also, make sure your notes frames sit outside the slug area to exclude them from final output, and send your printer a test file or two early on just to be sure everything’s copacetic.
Then let the comments fly.

This article was last modified on December 19, 2021
This article was first published on September 10, 2009
Commenting is easier and faster when you're logged in!

Recommended for you

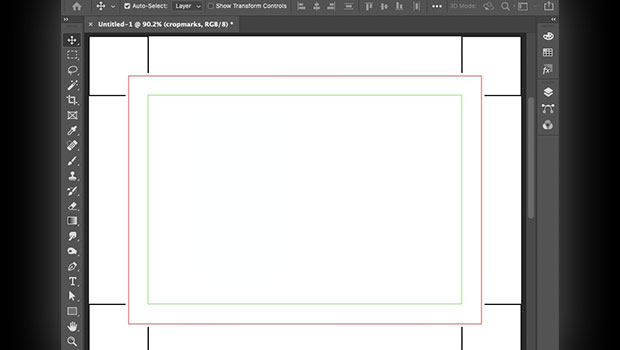
Photoshop How-To: Adding Bleeds and Crop Marks
One question that I receive on a fairly regular basis, is how to add bleed to an...

InDesign How-to Video: Place Multiple Copies of a Layout on One Page
In this week’s InDesignSecrets video, Erica Gamet shows how to quickly arrange m...
Creating Automatic Crop Marks and Bleed in Photoshop
One of the most abidingly popular features on CreativePro is Chad Chelius’...