

Want to create a fun reflective appearance in InDesign – without having to crank up Photoshop? It’s easy; here’s how to create a vertical reflection (resembling an image sitting on a shiny surface, or being reflected in water):
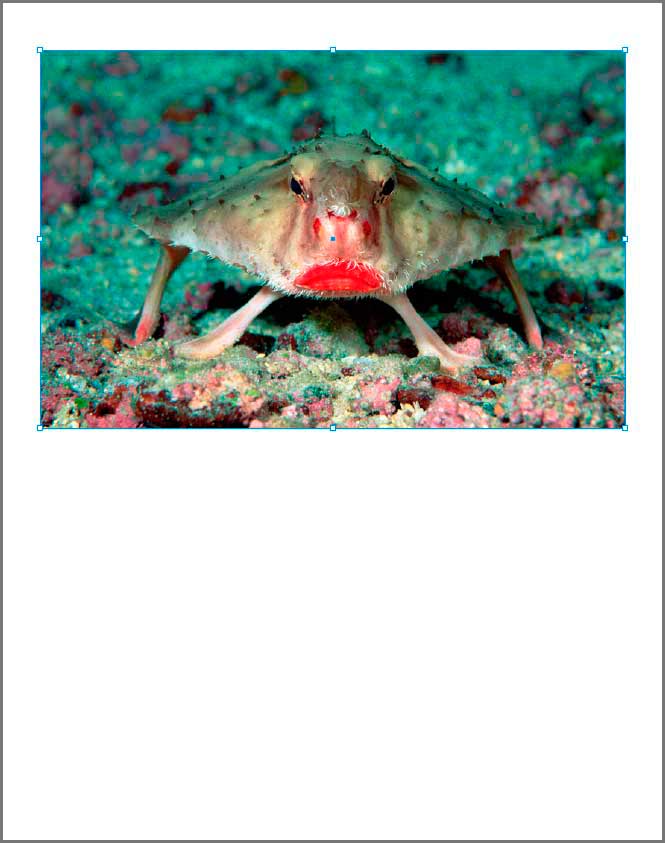
About the photo: It’s not fake. It’s not the unnatural offspring of Mick Jagger and a crab. It’s a rosy-lipped batfish, from the National Geographic website. I hope they don’t mind it being used.
1. Select the frame, and choose the middle bottom anchor point on the Transform Proxy (actually, any of the three points on the bottom edge will work).
![]()
2. In the Control Panel, Option- or Alt-click the Flip Vertical icon. Poof! You now have a flipped duplicate of the selected frame. (By the way, the Option/Alt trick works with other transforms as well, including scaling percentages. Instead of just hitting Return or Enter when you commit to the values, add the Option or Alt key and you’ll create a duplicate object with the new setting.)

3. To make it look like a reflective surface, use the Gradient Feather effect on the duplicate frame. For best results, set the initial opacity value to less than 100% (so there’s contrast between the bottom edge of the primary image and the start of the reflection). Because the frame is rotated, the angle value is backward from what you’d expect. Here, I’ve used 60% opacity to start, at a 90 degree angle.


TIP 1: The distribution of the Gradient Feather effect is based on the size of the frame; if you change the dimensions of the frame, the feather effect moves with it. If you’d like to ensure that the feather affects the image the same way regardless of what you do to the frame, apply the effect to the image itself. That’s right: you can select the *image* with the Direct Selection tool (white arrow) and apply an effect. If you’re feeling fiendish, you can apply one effect to the frame, and another effect to the image inside the frame. The potential for cumulative ugliness is almost unlimited.
TIP 2: To change the axis of the reflection, just change the anchor point on the Transform Proxy when you make the duplicate, and adjust the Gradient Feather angle accordingly.
TIP 3: (Is there no end to the fun?) You’re not limited to just a starting point and endpoint on the Gradient Feather control. You can add multiple stops along the control, and assign a different opacity setting to each. If you alternate heavy and light opacity values, you can create a cheesy ripple effect. I’m not saying it’s a good thing. I’m just saying it’s possible:


This article was last modified on December 19, 2021
This article was first published on January 30, 2009
Commenting is easier and faster when you're logged in!

Recommended for you

Mixing CS2 and CS3: Snippets Rule!
In the latest podcast (episode 54), David and I talked about "glitches and gotch...
Turning Polygons to Starbursts in InDesign
Drawing starbursts isn't hard, once you know where to look. Plus, check out this...
This Week in InDesign Articles, Number 20
The tablet is... almost here? here? Whatever the case, you need to check out the...