
Making Abstract Line Art in Illustrator
Learn how to create stunning abstract line art effects and apply them in a variety of print and digital projects.


This article appears in Issue 20 of CreativePro Magazine.
Abstract illustration is a great option when your subject matter is difficult to visualize, when you lack sufficient photography (or agreement on which photos to use!), or when you simply want an abstract graphic style. In this article, I’ll show you how to make abstract line art with Illustrator’s Blend Tool, and how you can create stunning effects with it on a variety of print and digital projects.
How to create and color abstract line art
In Illustrator CC, use the Pen Tool to draw at least two lines with no fill. They can be curved, angular, or straight. Then, using the Selection Tool, select them both. 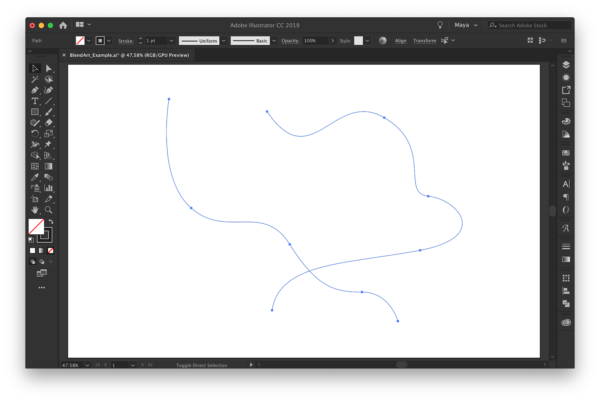 Then, go to the Object menu > Blend > Make. By default, Illustrator will apply whatever was left as the Blend settings from before. If the effect isn’t what you want, you’ll need to customize the settings. Go to the Object menu > Blend > Blend Options. Inside you’ll have the options to apply Smooth Color (best when working with color fills, such as when creating 3D-like images), Specified Steps (determining the number of steps between the lines), or Specified Distance (determining the spacing of the lines between the lines). Play with these options; note that the Preview checkbox only works after you’ve blended the lines.
  I decided that I liked the preview when I set Specified Steps to 66 and set the orientation as “align to path.”
  Now, you can tinker with the shape of your art. Using the Direct Selection tool, drag anchor points and adjust their handles until
you are satisfied with the shape.  To color your art, first select one of the lines by clicking on it with the Direct Selection Tool. You can recolor the line with a solid color simply by selecting a new stroke color. Here, I’ve applied magenta to the bottom line, and orange to the top line.
 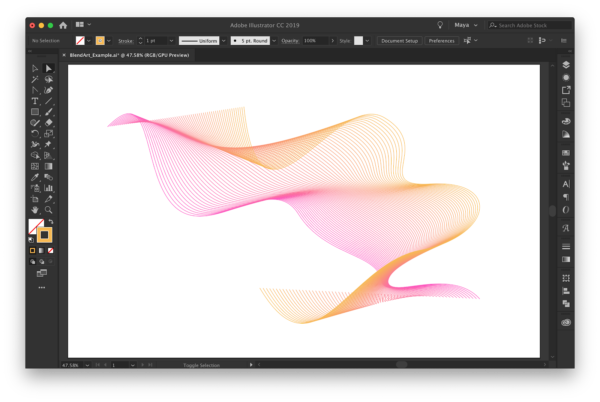 That’s the basics of how to create and color abstract line art with Illustrator’s Blend Tool! The Blend Tool can also be accessed from the side menu or by pressing (W), useful for making blends when your settings are set the way you wish. Lines have infinite possibilities. Below are some advanced techniques and inspiration for working with Illustrator’s Blend Tool to create abstract line art:
Apply a color gradient to your strokes
To do so, select your line, open the Gradient Panel, set your color markers, and adjust the parameters to your liking. In this example, I used different gradients on each of two lines, and then applied a gradient feather to the entire graphic to make the edges appear to emerge from the background. To carry the theme throughout the website, I applied the same color palette to make a smaller, decorative element that playfully grows from behind featured photos, such as the one near the bottom of the screen. 
Add drama with stroke settings
For a bold look, try increasing the thickness of your lines and dashed lines. Thicker strokes can improve legibility when small text is positioned on top. For example, on this conference poster, the thick, dashed lines are eye-catching without affecting legibility of the small text. By setting the forward line with a slightly thicker stroke, the artwork seems to have a slightly 3D effect. 
Create custom display text
Blended line art can create customized display text, especially when filling the text. Do achieve this, create outlines of your text, click the grouped text outlines with the Selection Tool, and Place the artwork into the text outlines. In this example, filling the text with the art helps to integrate the daily program cards into the conference’s visual branding. 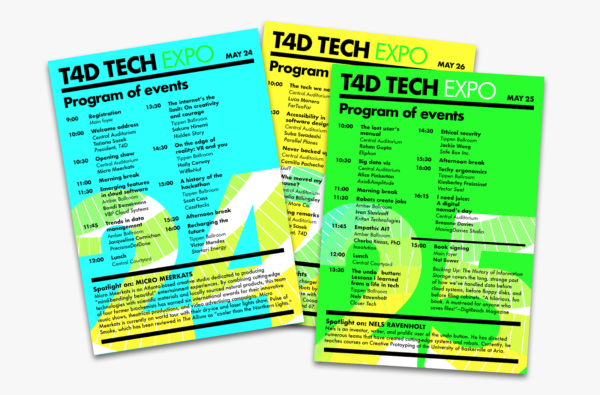
Illustrate things with lines
This technique can help to illustrate things with lines, such as wires, cables, hair, fibers, and even noodles! Here are two examples: music staves floating across the end credits for a film, and a menu cover for a ramen restaurant. 

Total control over every line
After creating your art, you have the option to edit any line, any way you wish. Simply select your blend art, and go to the Object menu > Expand (make sure you expand the stroke). Ungroup the lines for easier editing of individual elements. What will you make? Share your art with us on Twitter at @CreativeProse and @MayaPLim
Commenting is easier and faster when you're logged in!

Recommended for you

How to Use Illustrator’s Draw Inside Feature
Learn how to use Illustrator’s Draw Inside feature, which automatically creates...

How to Make Patterns in Illustrator
Patterns can add branding, texture, tone, style, and even greater meaning to a d...
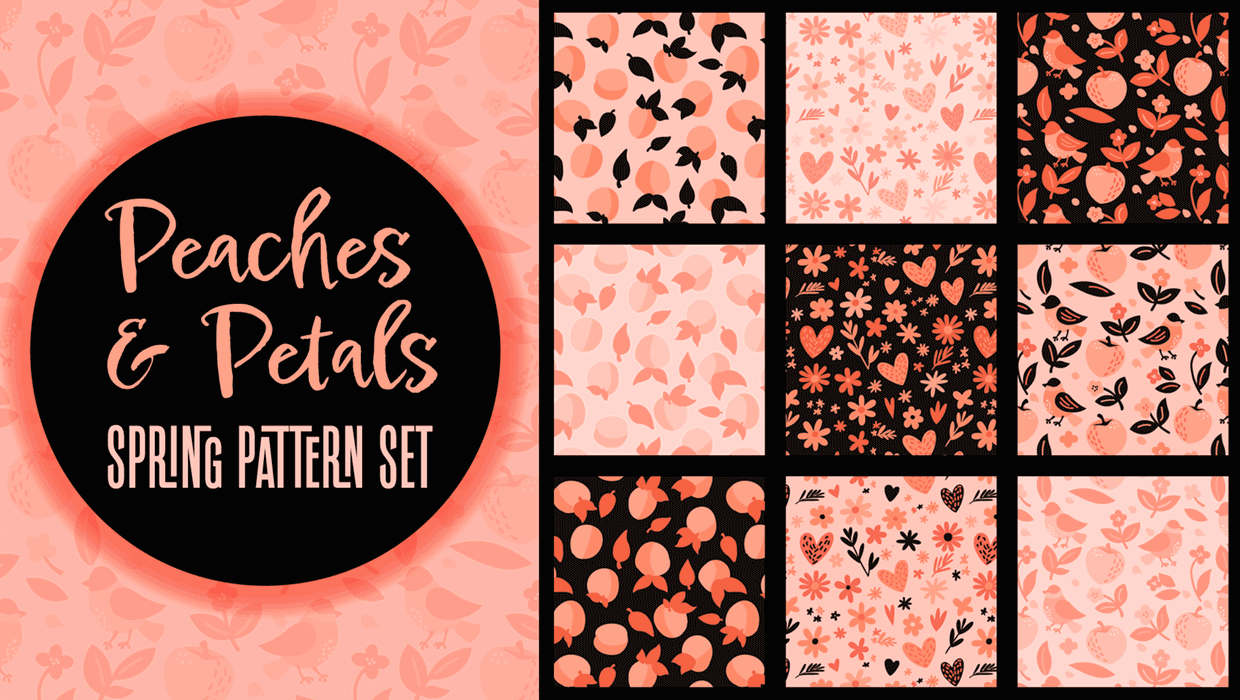
Illustrator Downloadable: Peaches and Petals Pattern Set
Add sweetness and impact to your designs with these Illustrator patterns